Introduction: Front Wheel Repair for E-Twow Scooter
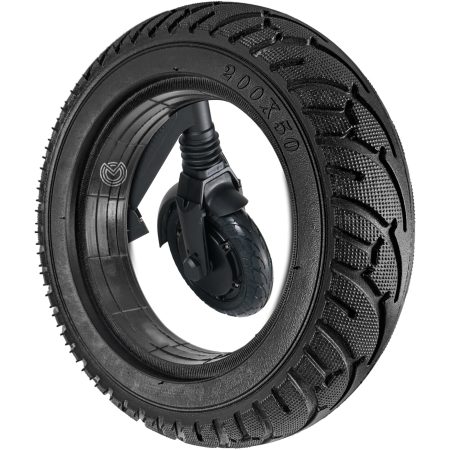
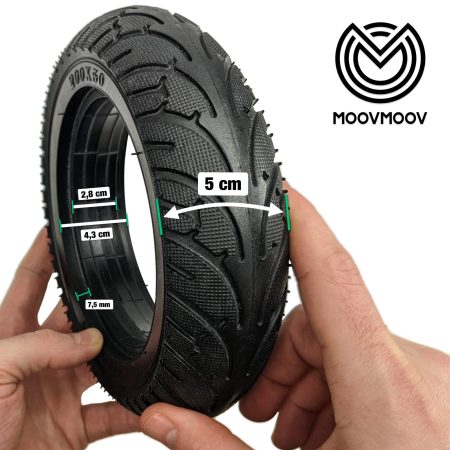
We will see how to change the front tire of an E-Twow scooter.
Repair can be done with the right tools.
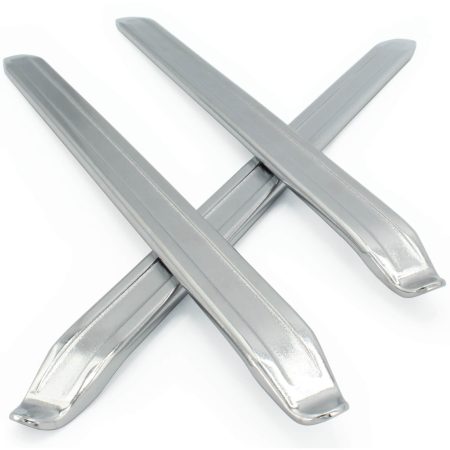
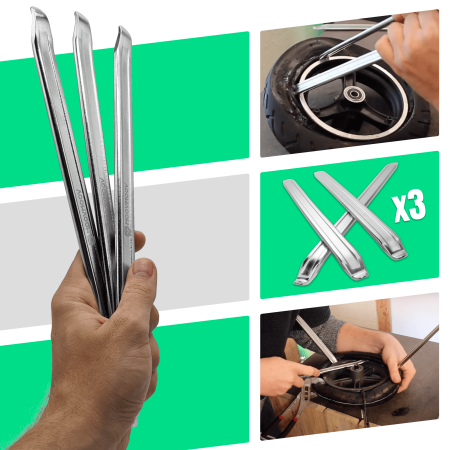
Required equipment:
Removing the Front Wheel
Remove the plastic covers from the front fork.
Unscrew the small screws with a Phillips screwdriver.

Unclip the cover.

Also remove the cover from the other side.

Disconnect the motor by cutting the small zip ties of the protective cover.

Remove the cover and disconnect the motor by pulling on the connector parts.

Remove the front wheel of the E-Twow scooter by unscrewing the nuts with an 18mm wrench.

Opening the Front Wheel – Motor
Unscrew the 6 screws of the motor flange with a 4mm Allen key.

Also remove the nut and washer.

Remove the motor flange by inserting flathead screwdrivers or Hercules tire levers between the flange and the tire.

Lift the flange by leveraging it.

See the interior of the motor, be reassured, and work on a clean surface.

Separating Rotor and Stator
Remove the nut and washer from the other side, insert an Allen key into the wheel’s axis.


Place the assembly on the ground and push the tire downward.

Removing the Old Solid Tyre
Place a can on the ground and push the tyre out by pressing on the edges.


Preparation for Assembly
Place the new tire in boiling water for 10-15 minutes to make it more malleable.

Check the tire’s rotation direction and its alignment with the stator.

Installing Your New 200×45 Tyre
Place the tyre over the stator and use liquid soap to facilitate the assembly.

Pass the tyre levers between the tyre and the rim to bring them around the wheel.

Press the tyre with your feet to properly install it around the wheel.


Reinstalling the Motor and Closing the Front Wheel
Insert an Allen key into the rim hole and place the motor axle in the Allen key.

Position everything correctly and lift the wheel until the effect of the magnets.

To close the wheel, gradually tighten the 6 screws.

Mounting the Front Wheel on the Scooter
Put the washers and nuts back on the front wheel axle.


Reconnect the motor by aligning the arrows and put the plastic protection back on.

Finish the tire replacement by screwing the covers back on.

Products related to this tutorial
Other tutorials that may interest you

How to change the rear wheel of an ETwow scooter ?
Is the rear wheel of your E-Twow electric scooter worn out and you want to install a new one? In this tutorial, we show you how to change and install a new wide soft rubber rear wheel on your E-Twow scooter. You’ll see, it’s a very simple operation.
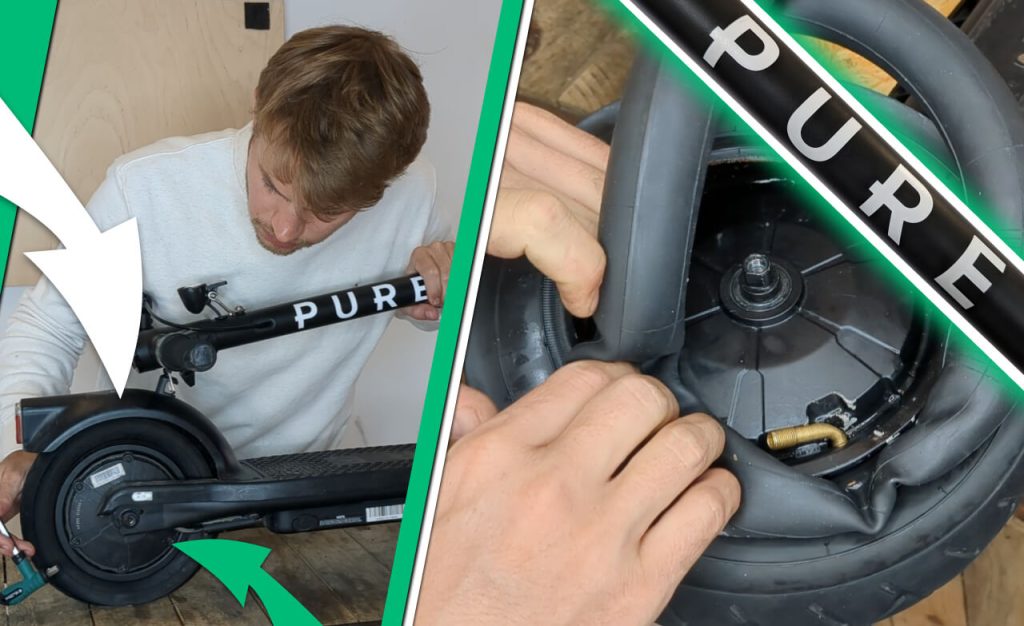
PURE AIR Changing the Tyre and Inner Tube – Rear Wheel
We’ll show you step by step how to change the tyre and inner tube on the rear wheel of your Pure Air electric scooter. This repair is easy, and you’ll be able to do it without any trouble!

How to disassemble the front wheel of a Xiaomi M365 Pro scooter ?
During the front tire change of your electric scooter, many of you are facing difficulties in disassembling the front wheel of your Xiaomi M365 Pro. If the nuts are tightened too tightly and you’re unable to loosen them, here are some tips to help you loosen them.