Intro: Rear Wheel Repair for Dualtron Mini
Hello everyone! In this video, we will see together how to change the tire and inner tube on the rear wheel of a Dualtron Mini scooter.
If you use a different technique or have any tips to share, feel free to leave a comment to help the community 🙂
🛒 Inner Tubes for Dualtron Mini (8 1/2×2-156 Bent Valve 110/90)
🛒 V3 Tire for Dualtron Mini (8 1/2×2)
🛒 Perfect Valve Extension for Easy Tire Inflation
🛒 Complete Kit (Tire + Inner Tube + Valve Extension)
Removing the Rear Wheel
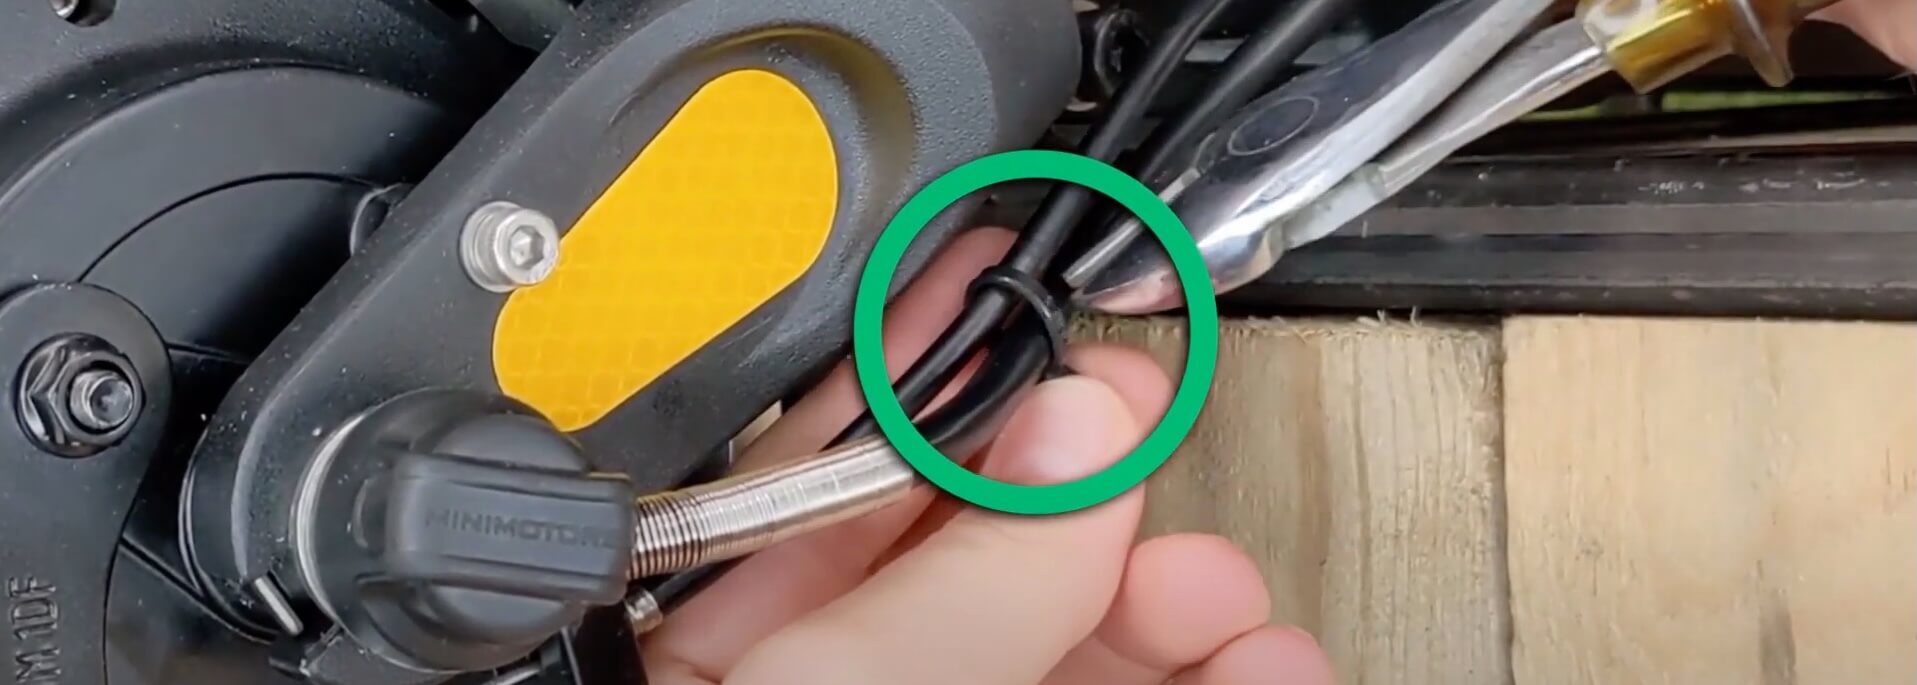
Alright, let’s get started. We’ll begin by cutting the small cable tie that holds the motor cable and brake cable together.
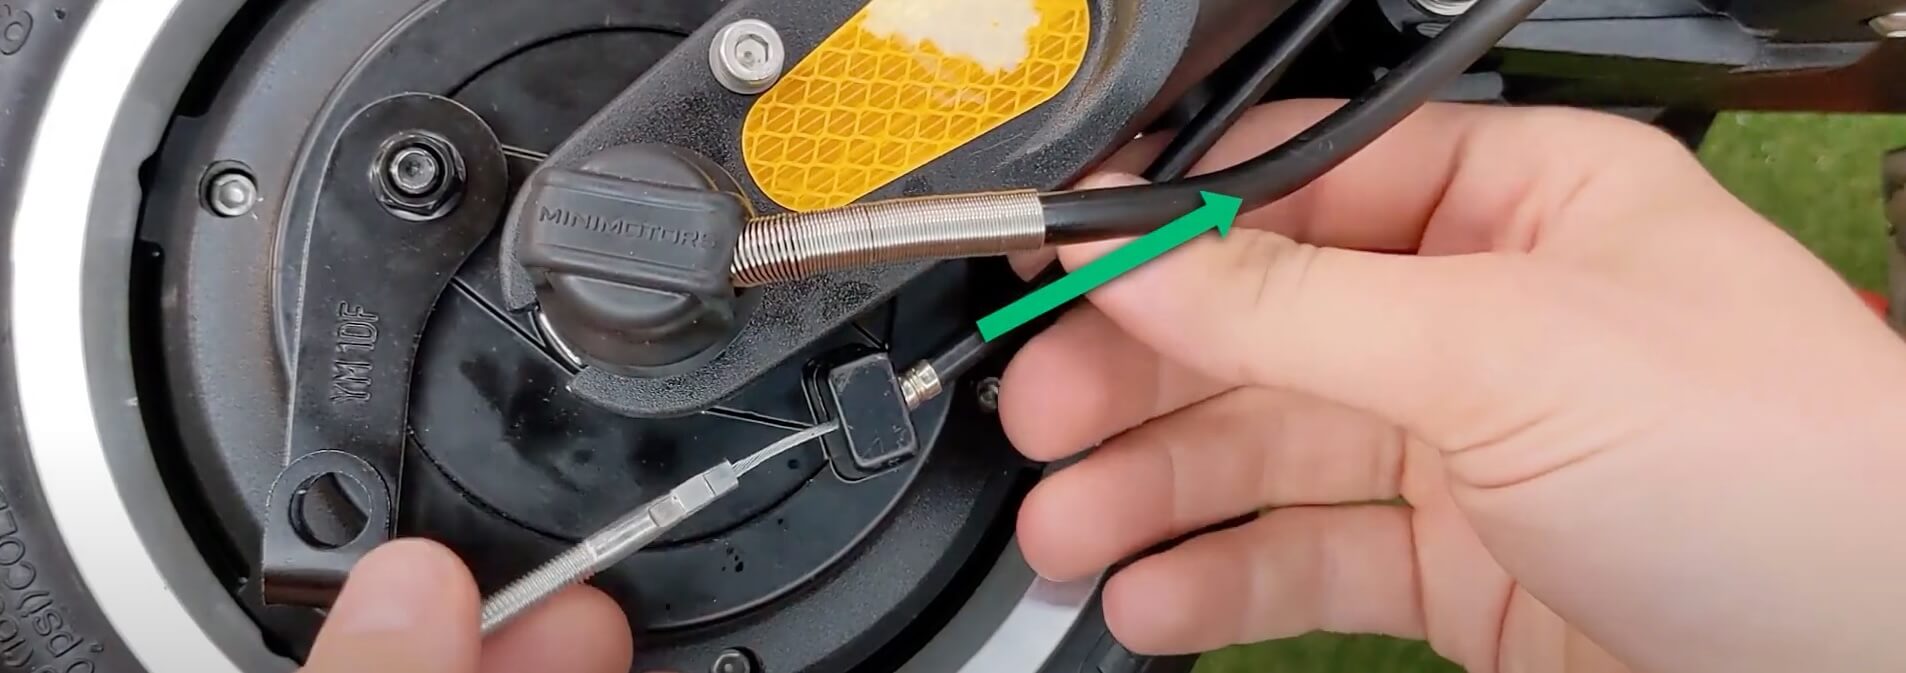
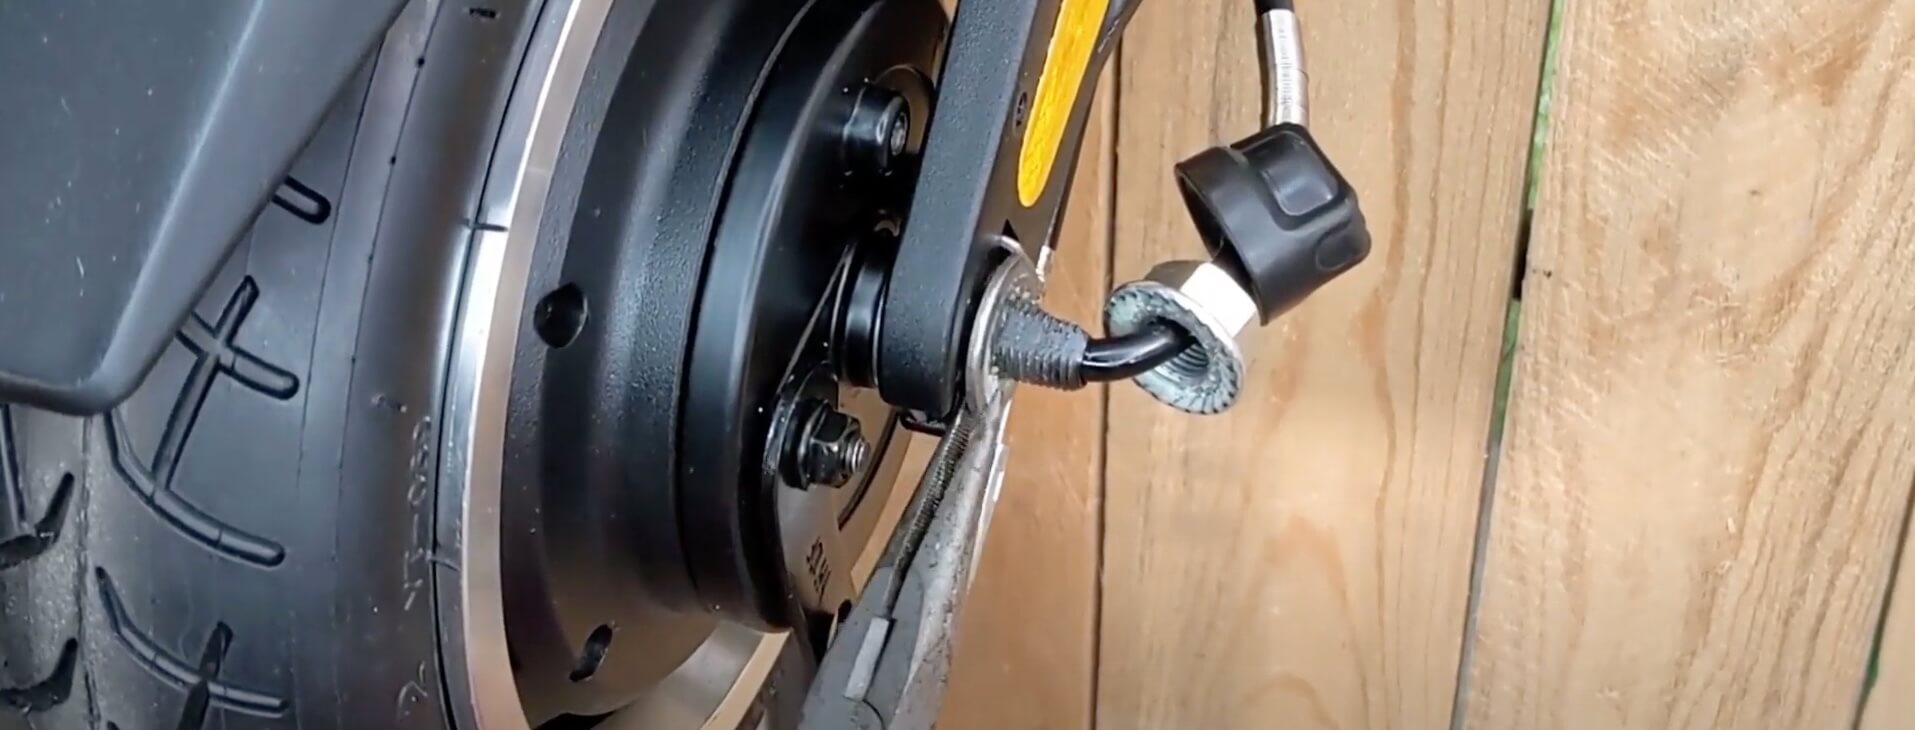
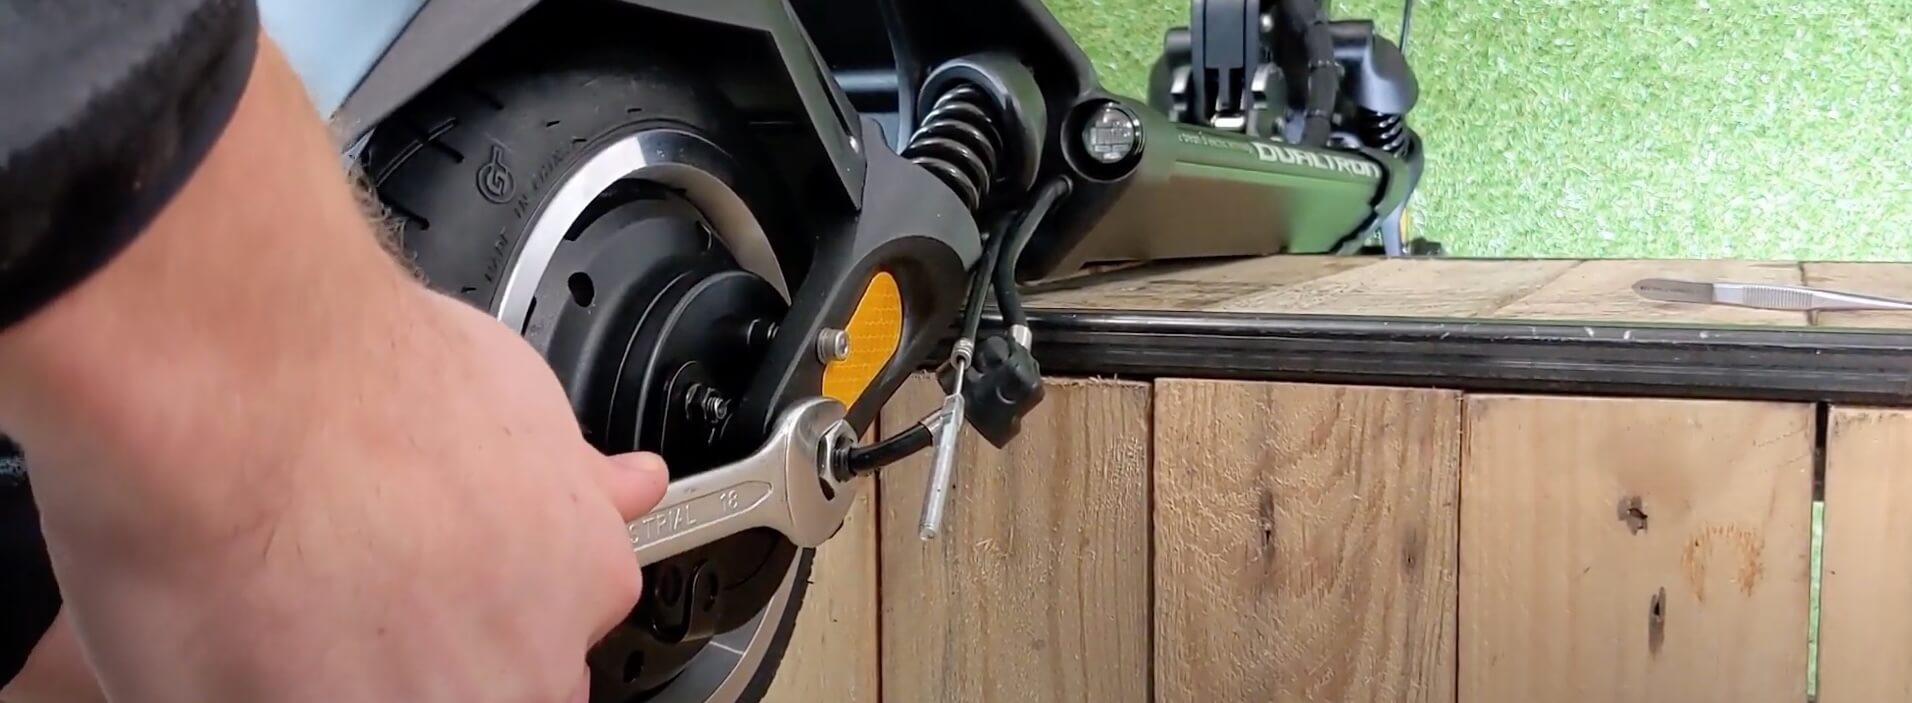
Next, we unscrew the brake cable nut by hand and remove the small metal rod.
We pull the cable backward and lift it to remove it from its housing.
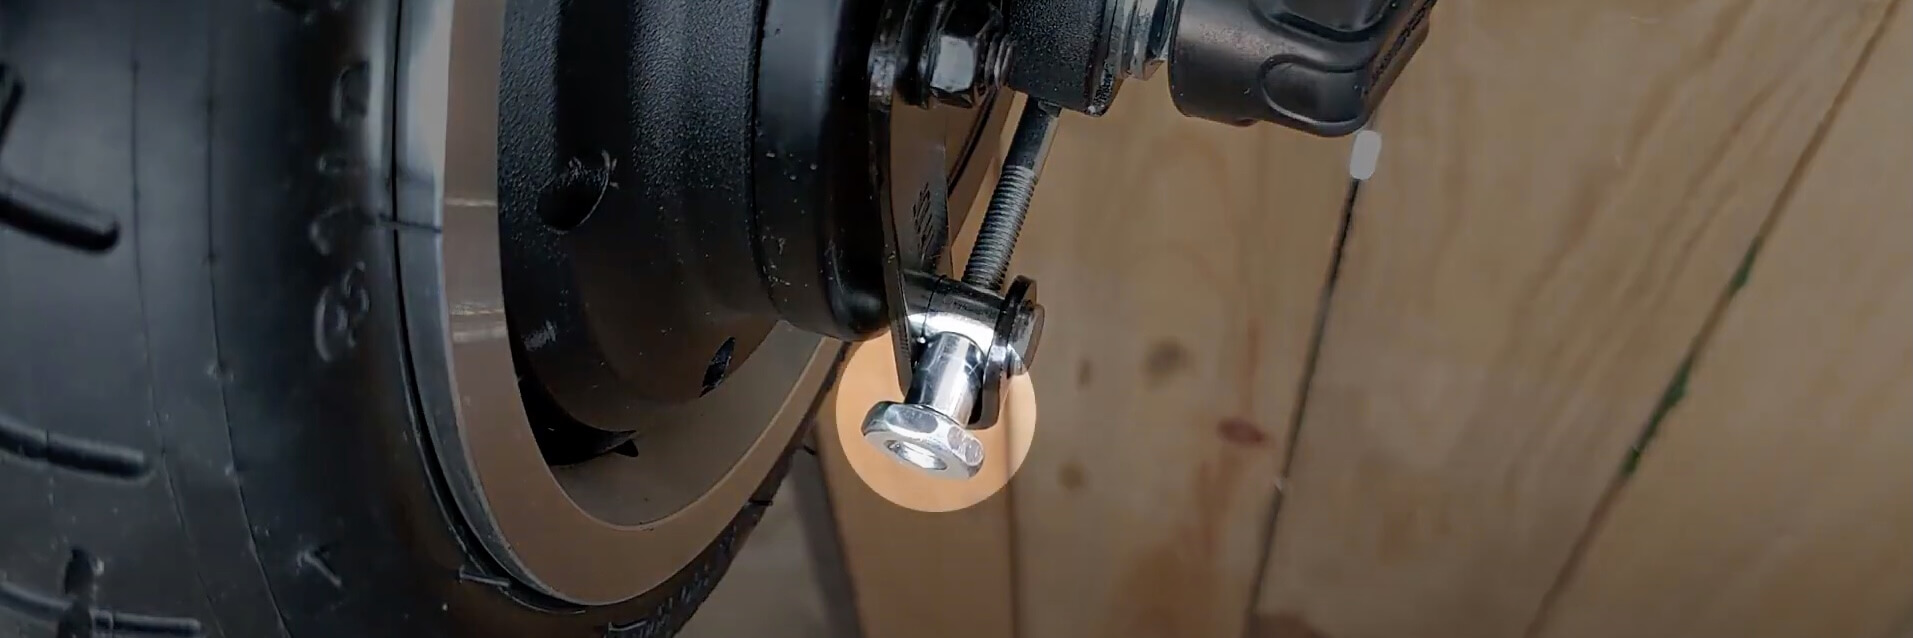
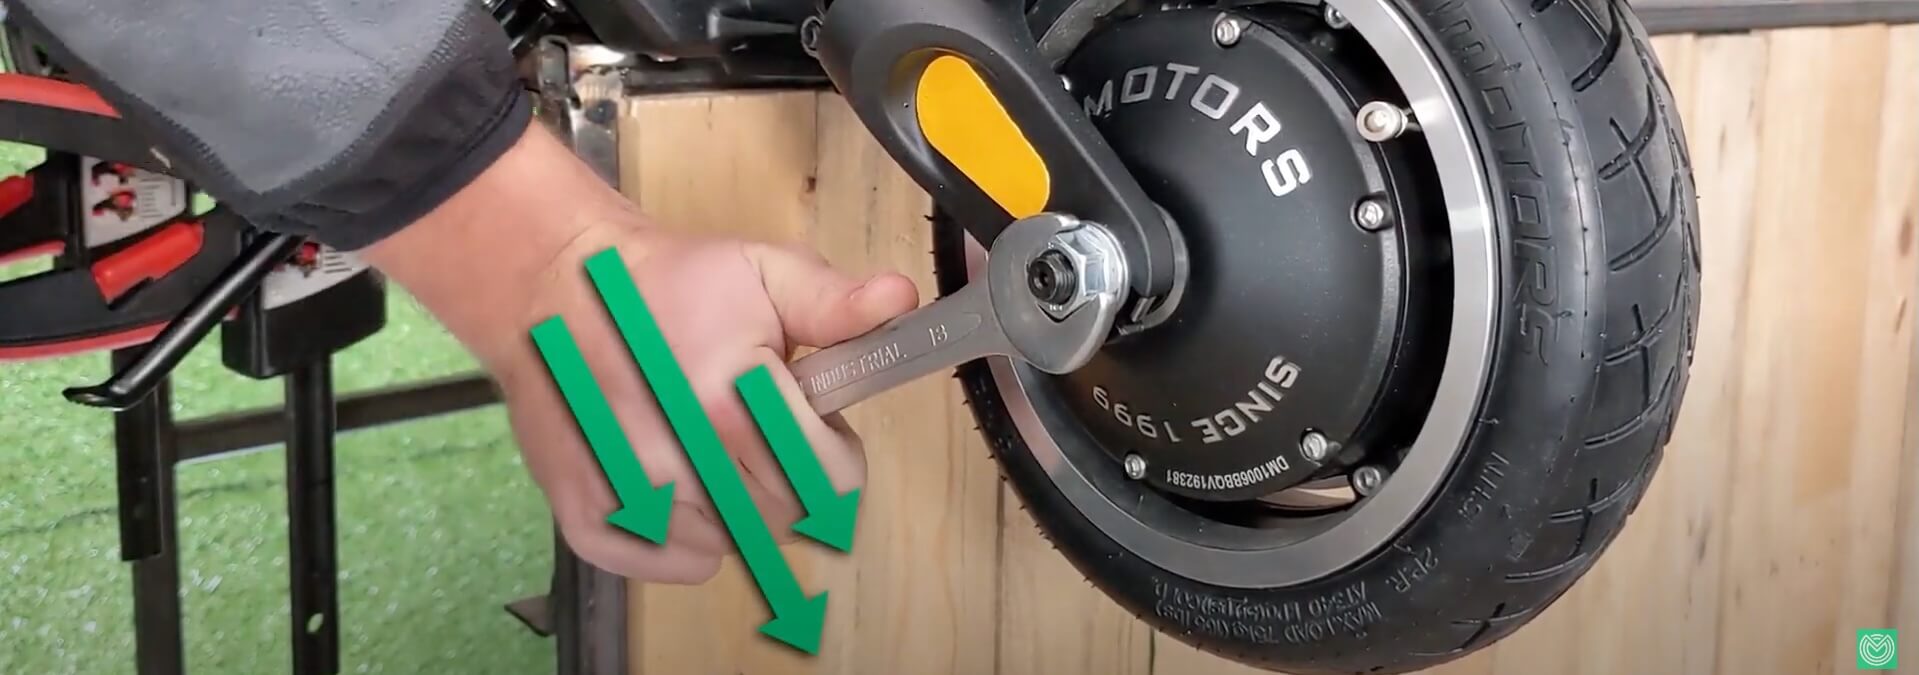
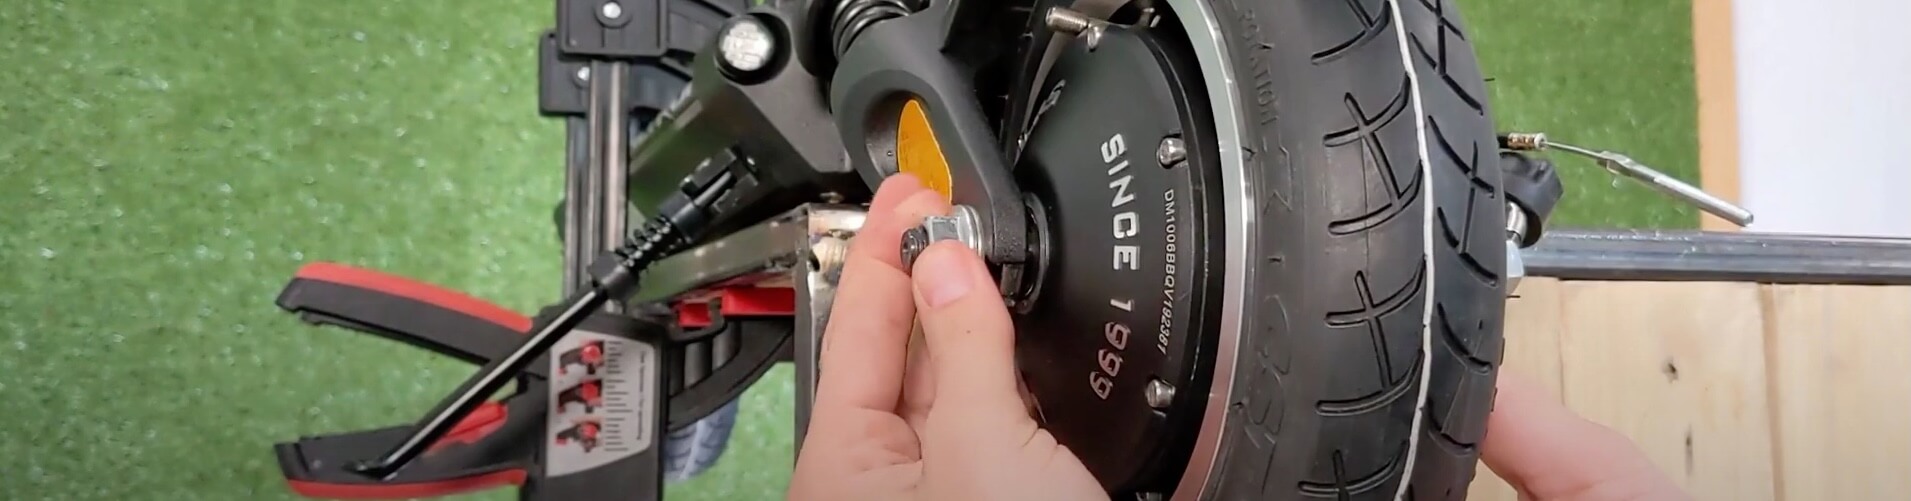
Now, we remove the rubber caps and unscrew the nuts of the rear wheel using an 18mm wrench.
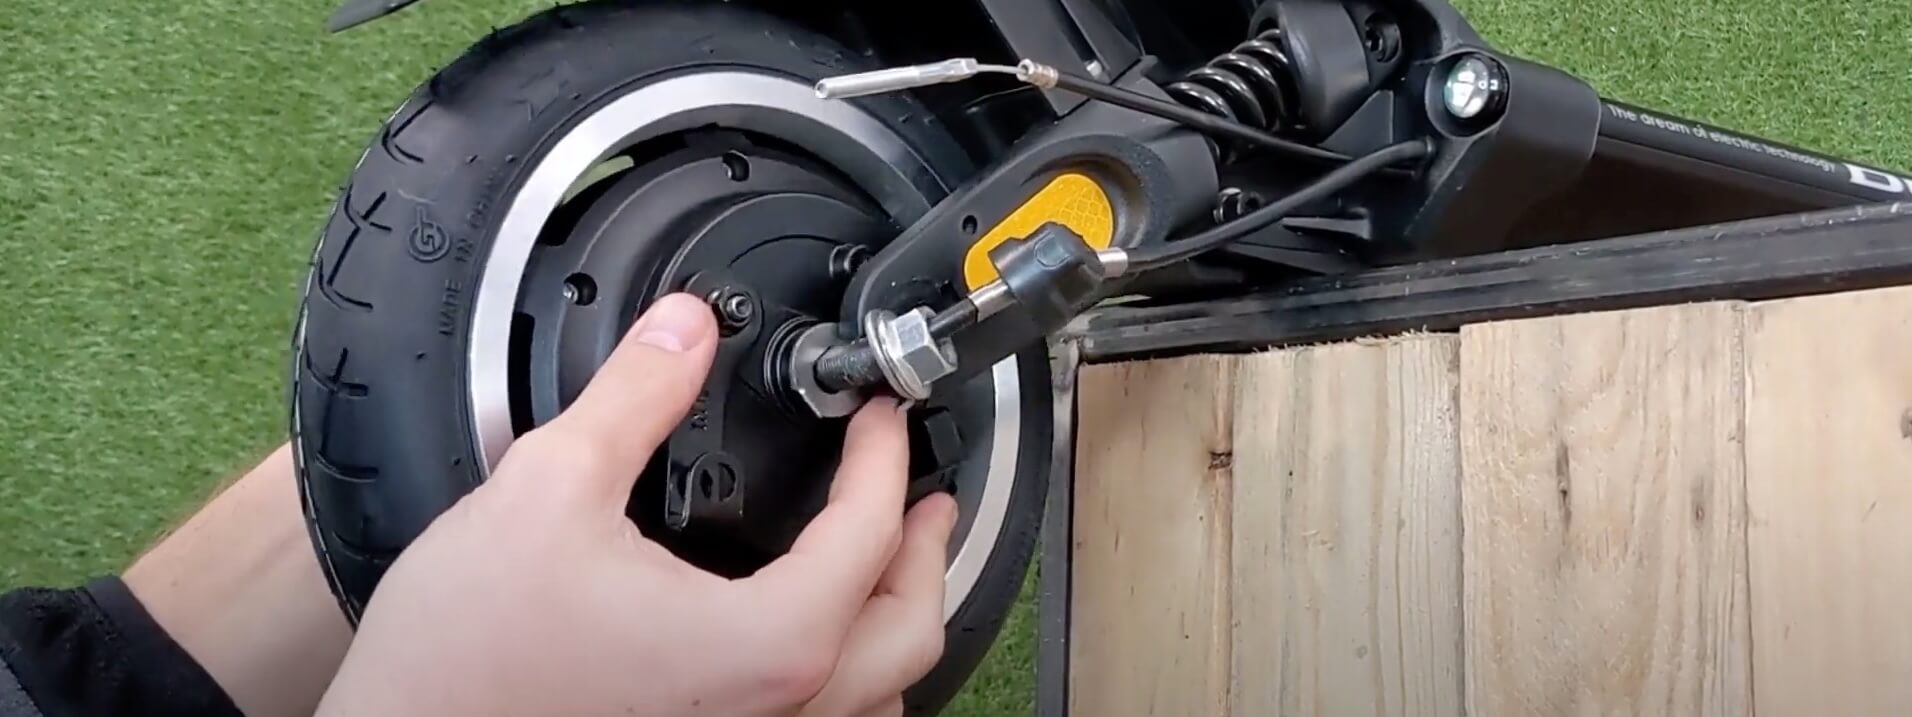
Now, we can unscrew the screw that holds the drum brake in place using a 4mm Allen key.
Please be careful when unscrewing this screw as there is a small washer on the right and two small washers between the fork and the drum brake.
They will fall off when we remove the screw, so you can place your hand under the wheel to catch them.

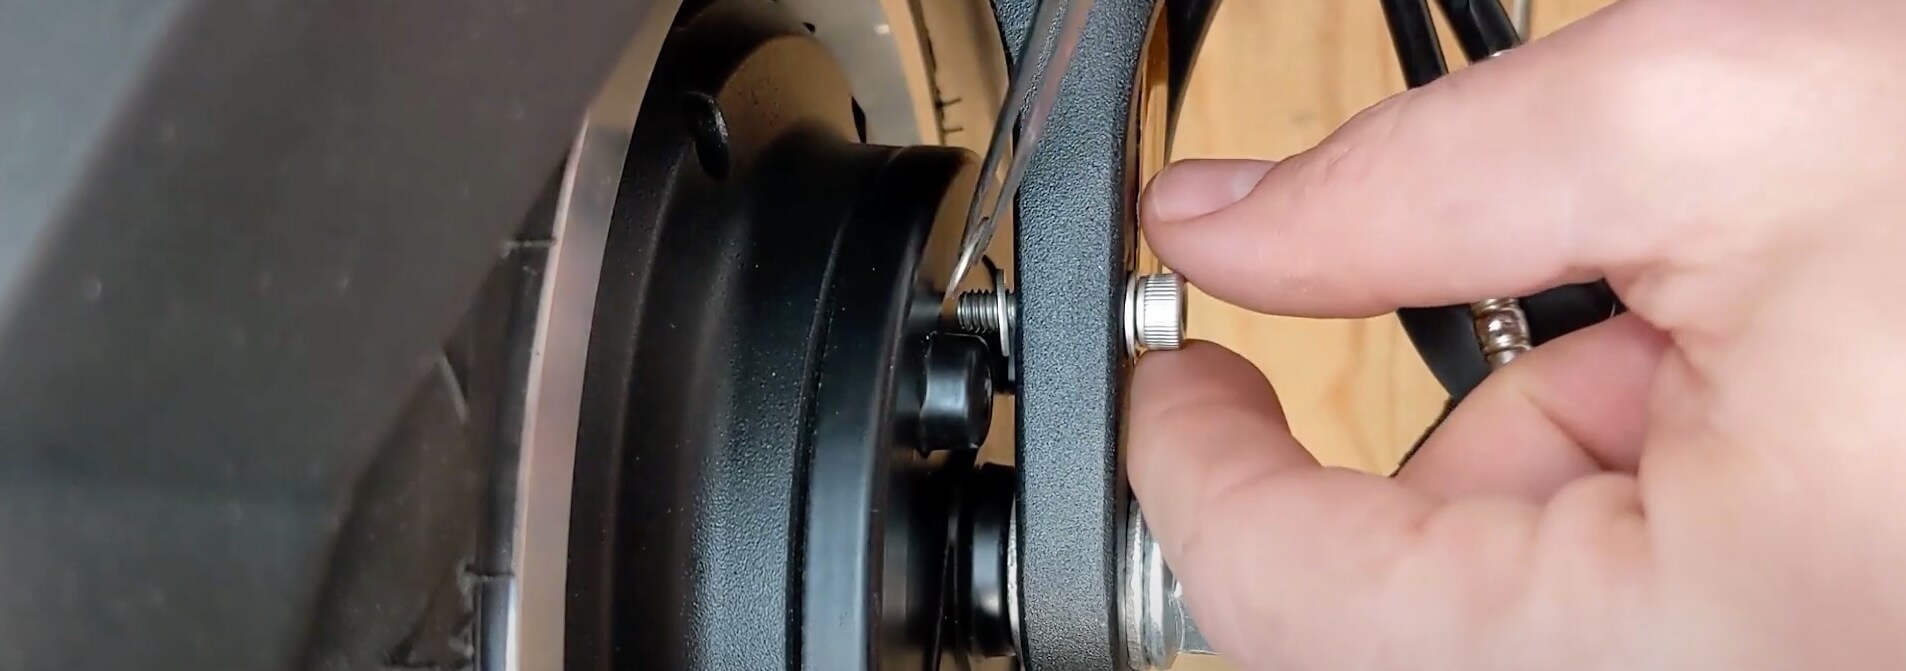
Now, we just need to remove the locking washers on the left and right sides of the wheel.
To remove them, you can use your fingers or a small flathead screwdriver.
Personally, I prefer using a small pair of pliers; I find it easier.
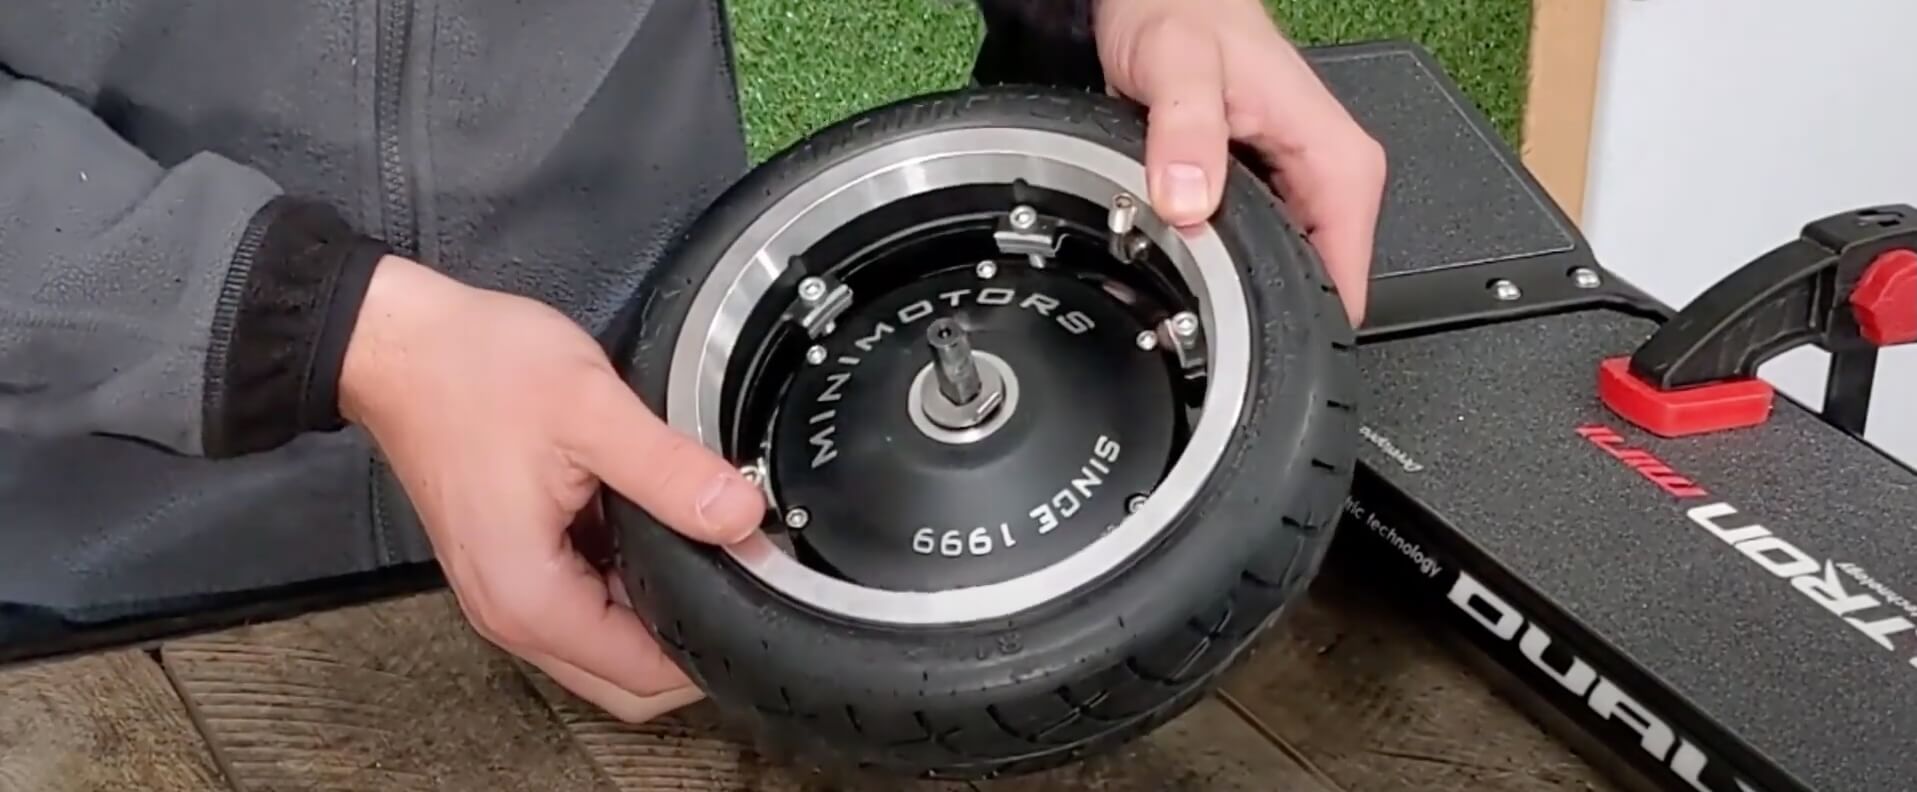
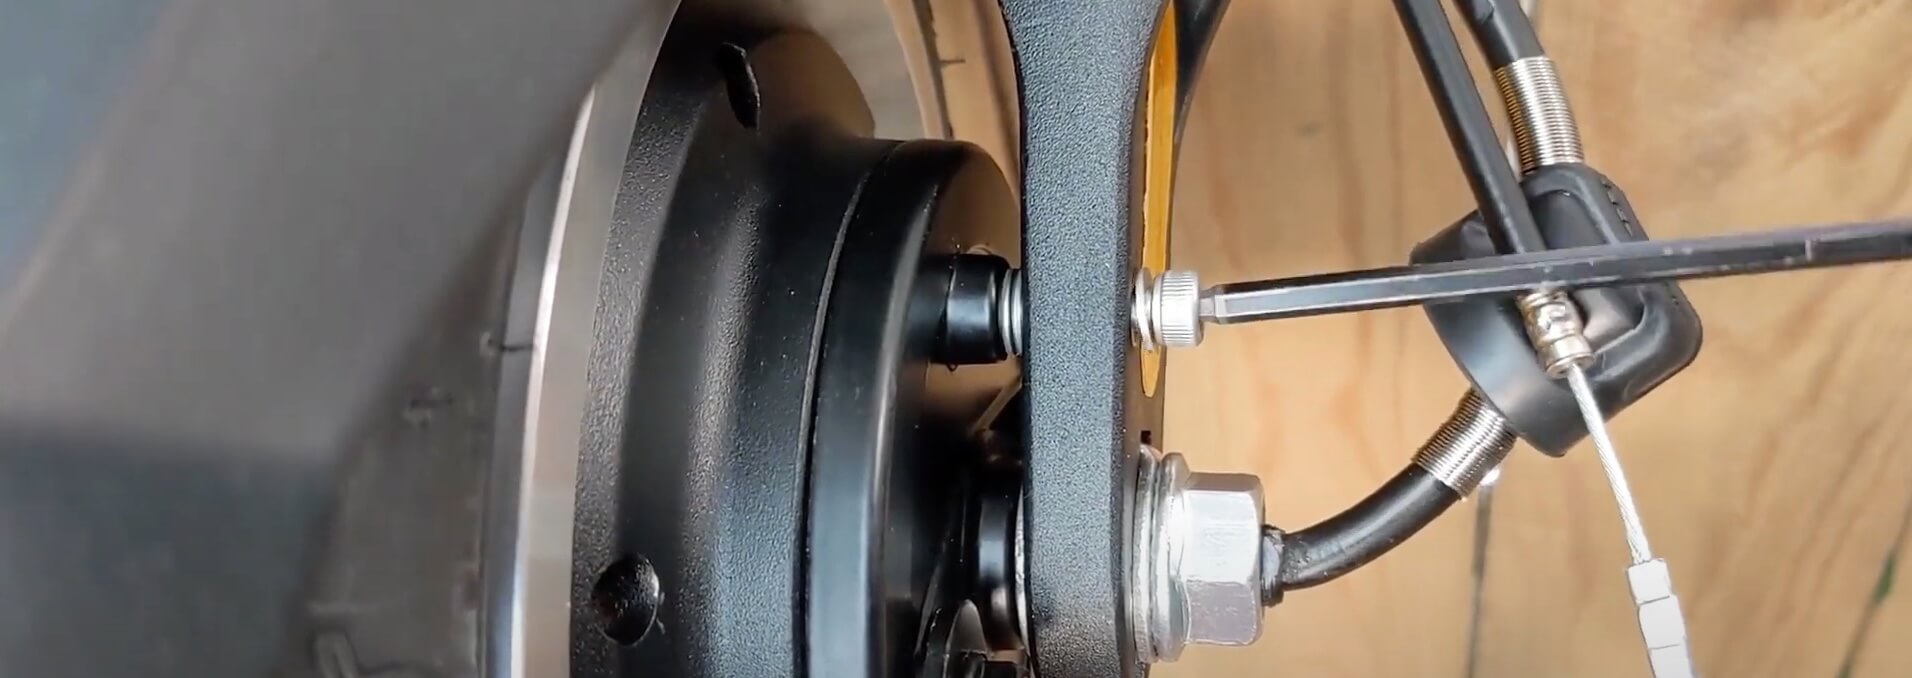
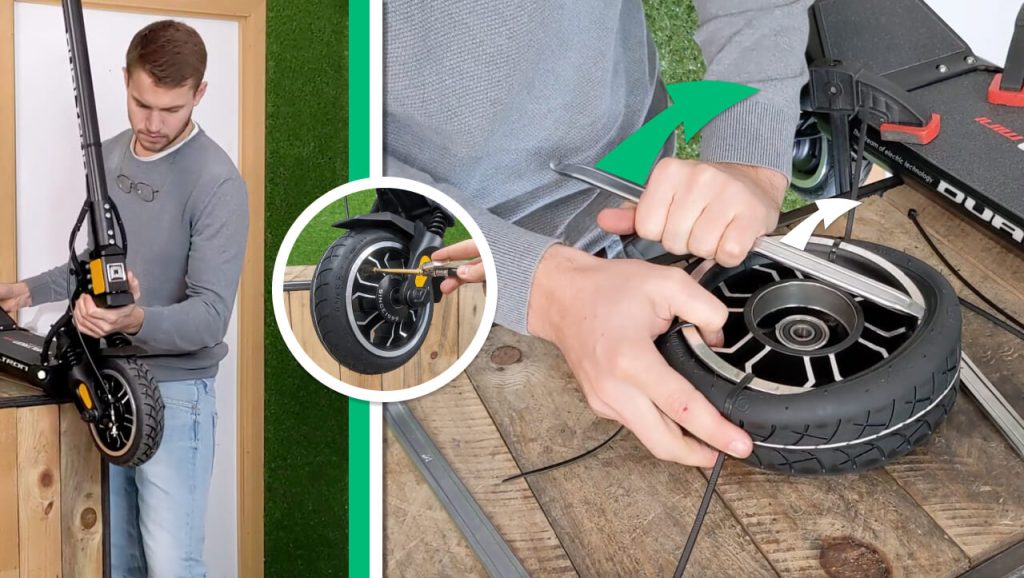
And now, we can remove the rear wheel and place it next to the scooter.
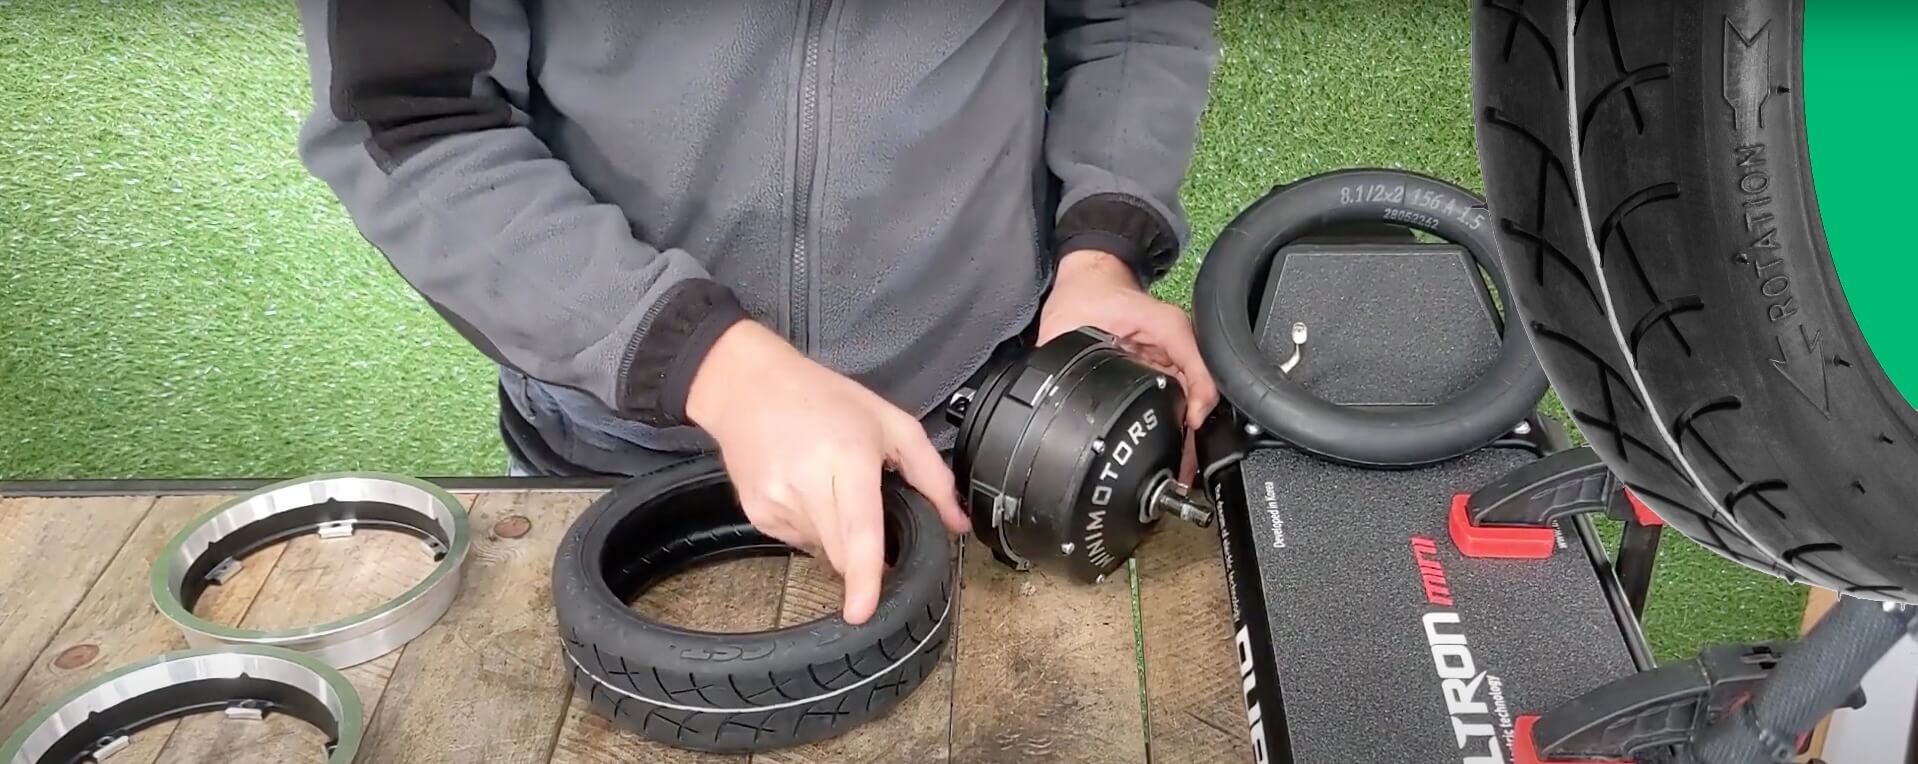
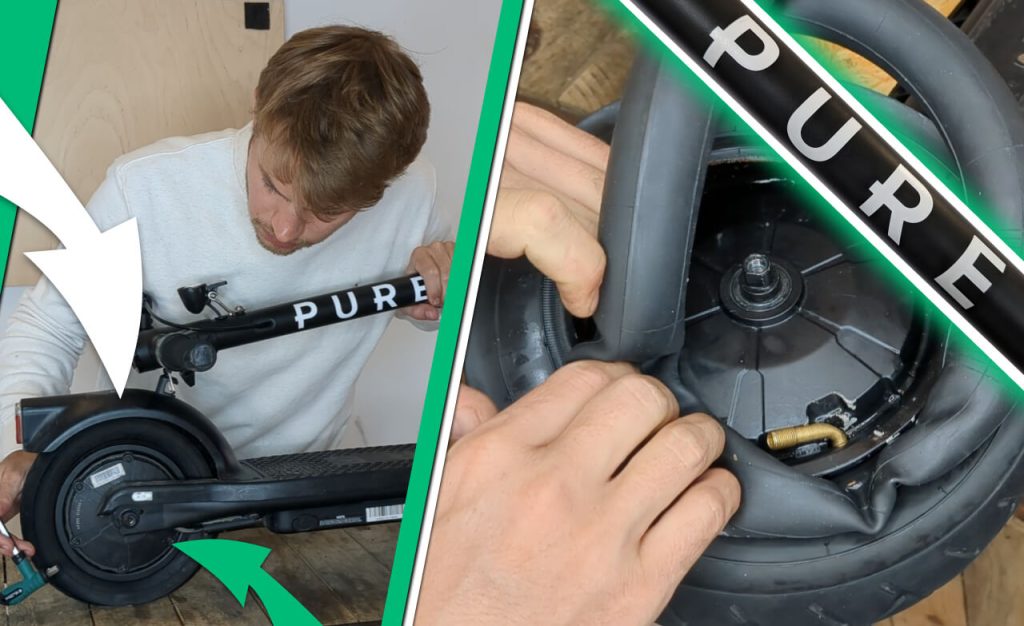
Separating the Tyre from the Motor
Next, we remove the valve cap and press in the middle to ensure there is no air left in the inner tube.
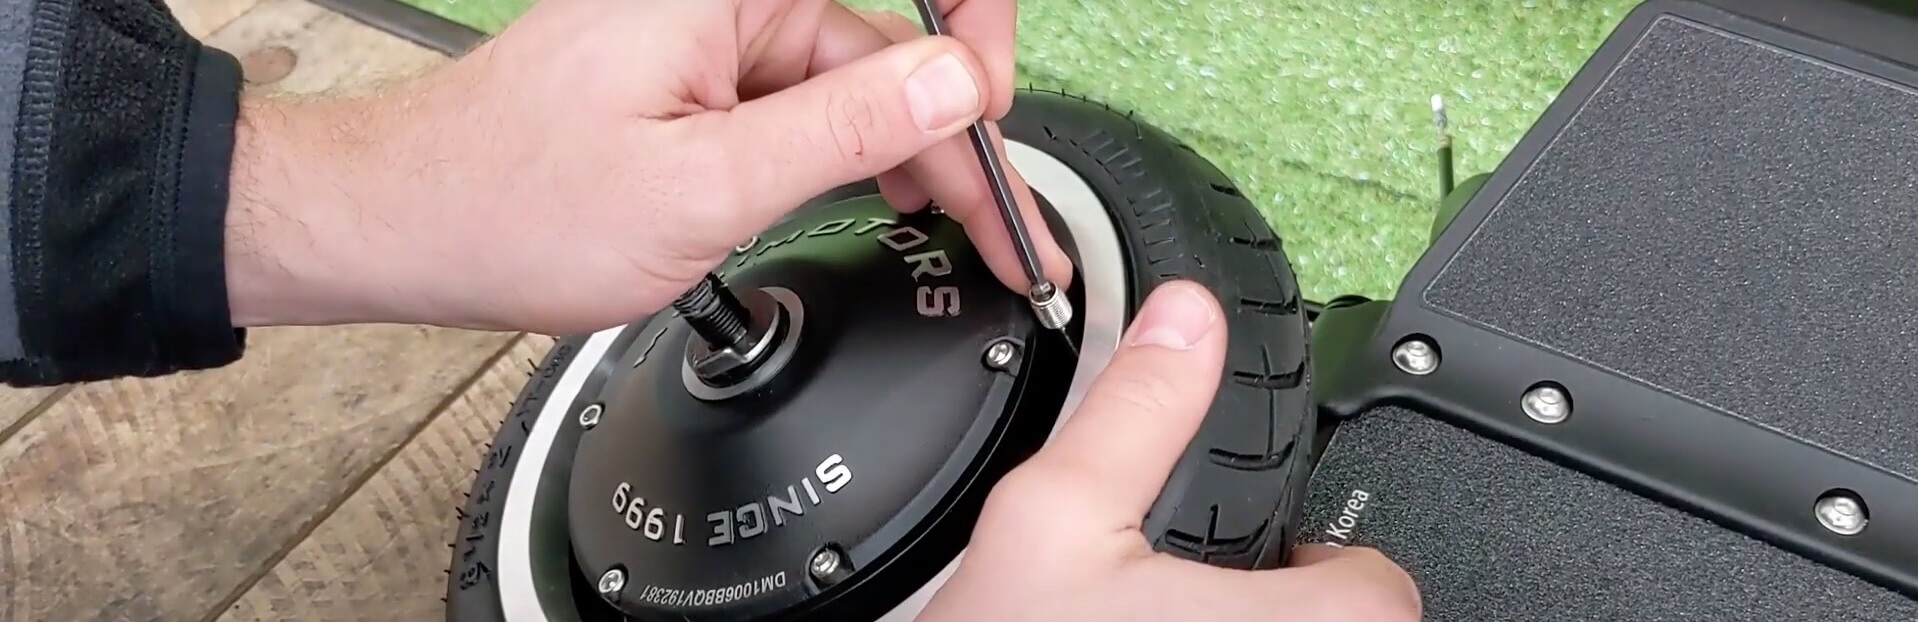
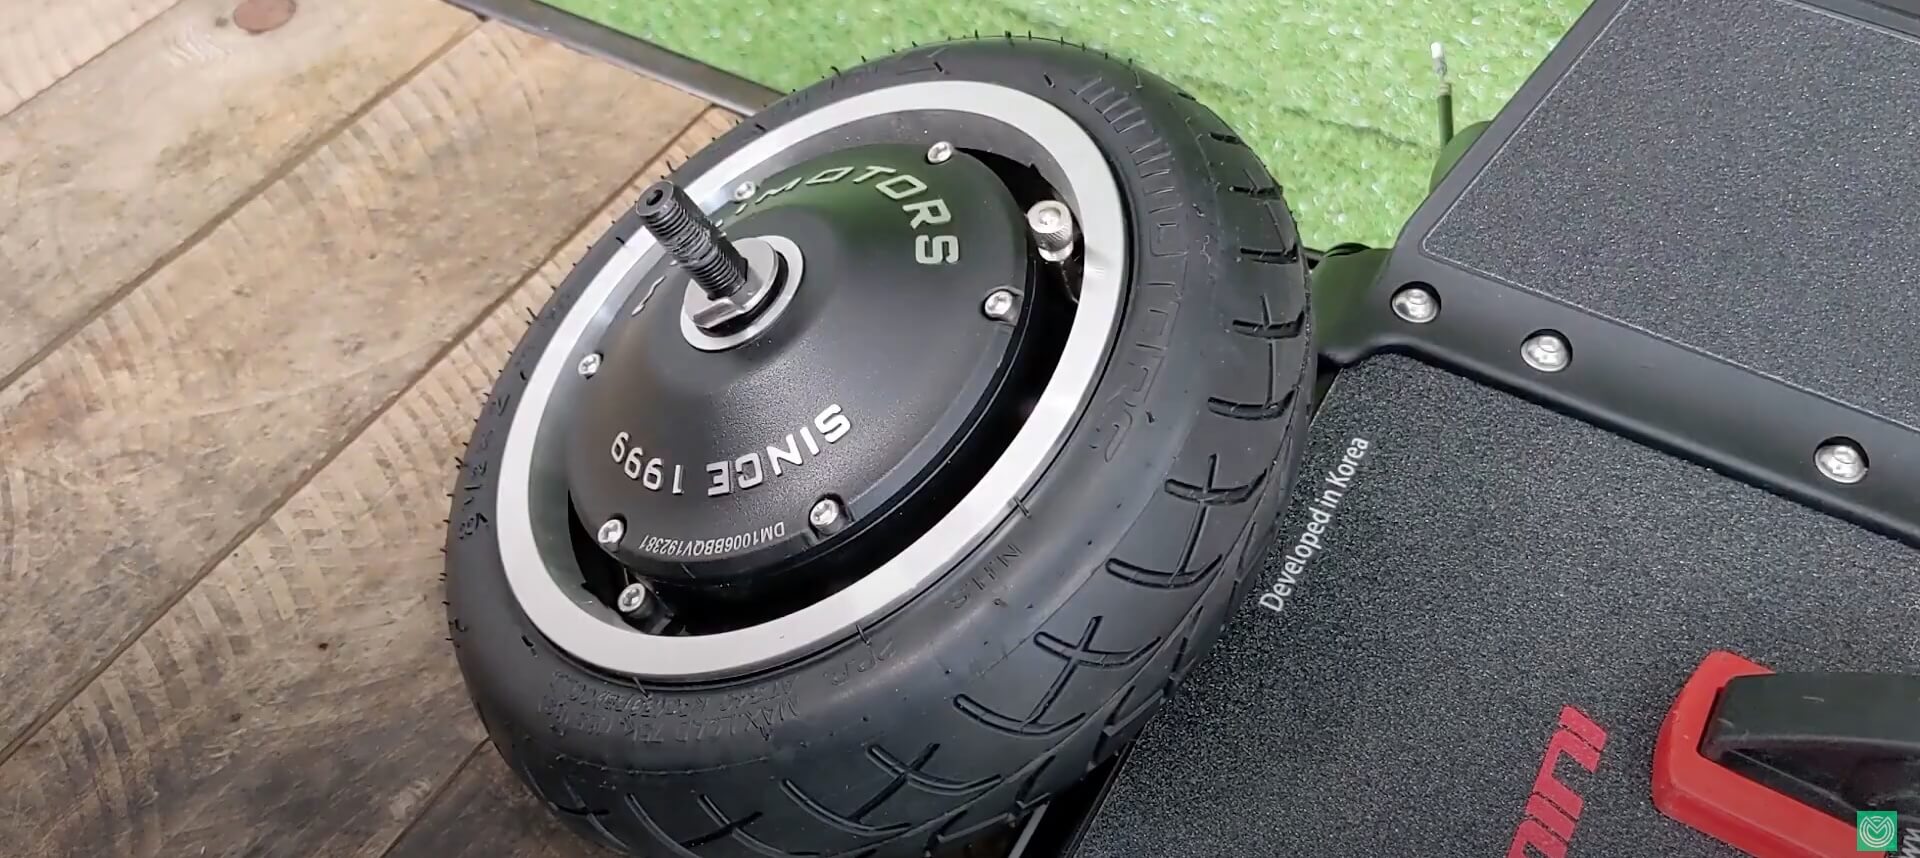
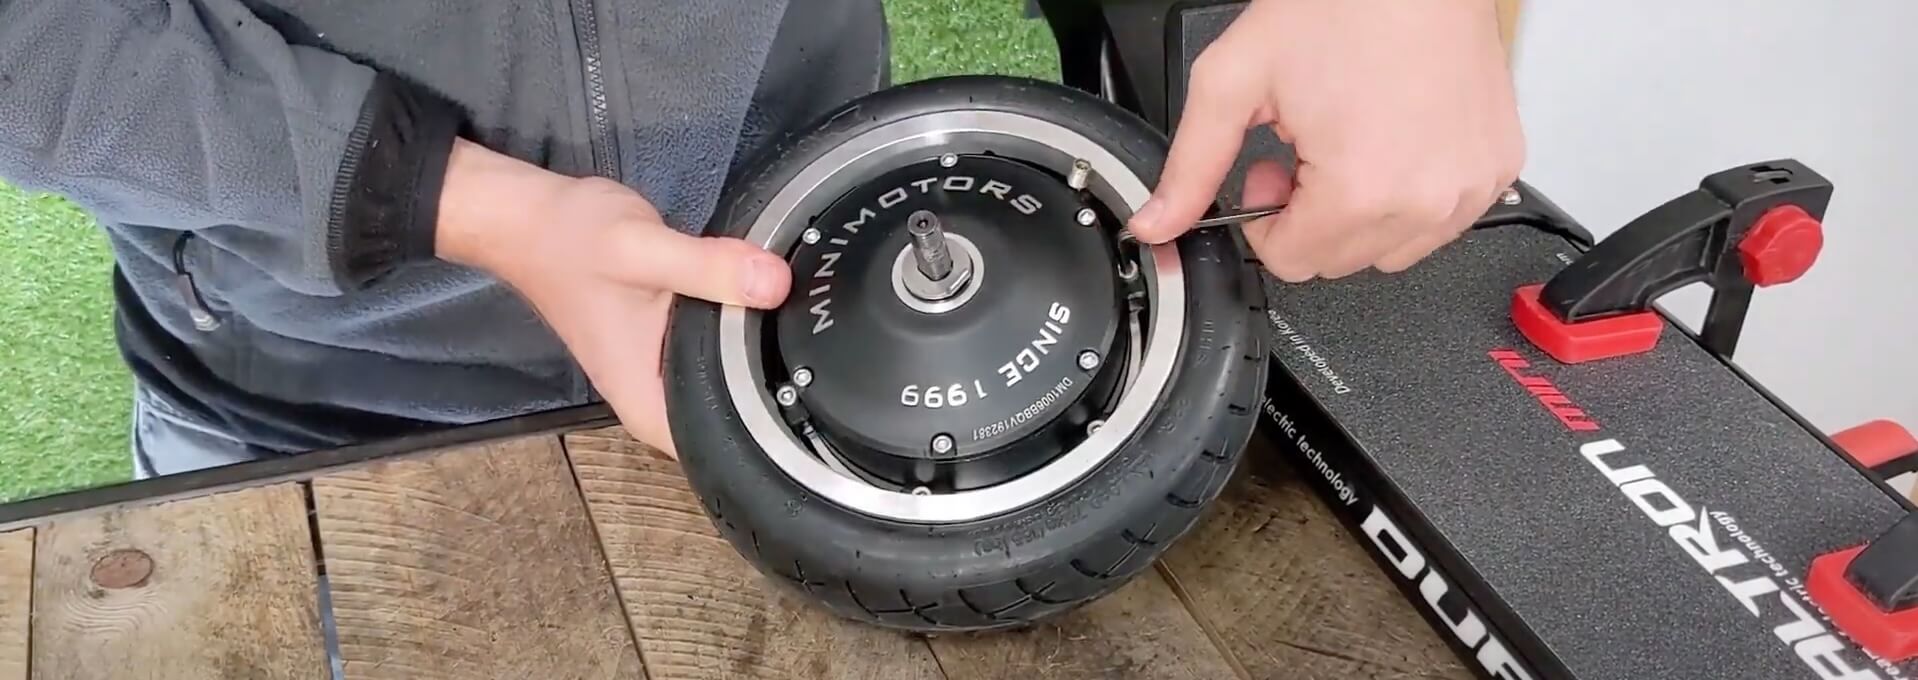
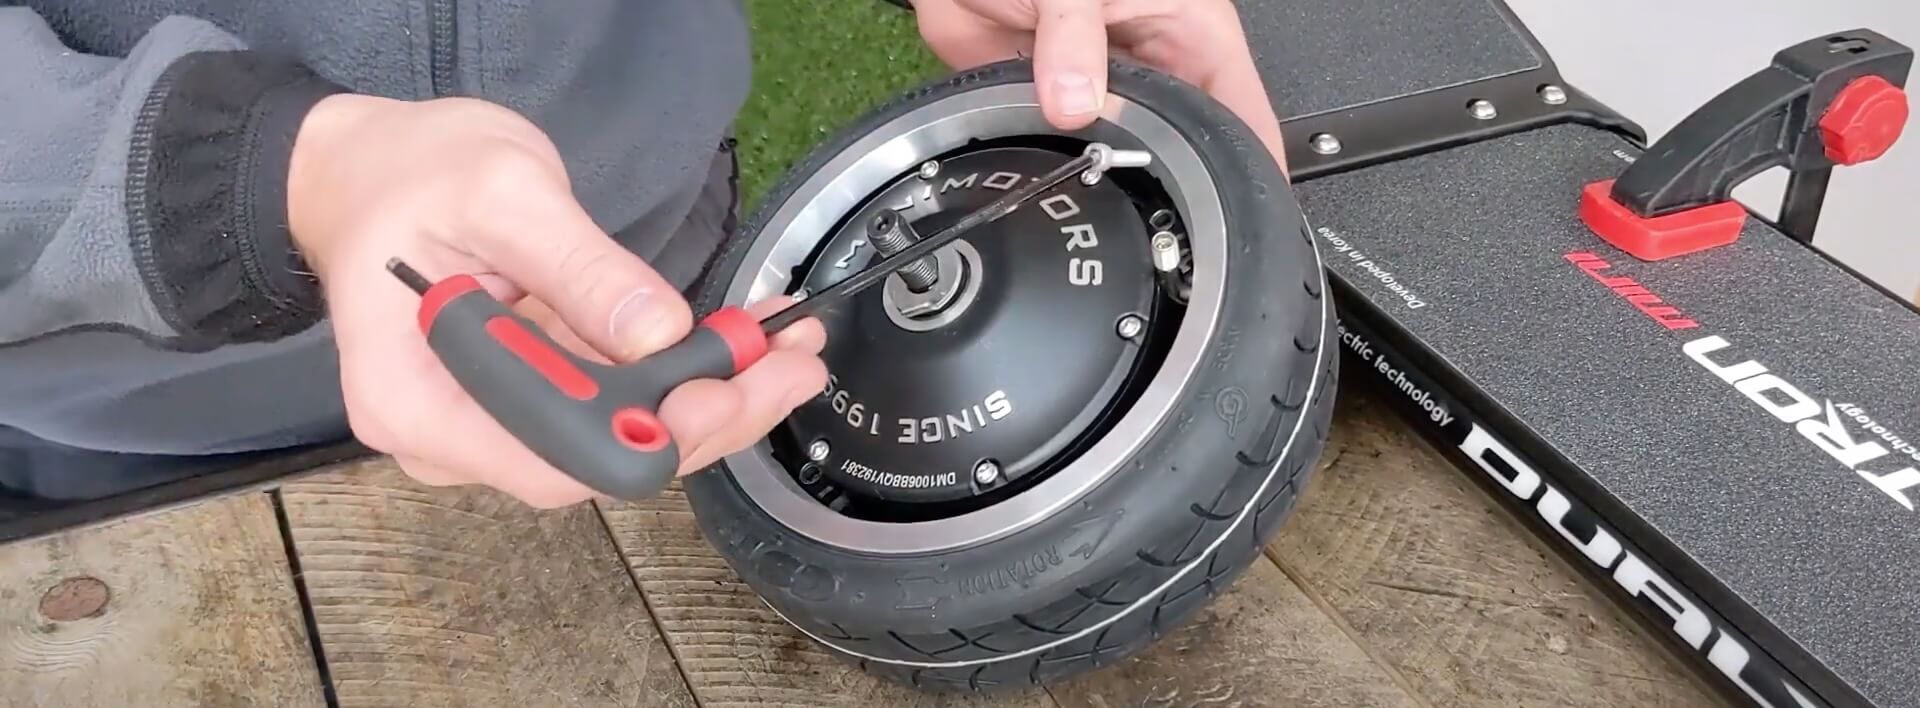
After doing that, we can unscrew the 6 screws of the rim using a 4mm Allen key.
Now, we can remove everything by pulling the tire upward.
And press on the edges of the tyre to detach it from the rim.

Removing the Old Tyre + Inner Tube
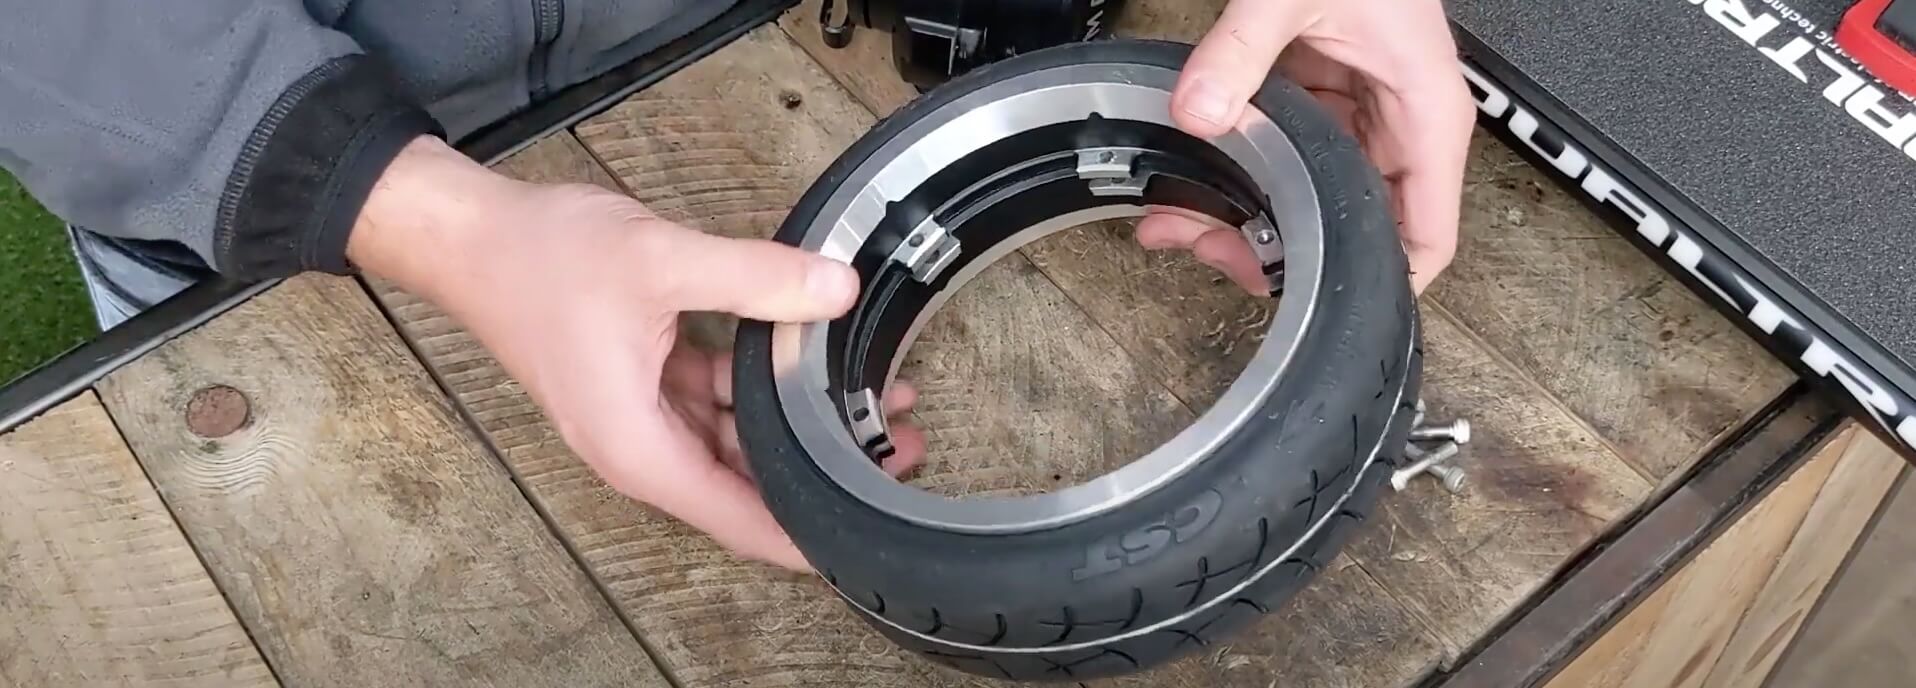
We remove the two half-rims.
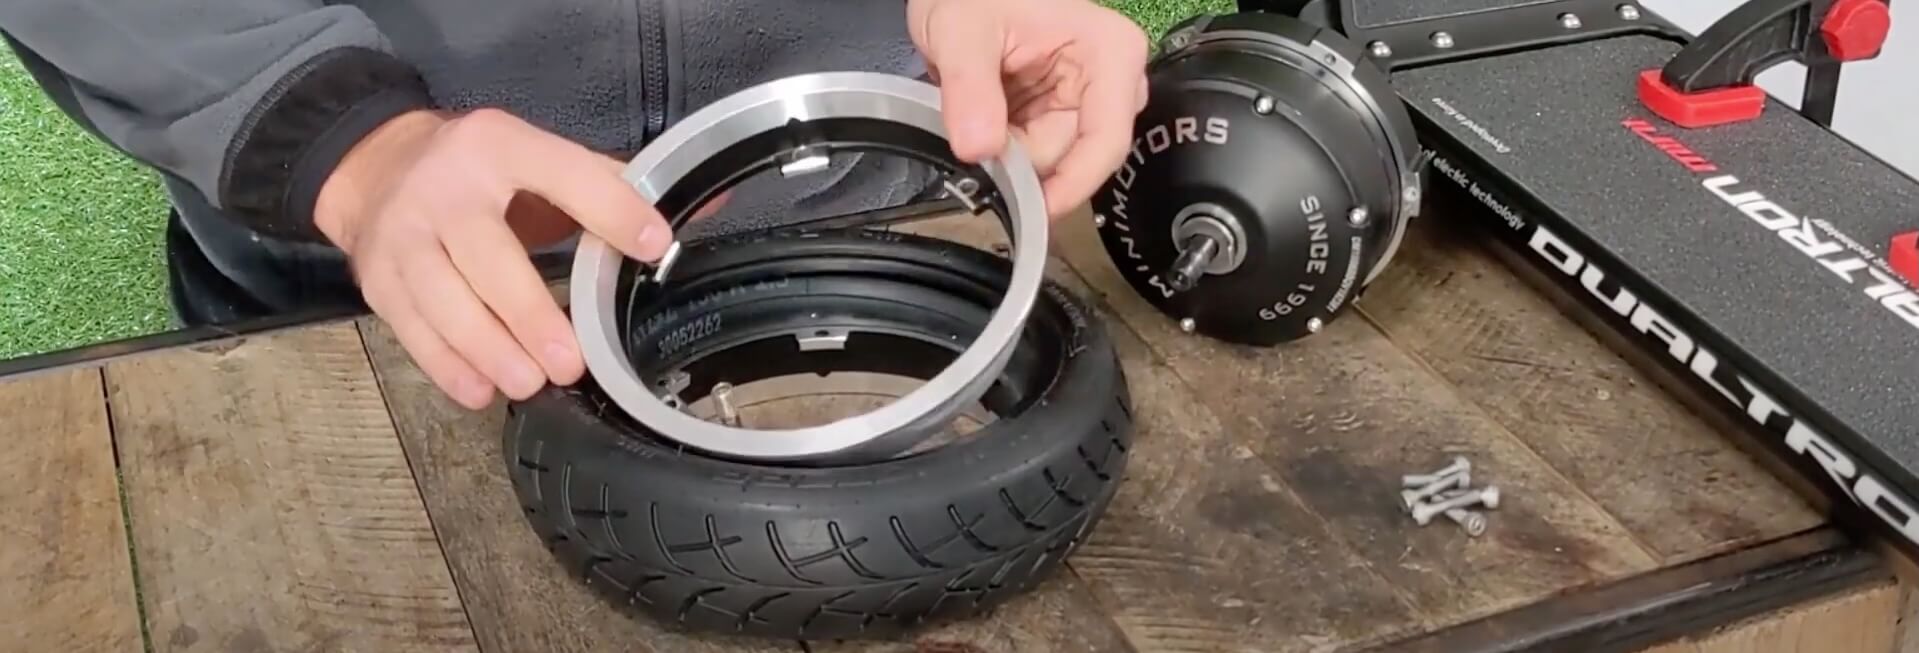
And we take out the punctured inner tube.
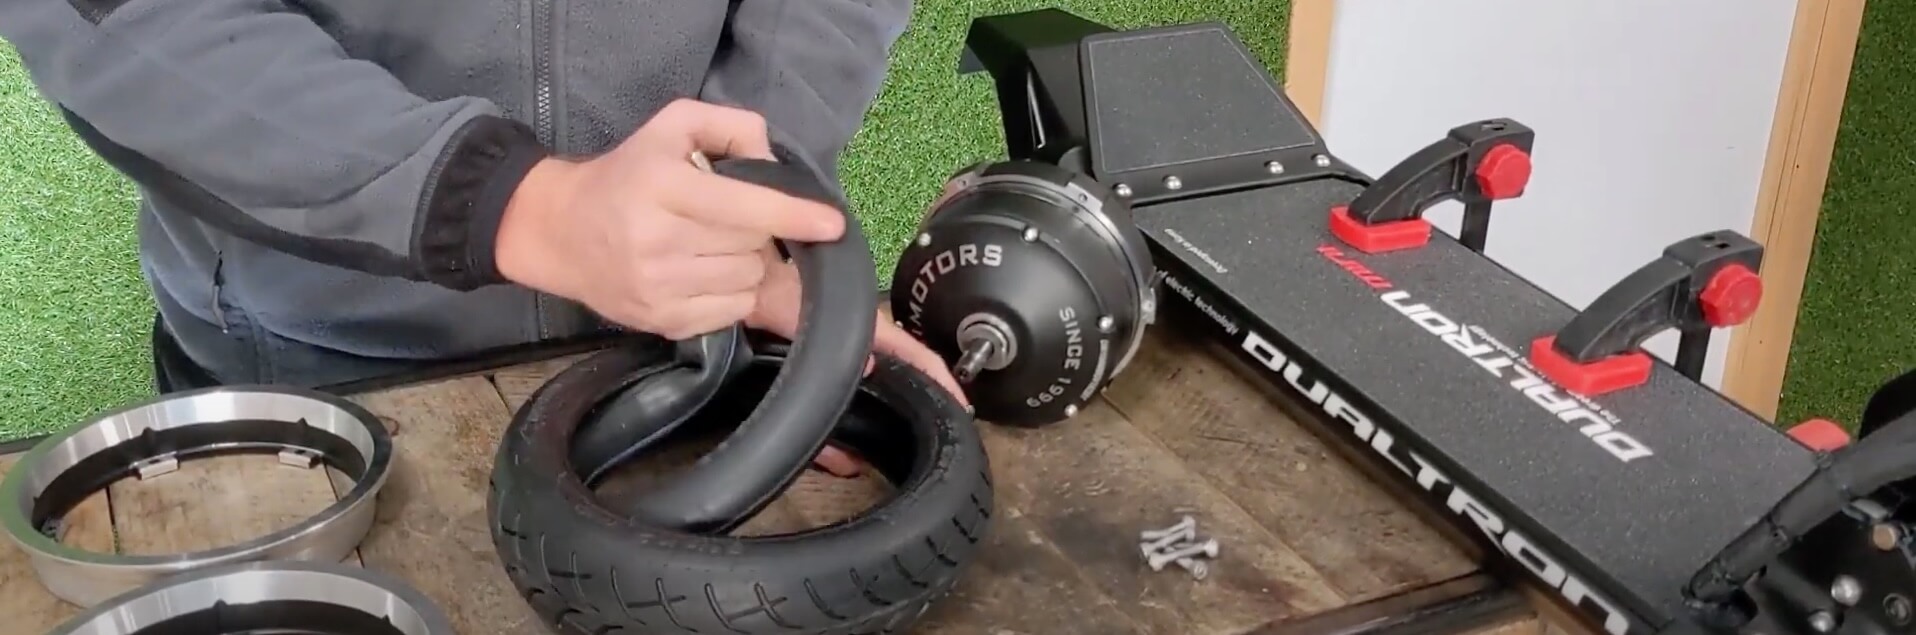
Mounting the New Tire + Inner Tube
Now, let’s proceed with the installation of our new tire and inner tube.
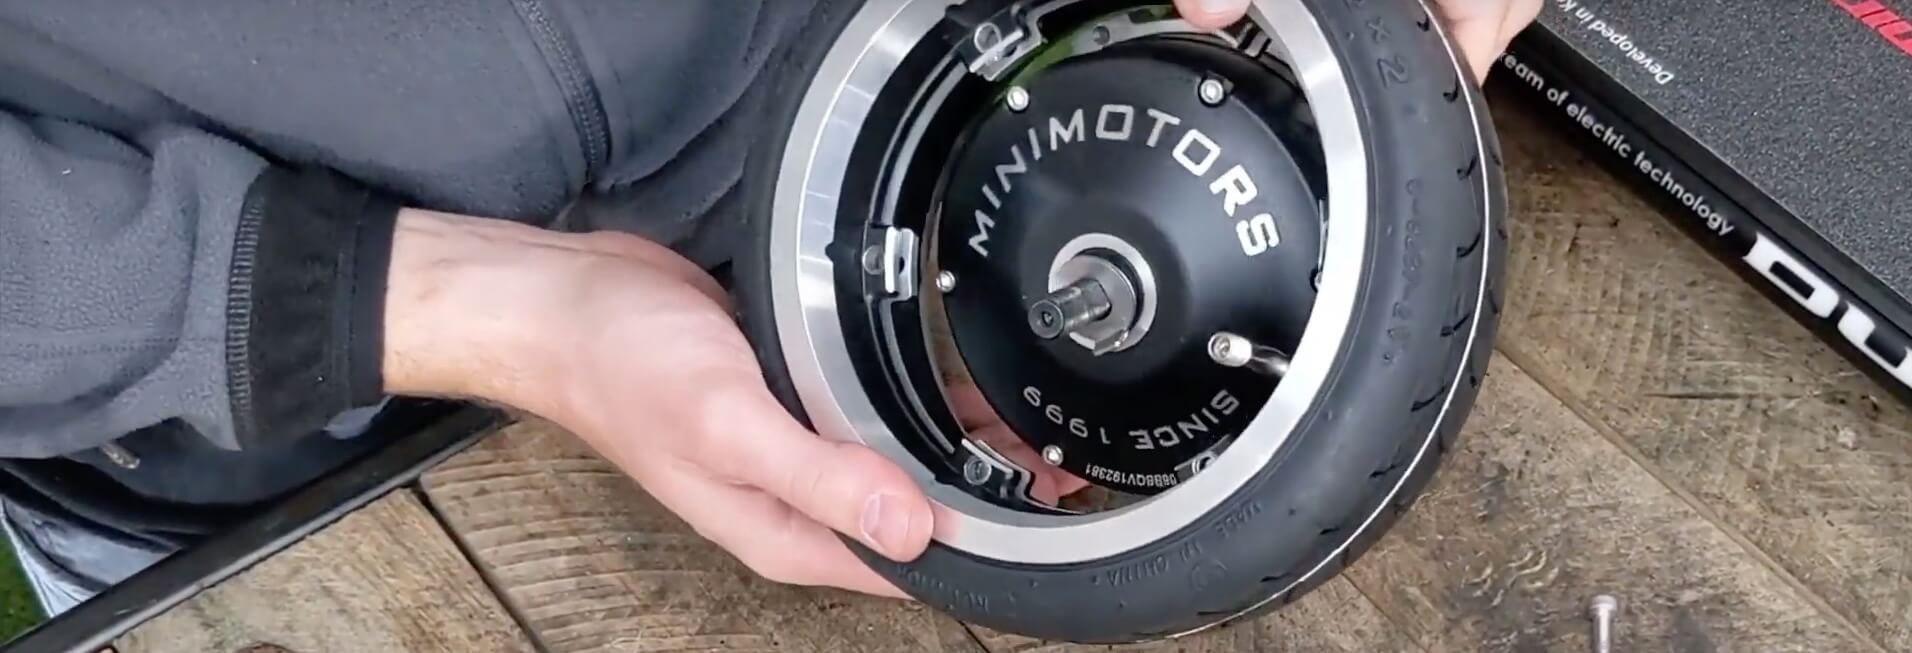
So, I rotate the motor in the correct direction, check the tire’s rotation direction on the side of the tire, and place it next to the motor to make sure I don’t make any mistakes.
Then, I take my slightly inflated new inner tube and install it inside the tire with the valve pointing to the left, on the side where the brake is not present.
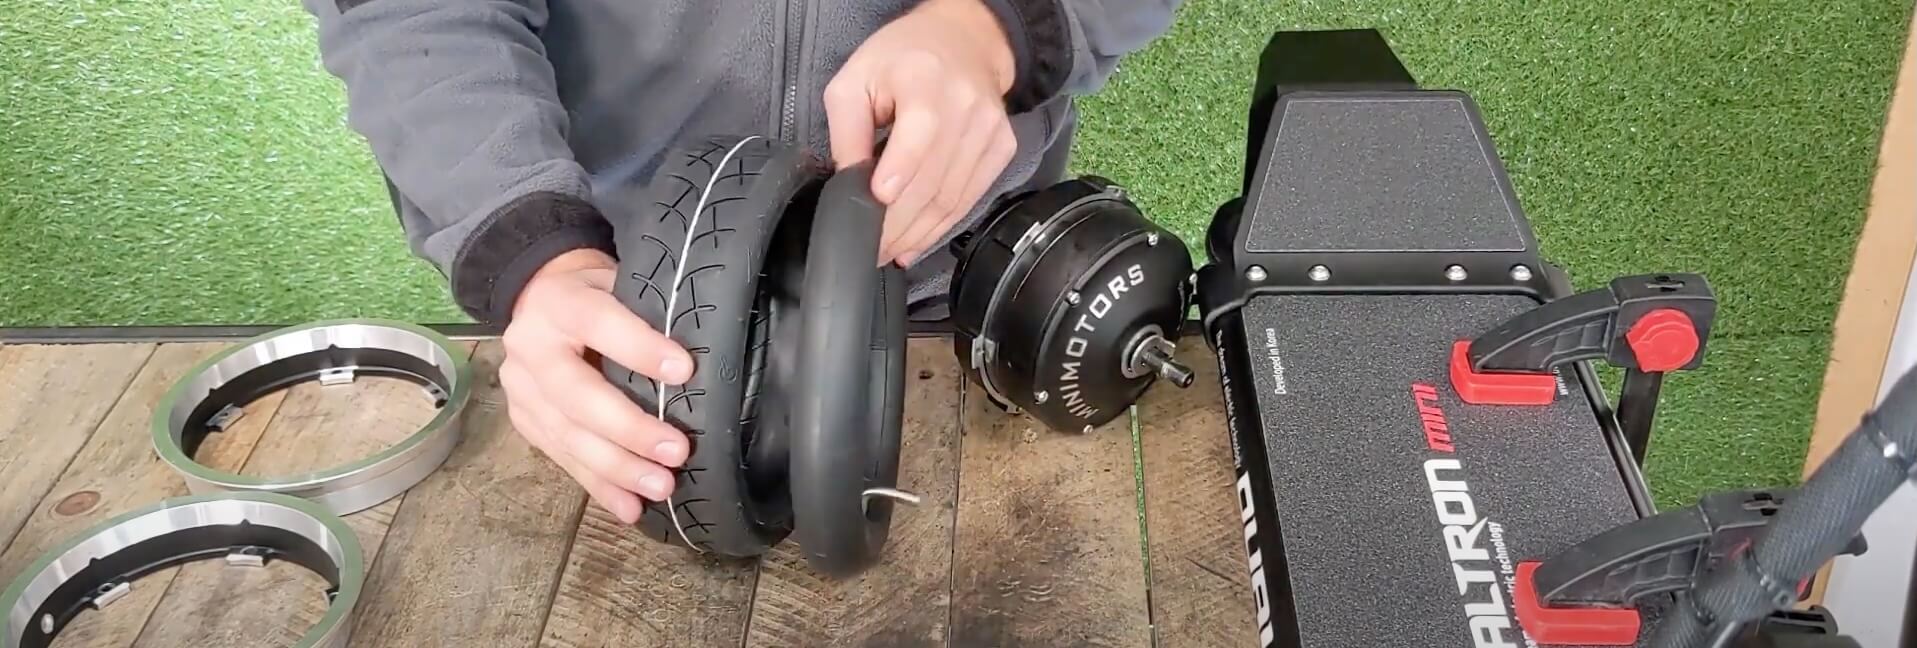
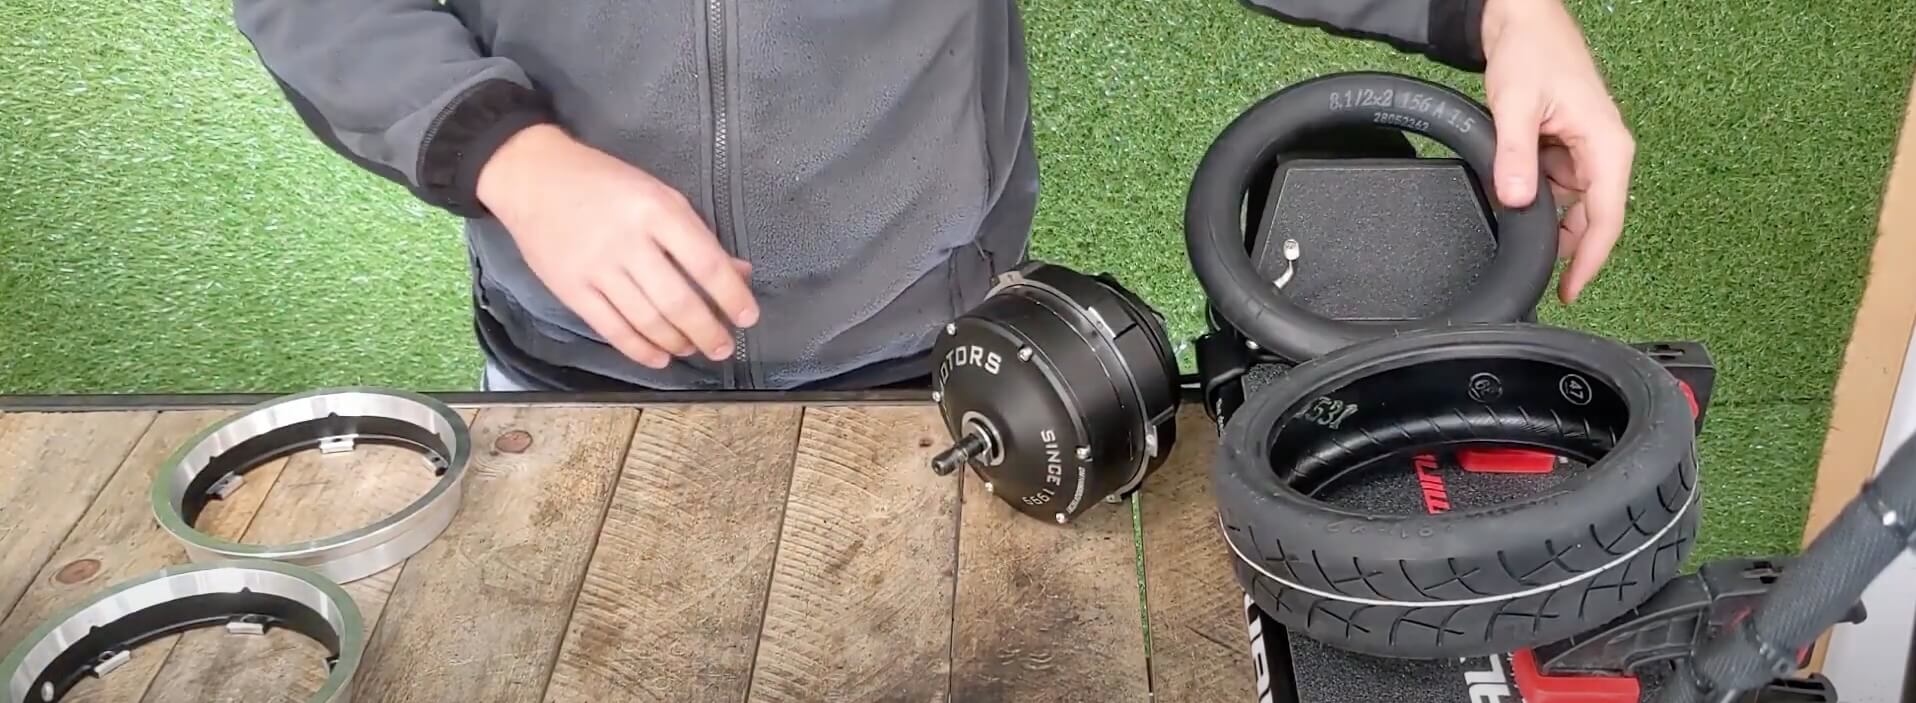
Next, we install the first half-rim into the tire, passing the valve of the inner tube into its housing.
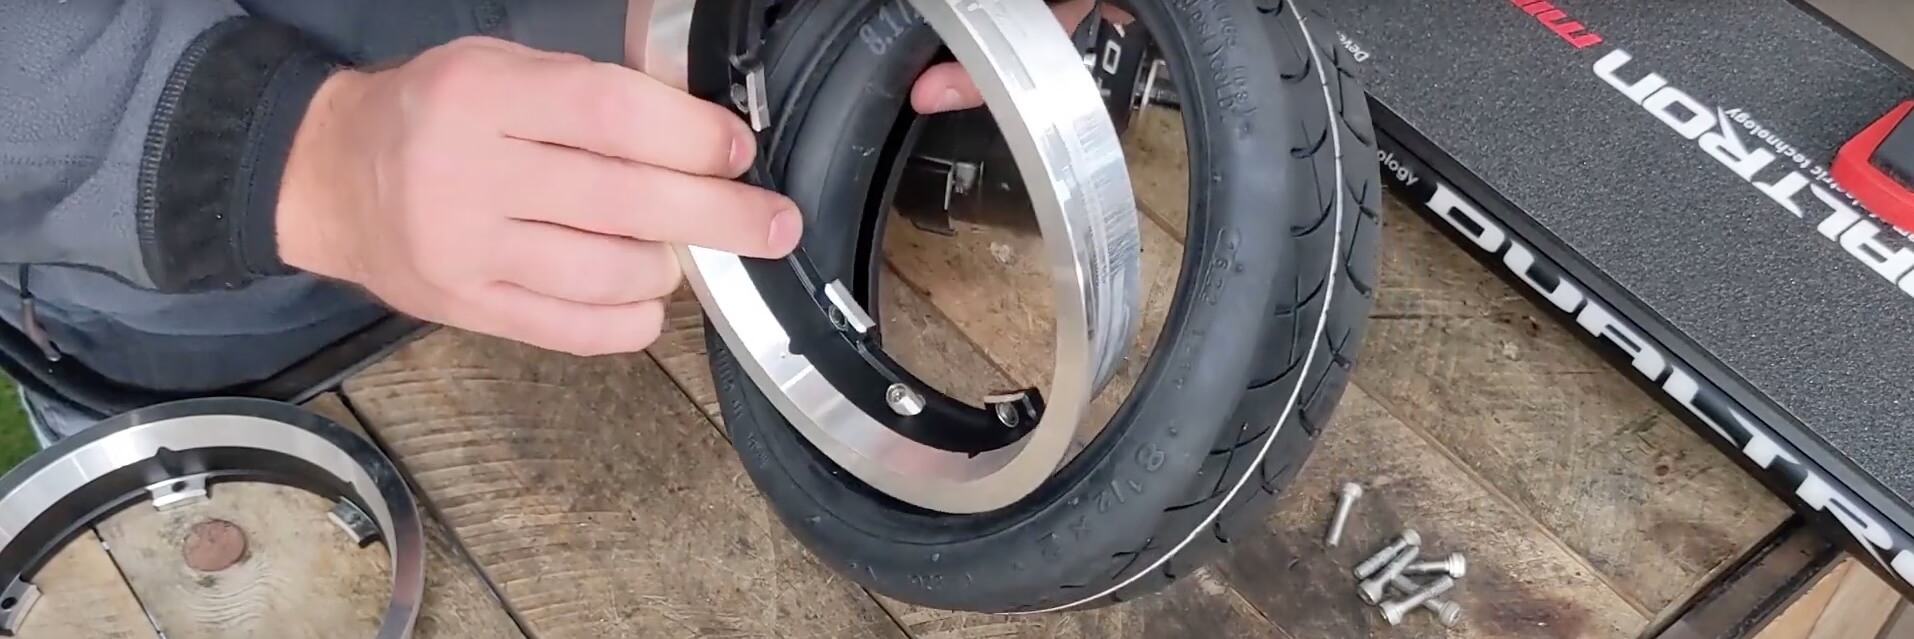
And we make sure that no part of the inner tube touches the gray part of the rim to avoid pinching it when we close everything.
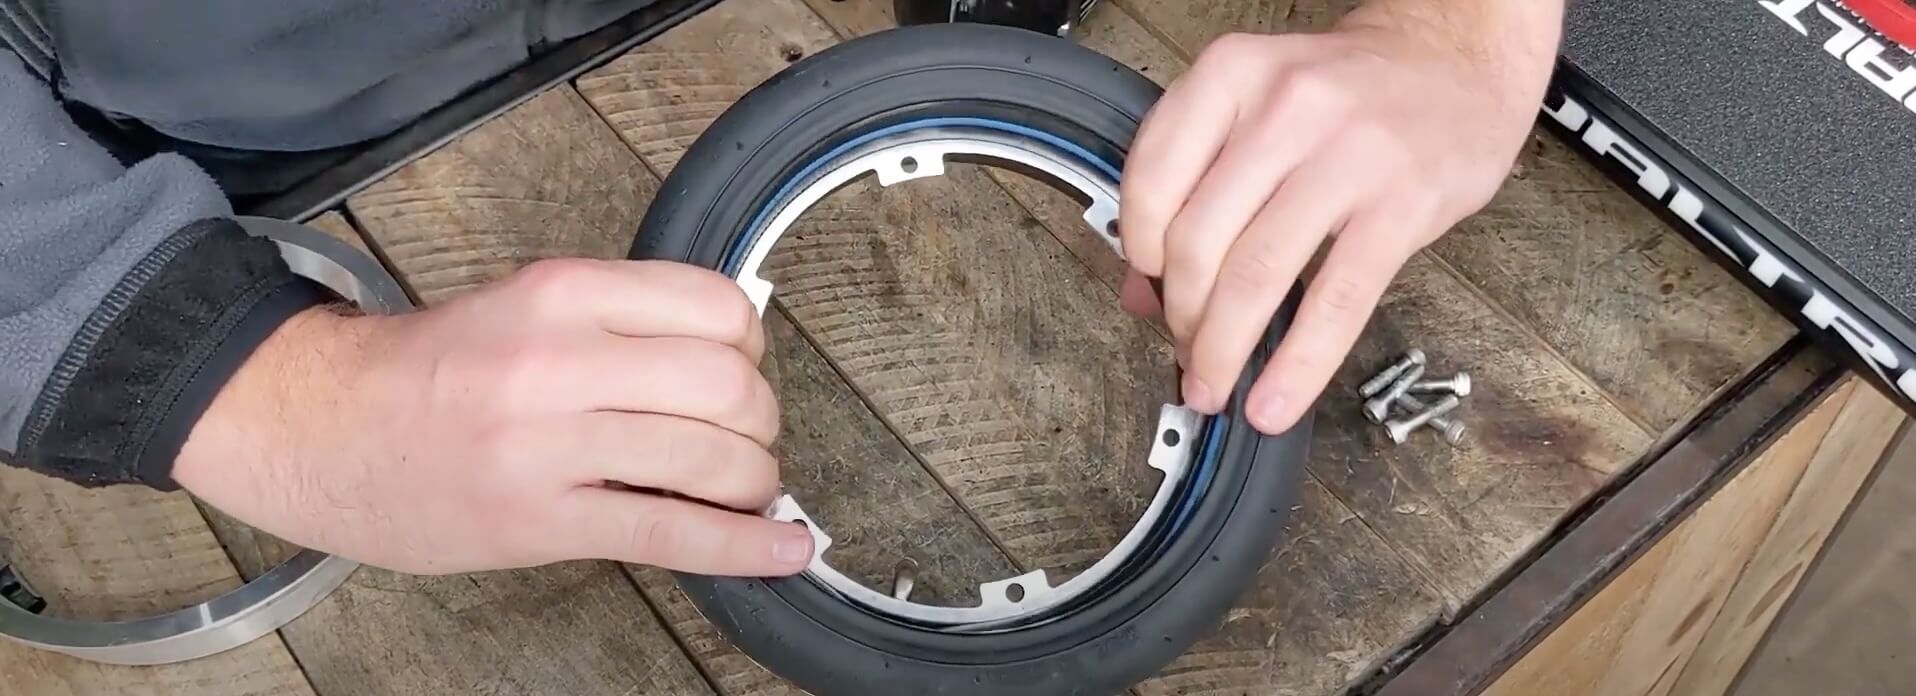
Next, we place the second half-rim on the tire and align the holes of the two rims.
Installing the Repaired Wheel on the Motor
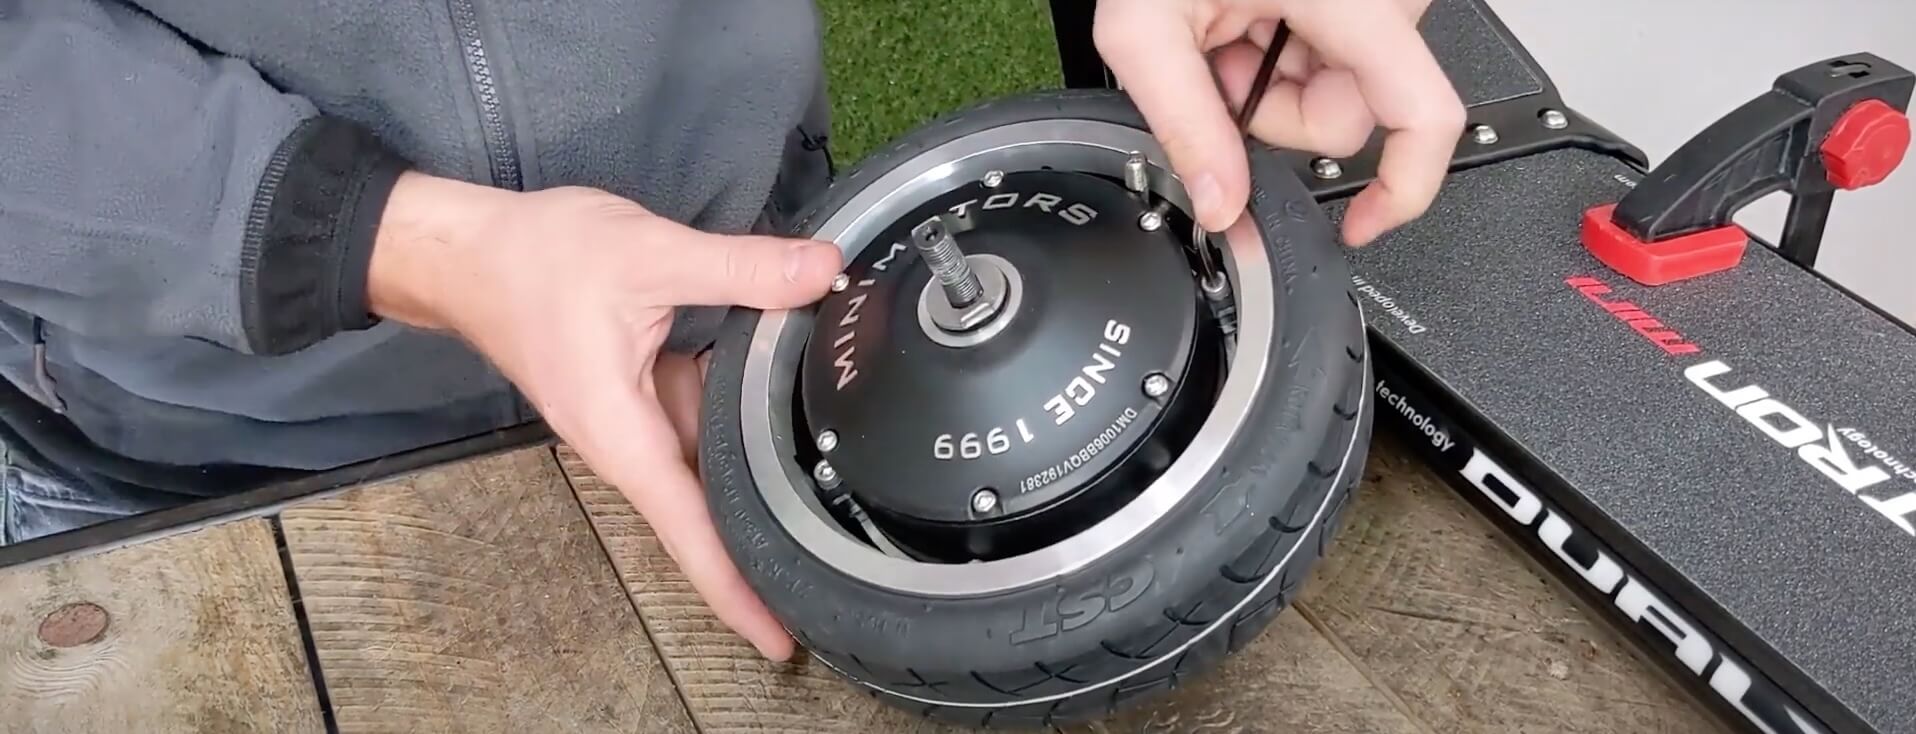
Now, we place the assembly back onto the motor.
And we secure the rim by gradually tightening the 6 screws.
Inflation and Tire Pressure for Dualtron Mini
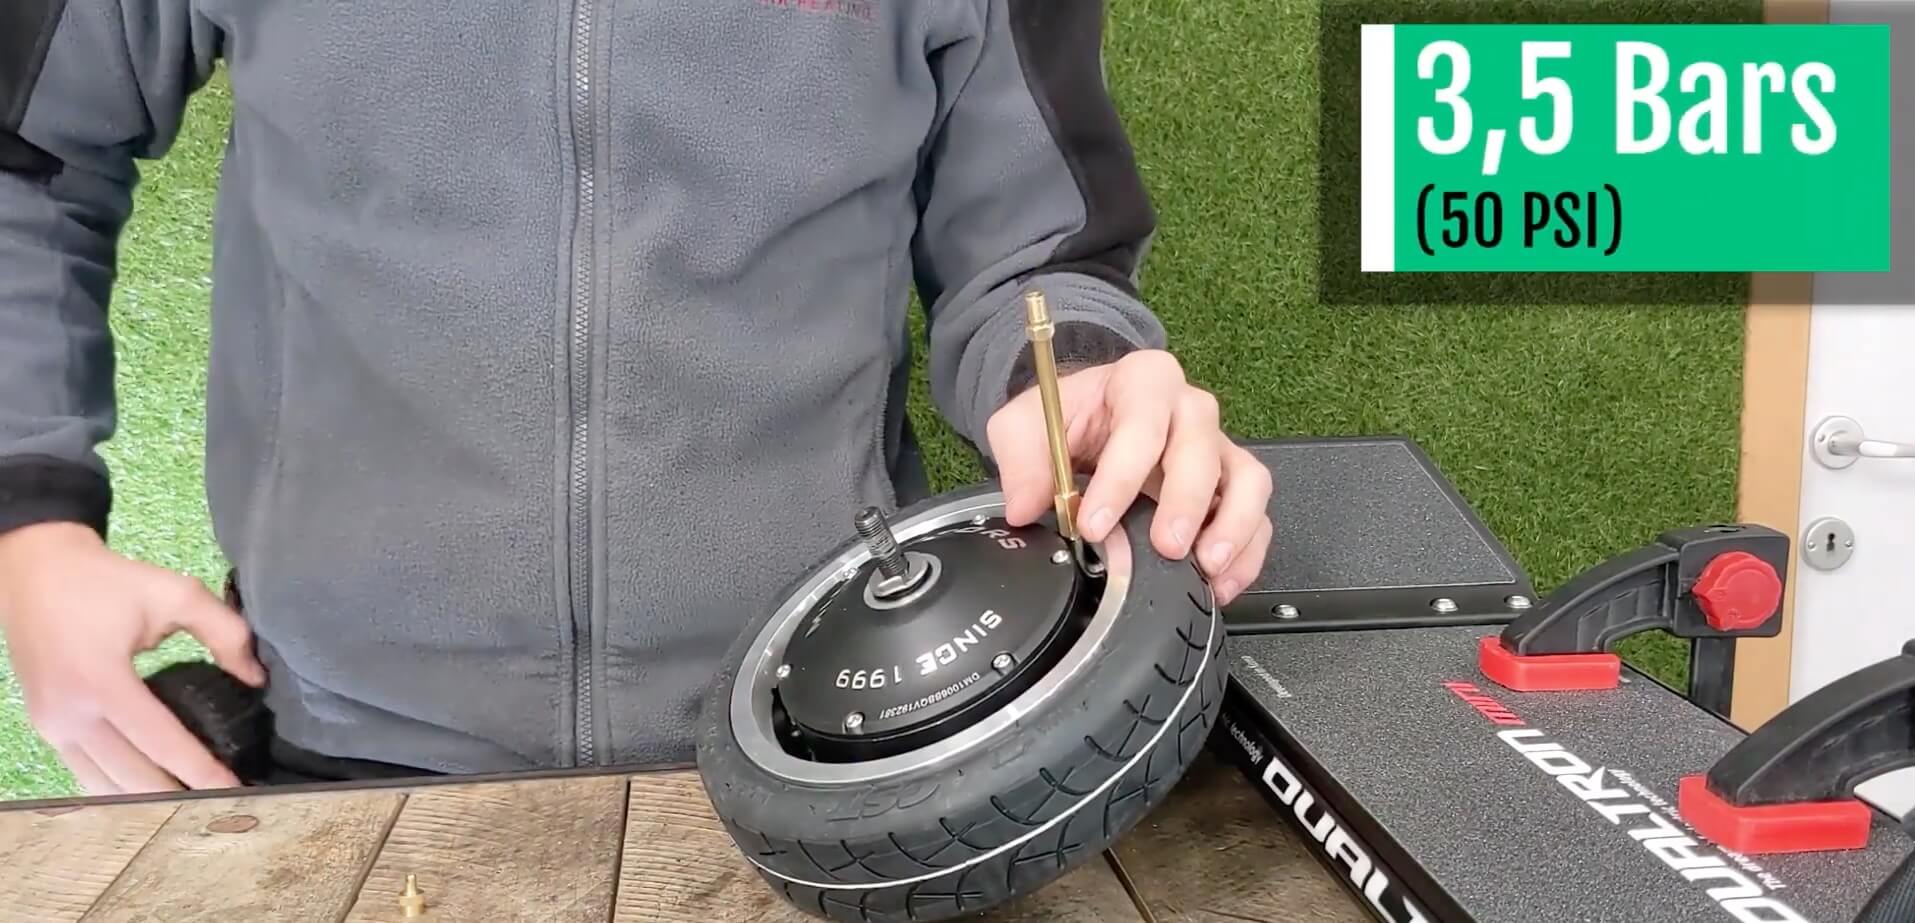
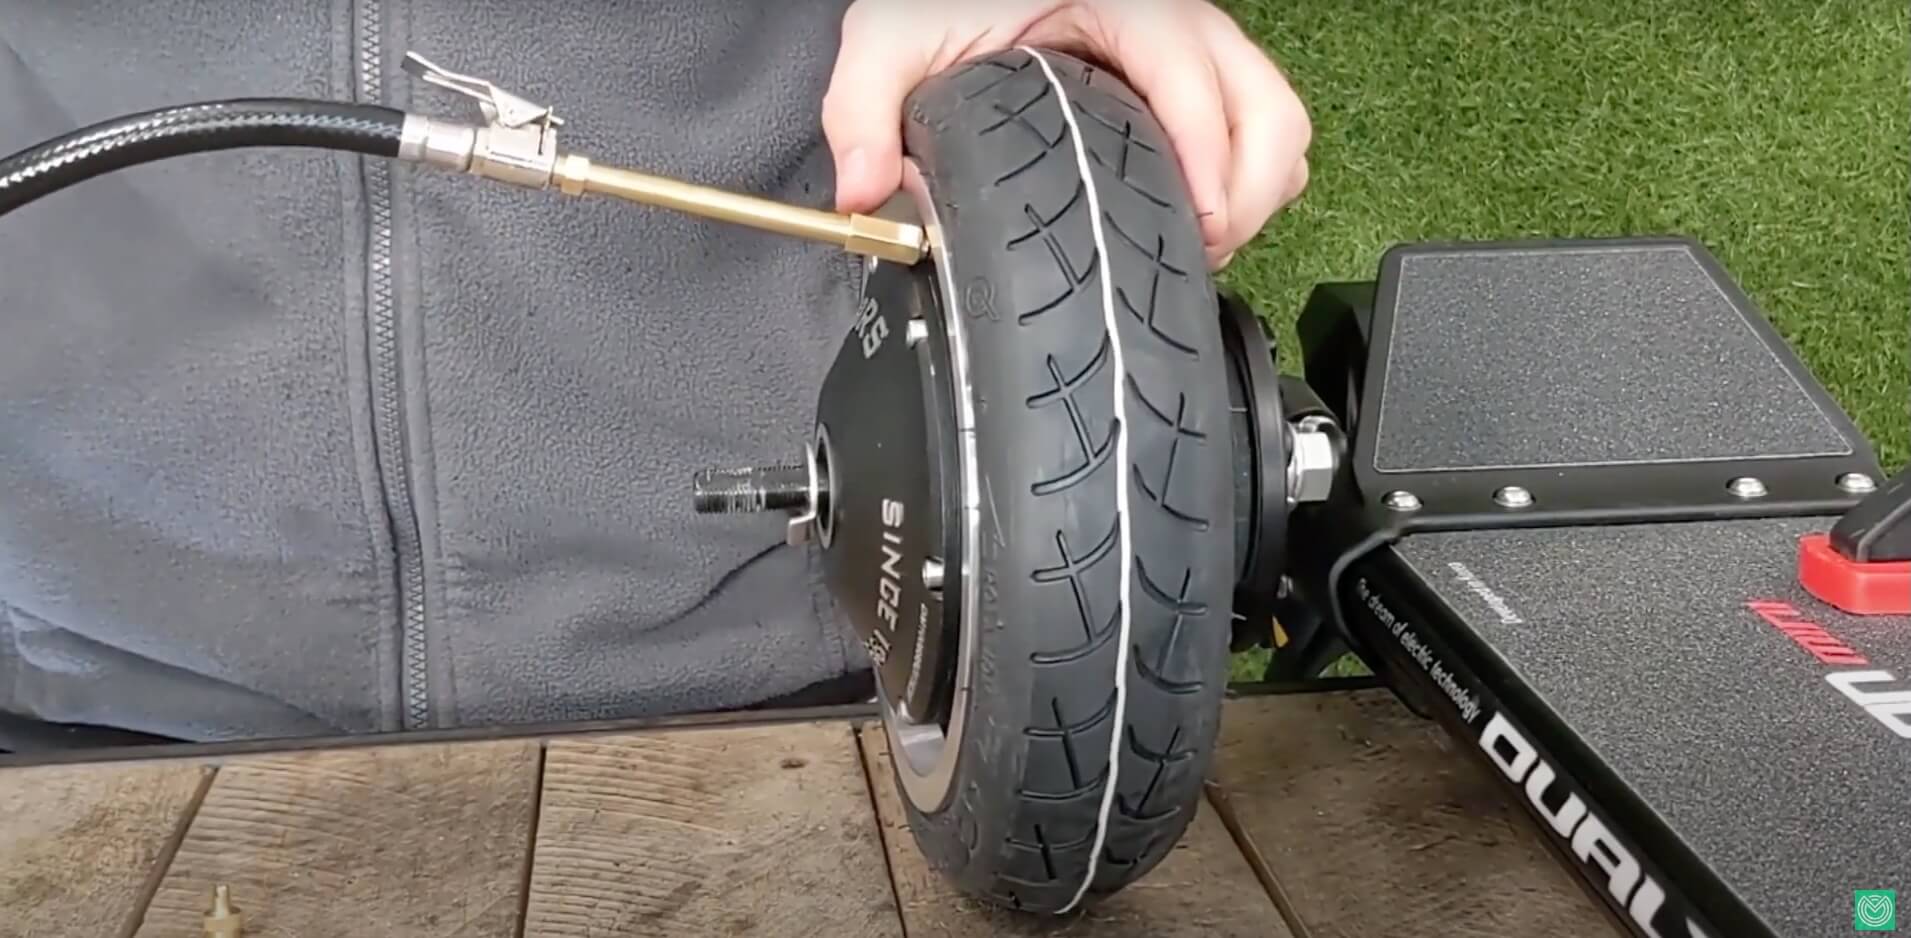
Now, we can inflate the new rear wheel of our Dualtron Mini.
The recommended maximum pressure is 50 PSI, which is equivalent to 3.5 bars.
Reassembling the Rear Wheel onto the Scooter
Next, we put the repaired rear wheel back onto the fork.
On the left side, the first locking washer should be oriented downward, and we install the second washer in the opposite direction.
Then, we place the nut by hand without tightening it too much.
On the right side, it’s nothing too complicated.
The first locking washer should also be oriented downward, and the brake lever should simply be positioned toward the rear of the wheel.
Attaching the Drum Brake
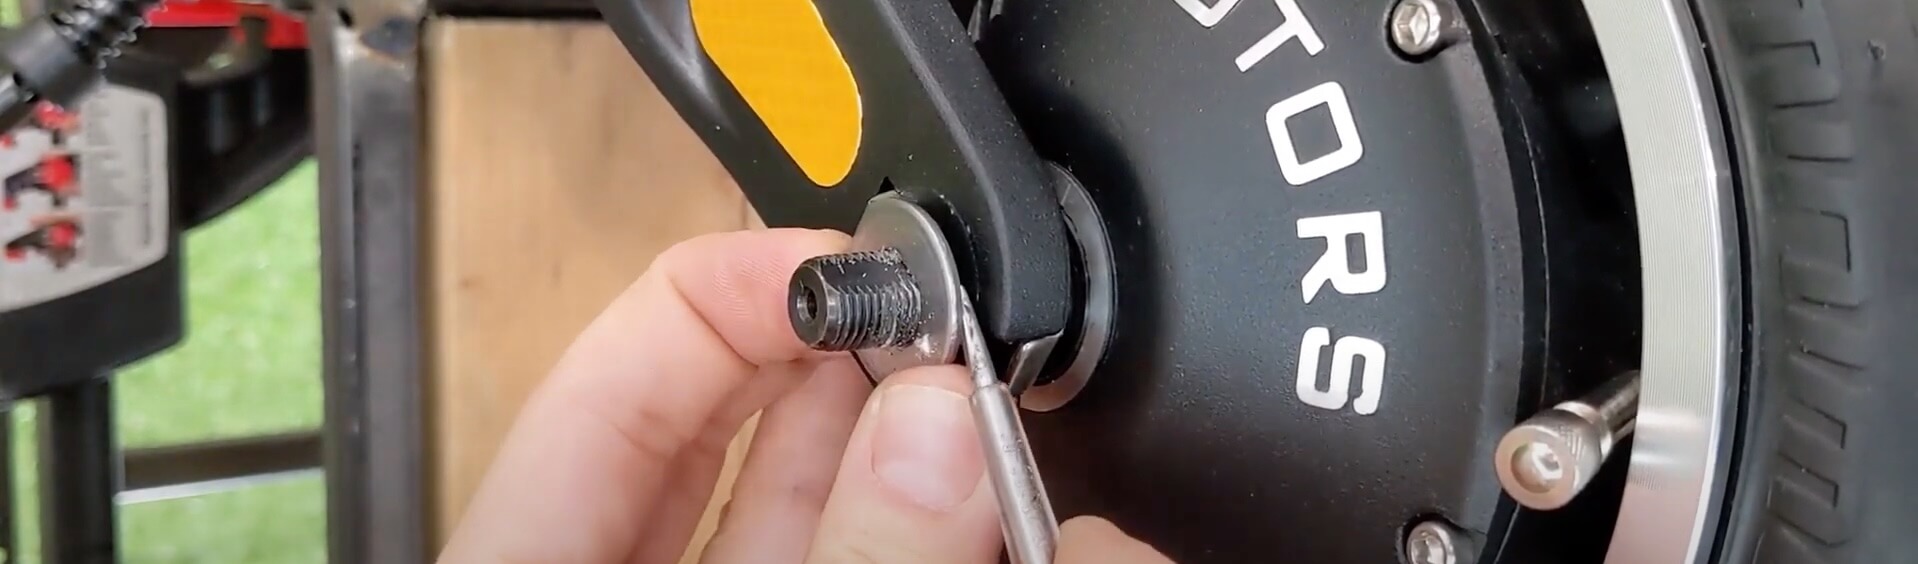
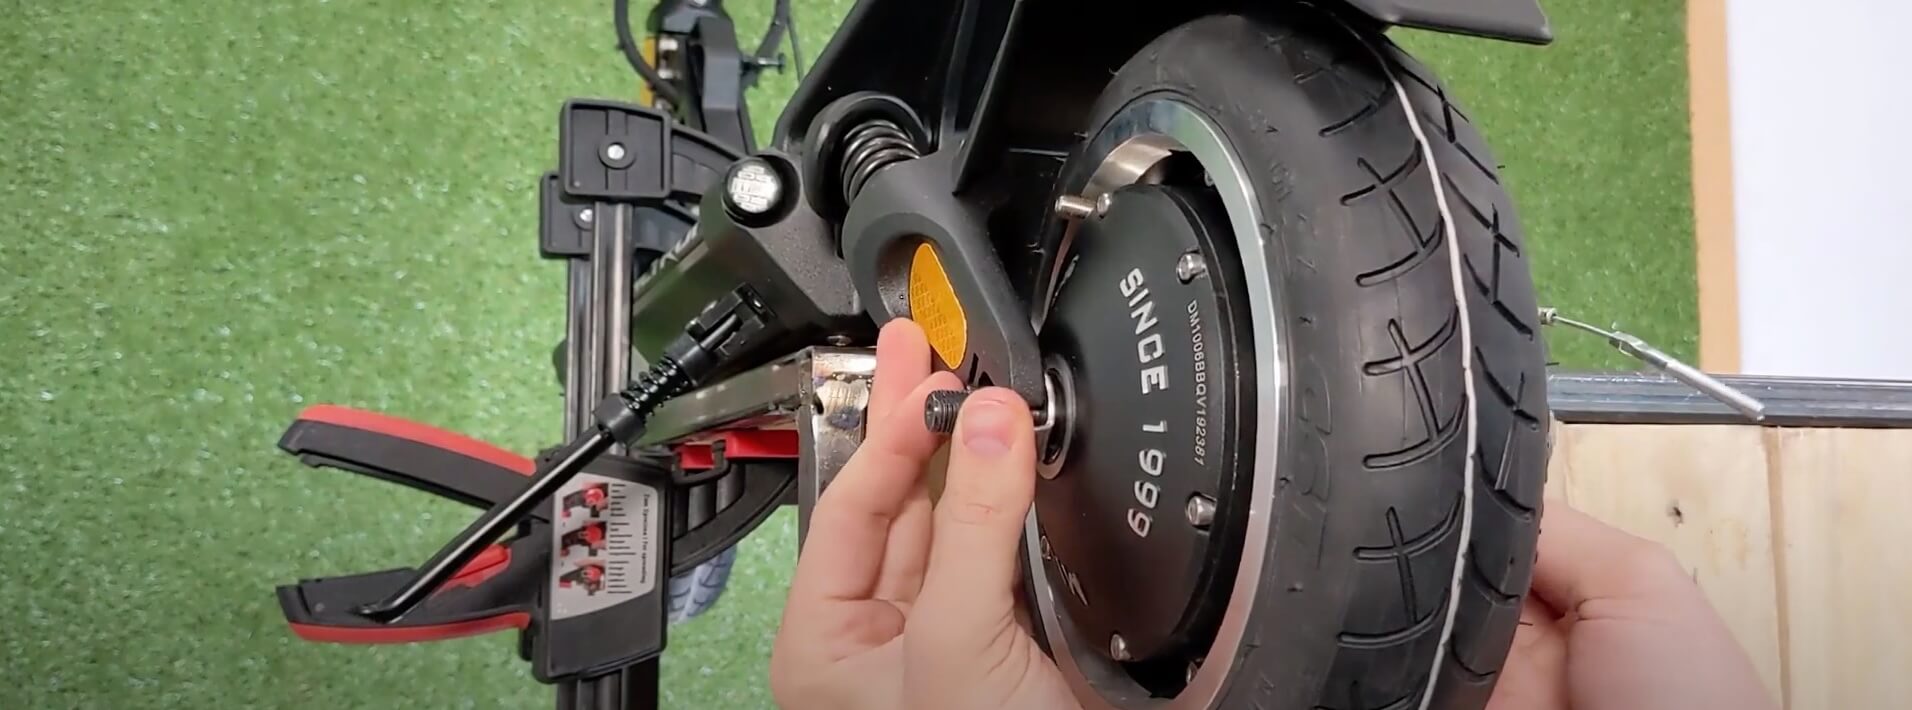
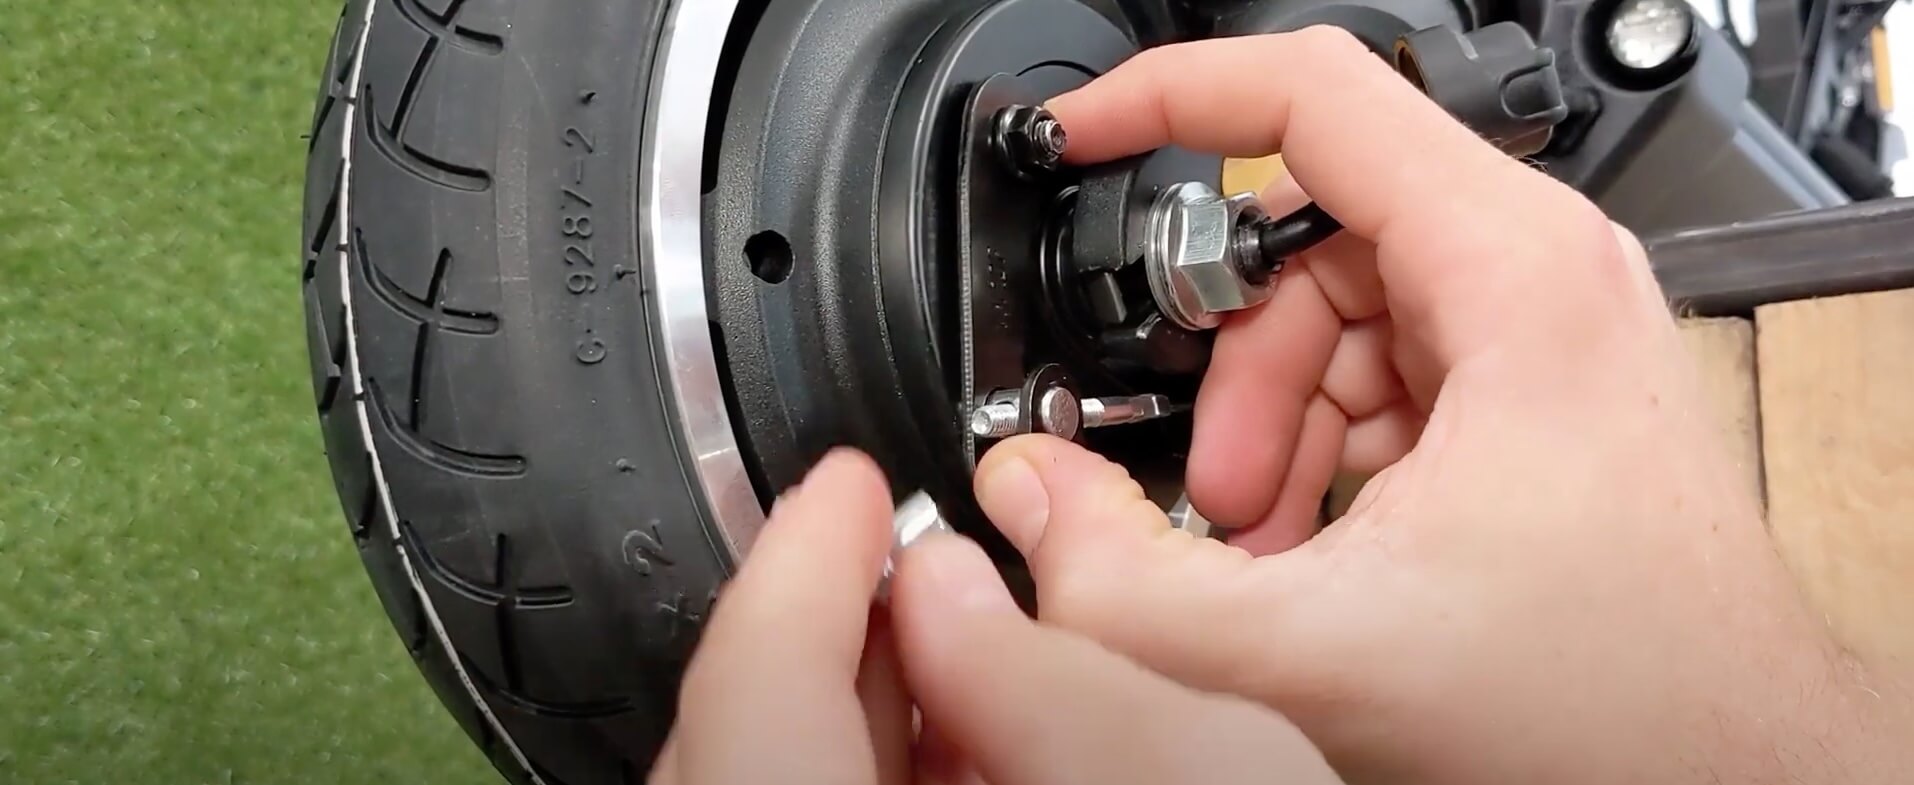
Now that the rear wheel is positioned on the scooter, we can put back the screw that holds the drum brake in place.
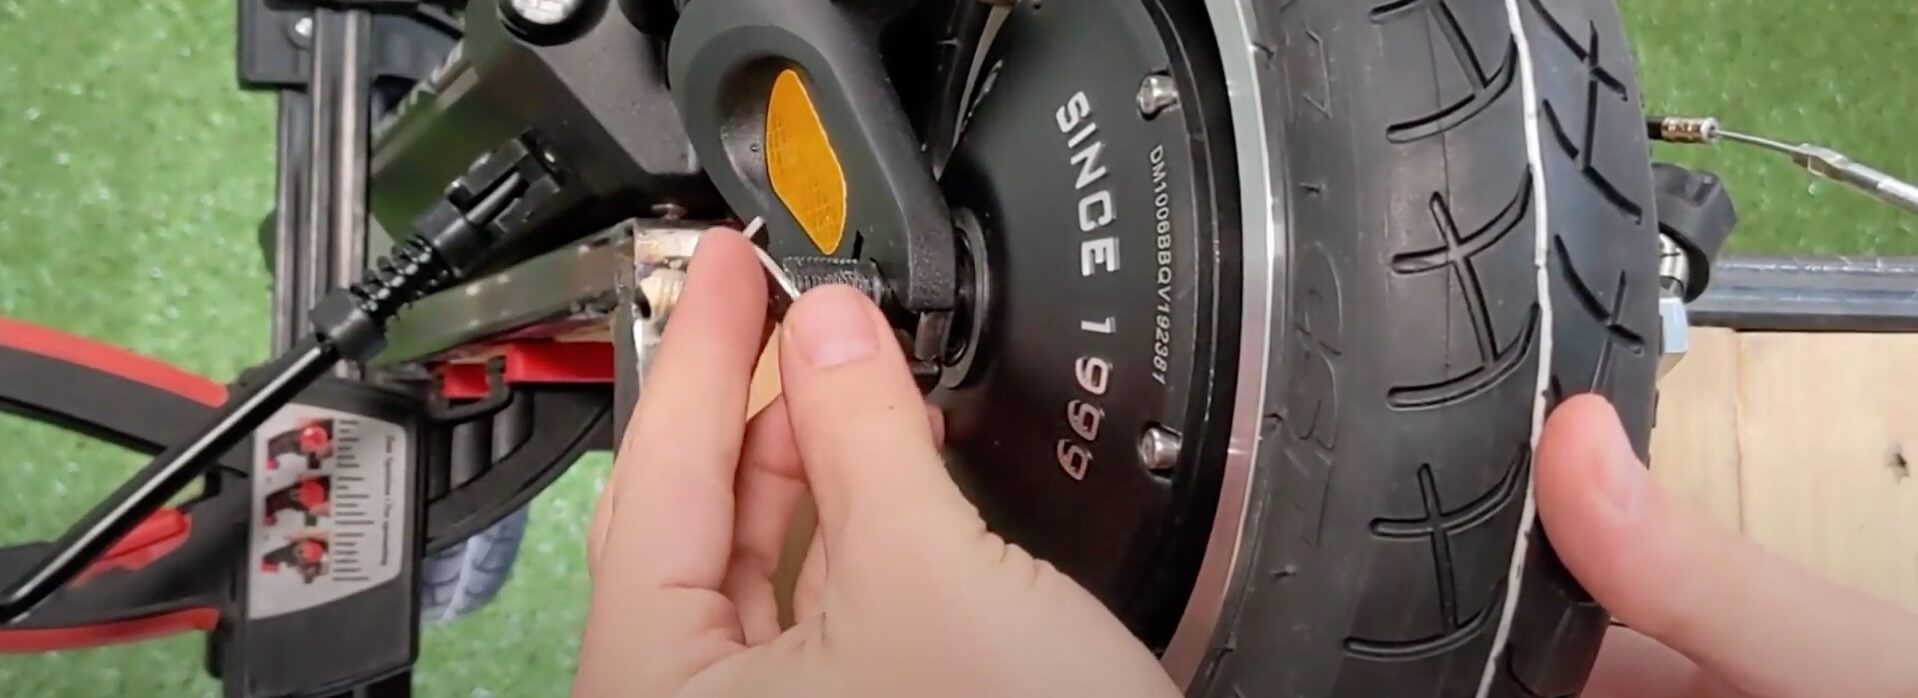
And since I don’t have very slender fingers, I use a little technique to put the two small washers back.
So, I place the screw, making it protrude from the other side.
Then, I simply use a pair of tweezers to place the other two washers on the end of my screw. Now, I turn the drum brake against my screw and gently pull on the screw until the brake can pass through.
And there you have it, we can now secure the brake.
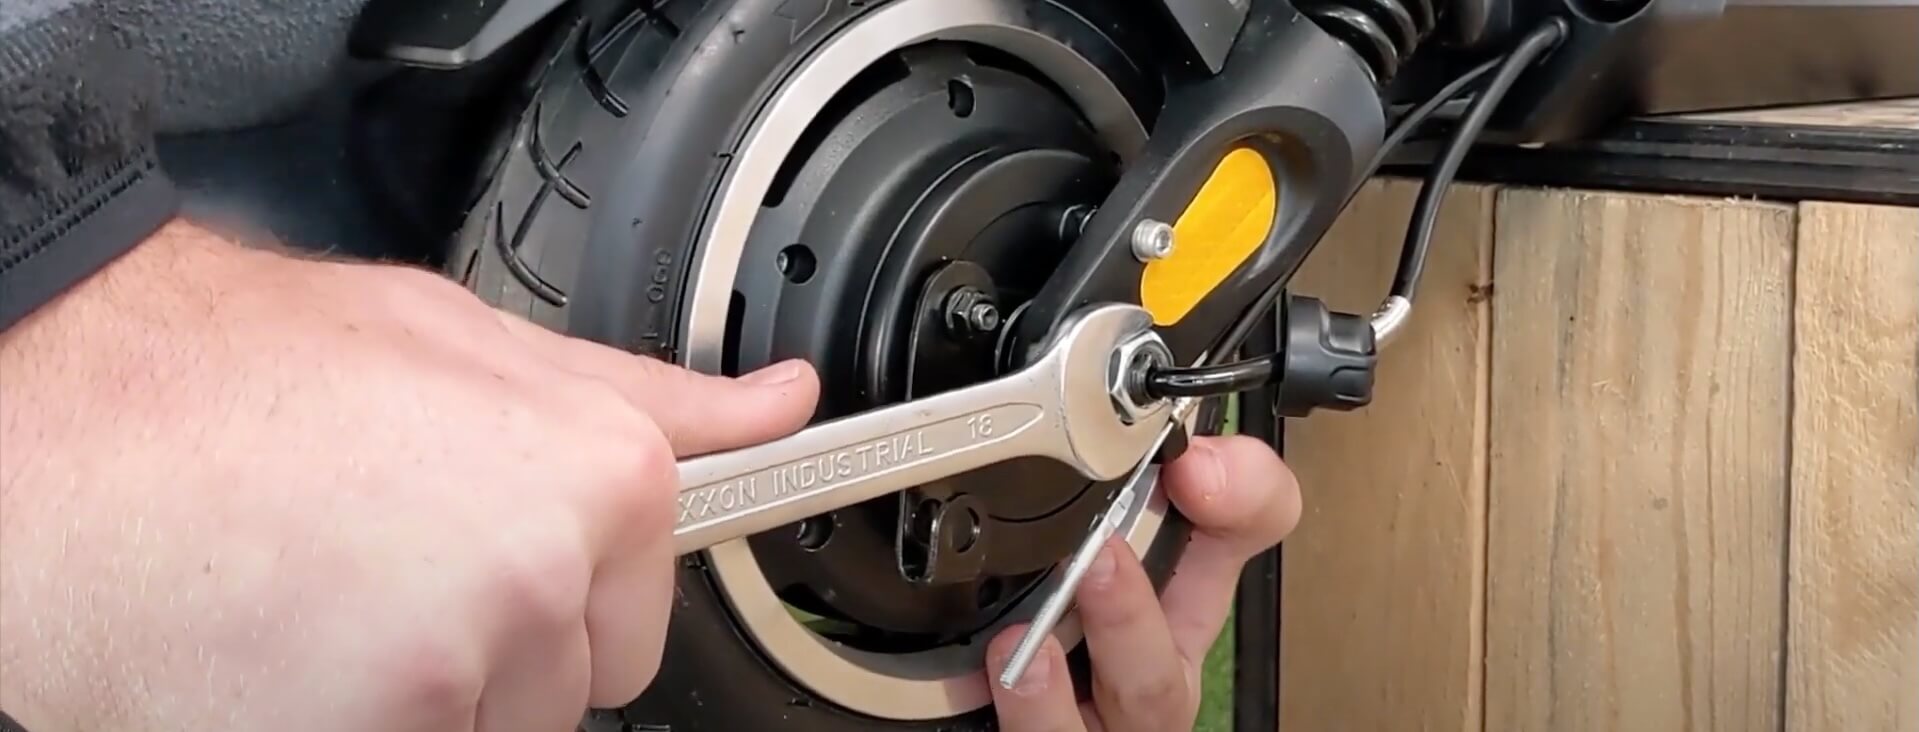
Now, we can tighten the two nuts on the wheel axle.
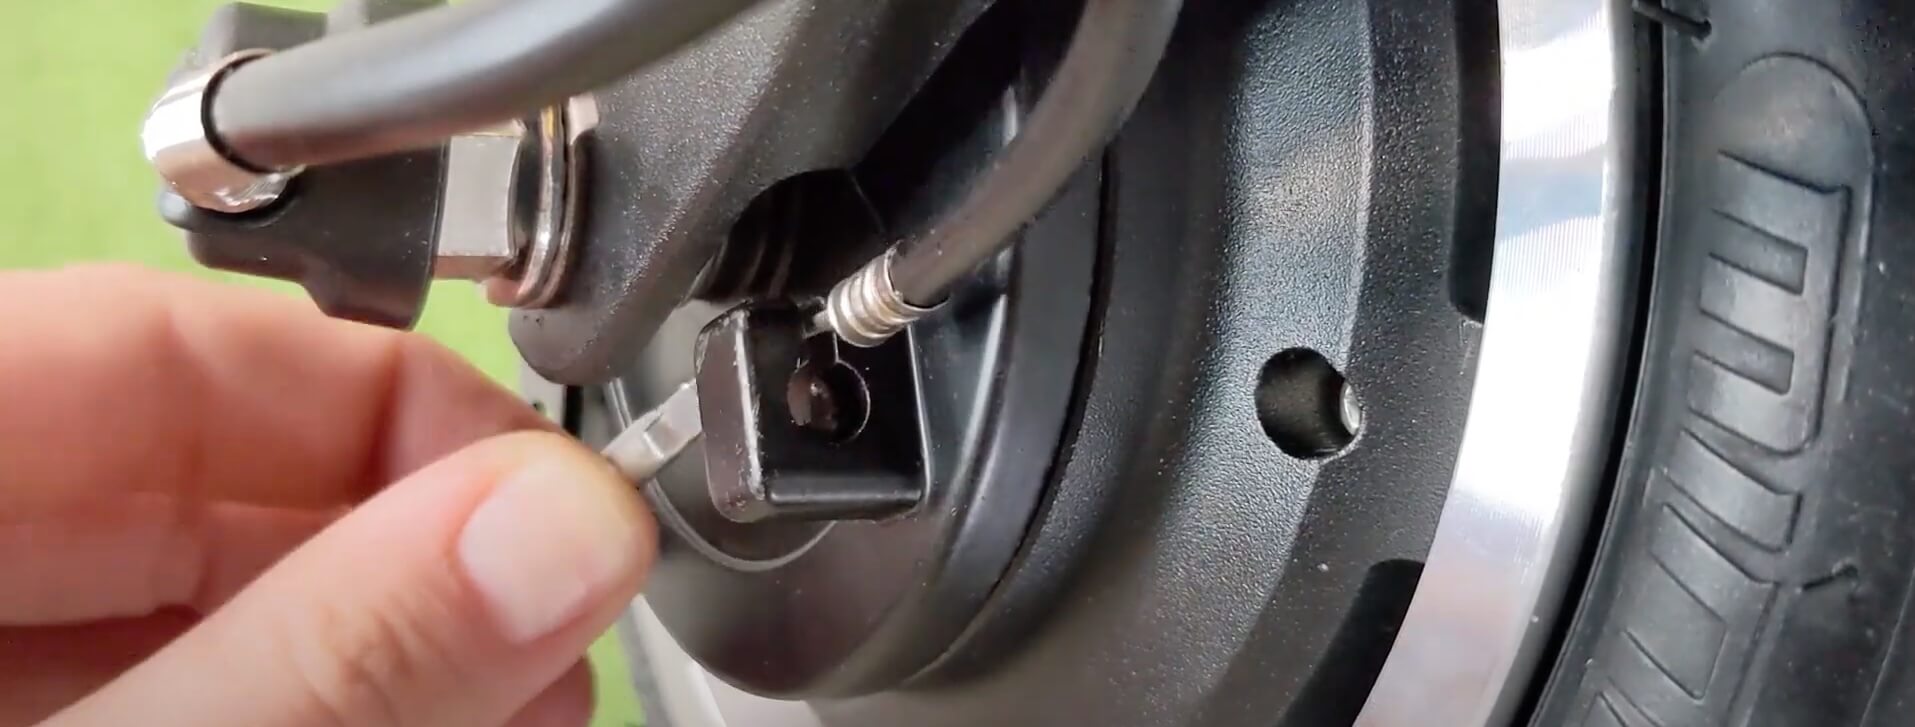
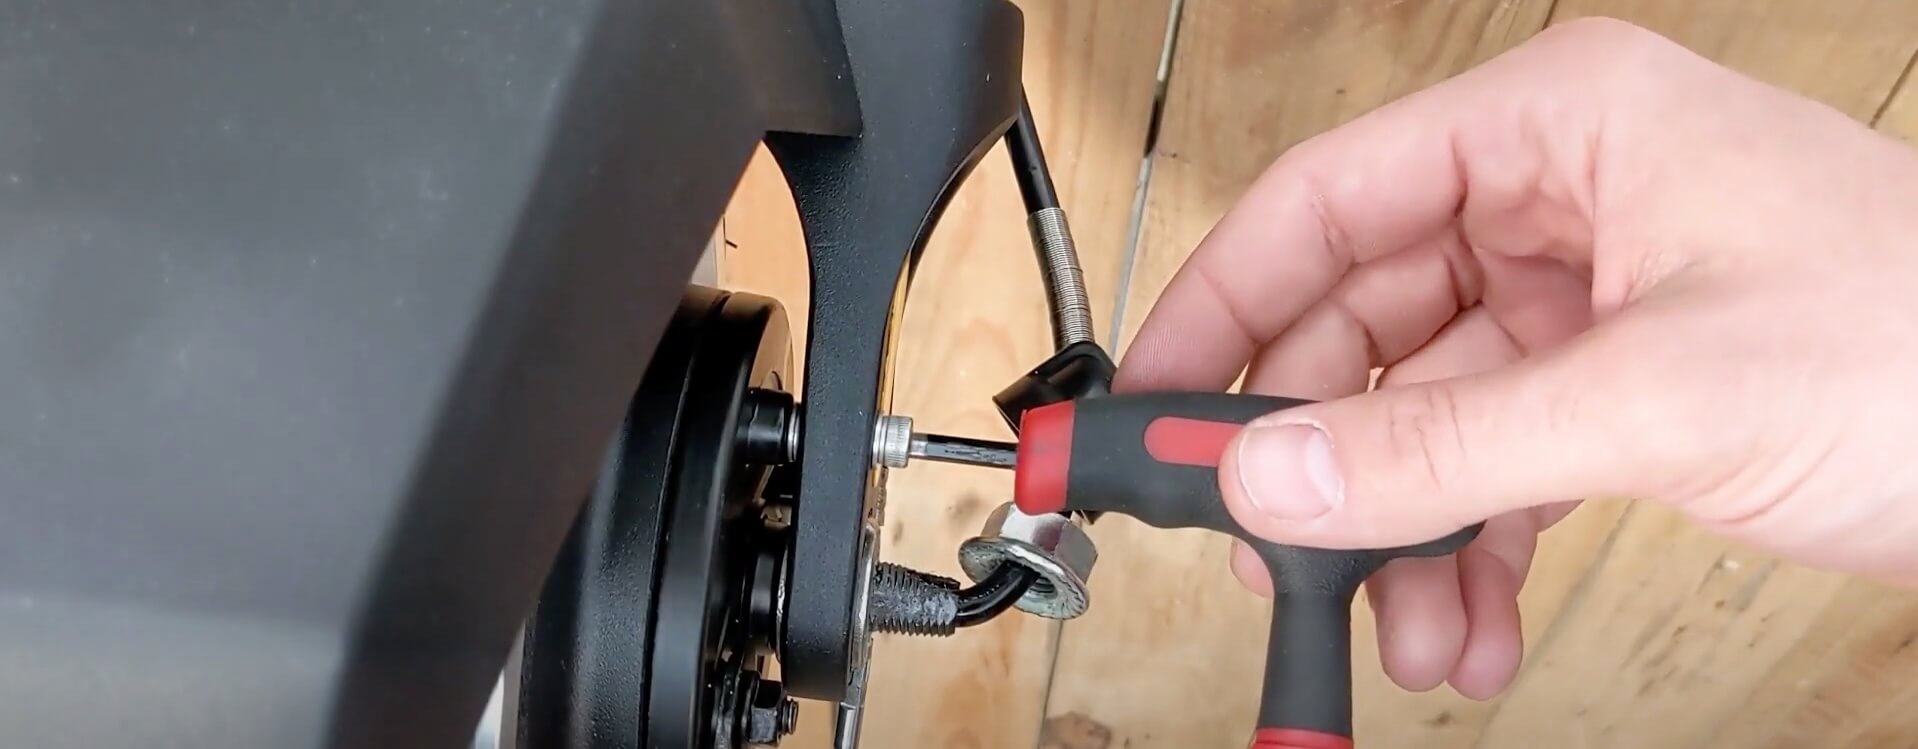
We place the brake cable back into its housing.
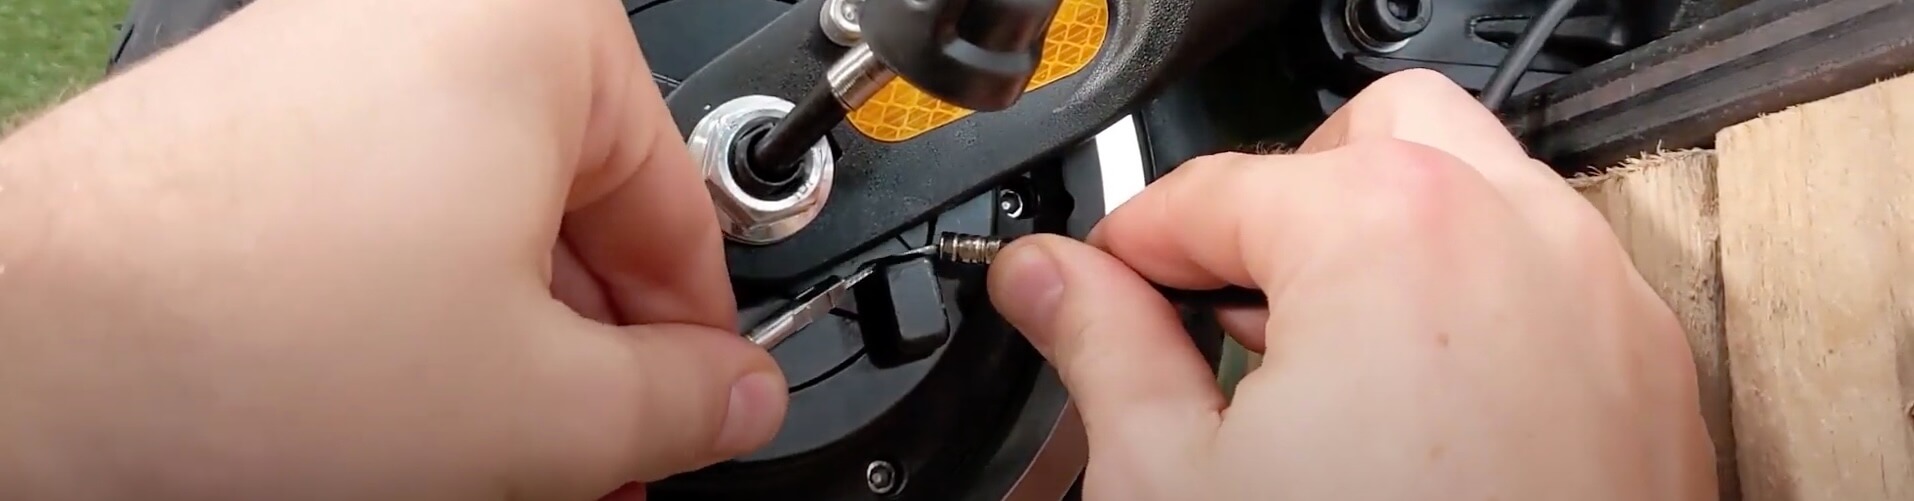
And we attach the cable to the drum lever by reinstalling the pin and the nut.
Adjusting the Dualtron Mini Rear Brake
To adjust the brake, it’s very easy. Simply rotate your wheel and listen if the brake pads touch the wheel.
If they don’t touch, you can continue tightening the nut, and when you hear a rubbing sound, slightly loosen the nut until it’s good.

And we finish the repair of this Dualtron Mini by putting the nut covers back in place.
Other tutorials that may interest you
Dualtron Mini – FRONT WHEEL – How to change the tyre and inner tube
How to change the tire and inner tube on the front wheel of a Dualtron Mini / Minimotors electric scooter

Change the REAR WHEEL of a Dualtron Victor scooter – Tyre and Inner Tube
We’re going to show you how to take off the rear wheel, remove the old inflatable tyre and take out the punctured inner tube. To then install a new 80/65-6 Road with a new 10 x 2.50 inner tube with a 90/90 knee valve.
PURE AIR Changing the Tyre and Inner Tube – Rear Wheel
We’ll show you step by step how to change the tyre and inner tube on the rear wheel of your Pure Air electric scooter. This repair is easy, and you’ll be able to do it without any trouble!