Hello everyone, in this tutorial, we will go through the process of changing the tire and inner tube on the rear wheel of a VSETT9 scooter.
You will see that it is a repair that can be easily done, and if you have any tips or questions, feel free to leave a comment. It will surely help someone in a similar situation as yours.
🛒 Inner tubes for VSETT9 – Front and rear wheel (8.5×2 with 70/90 angled valve)
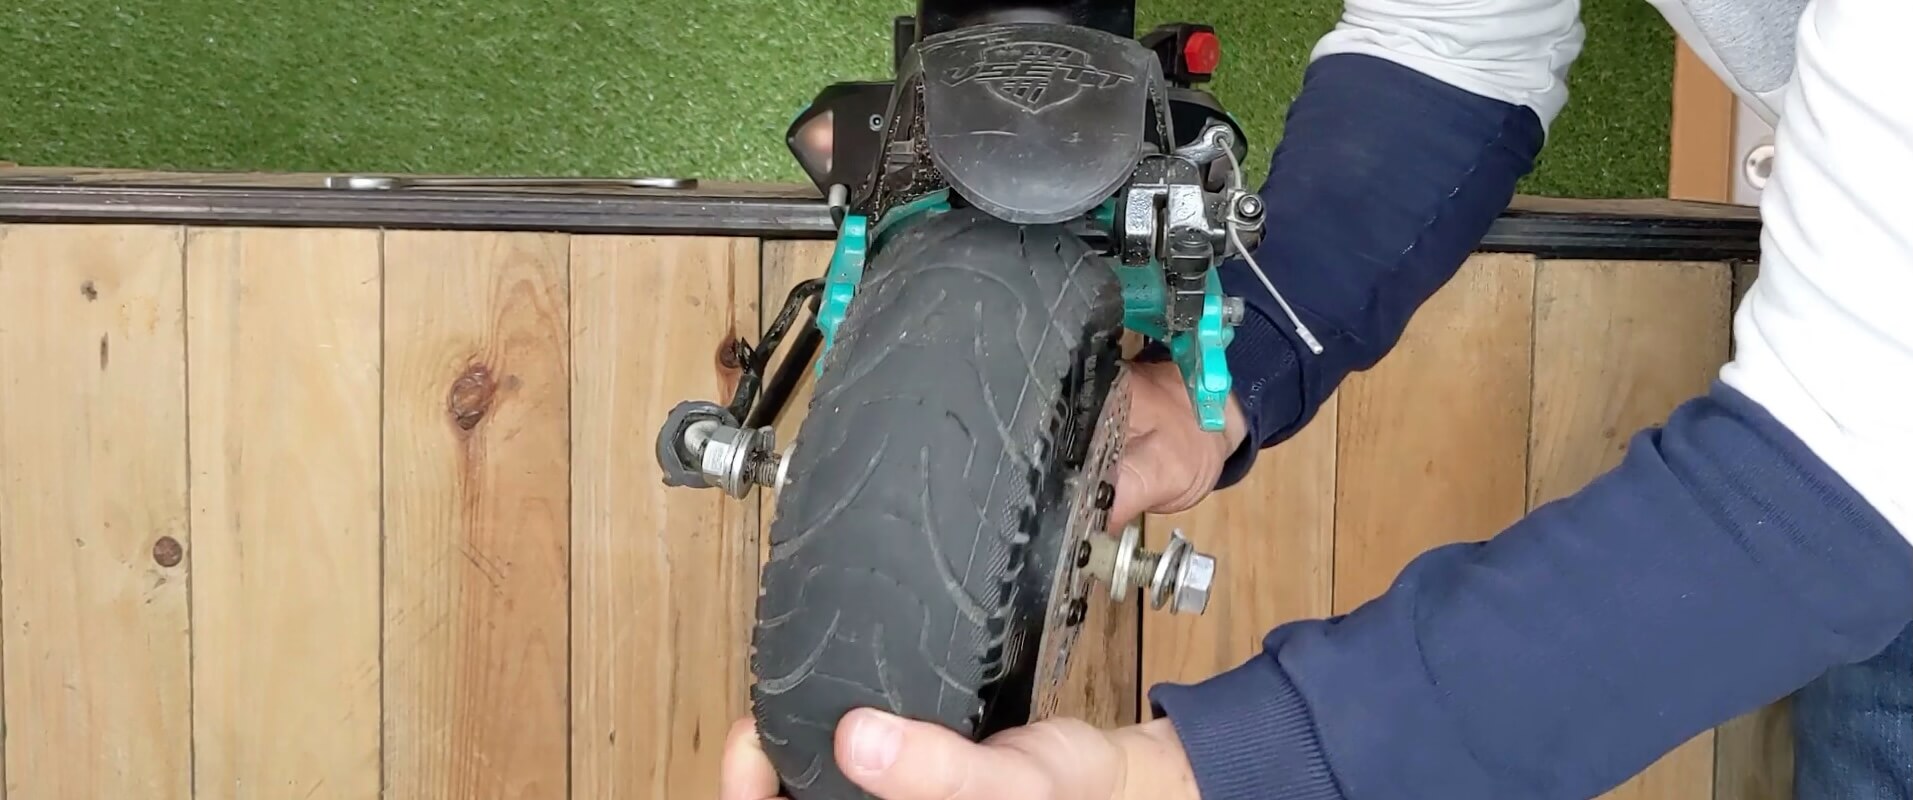
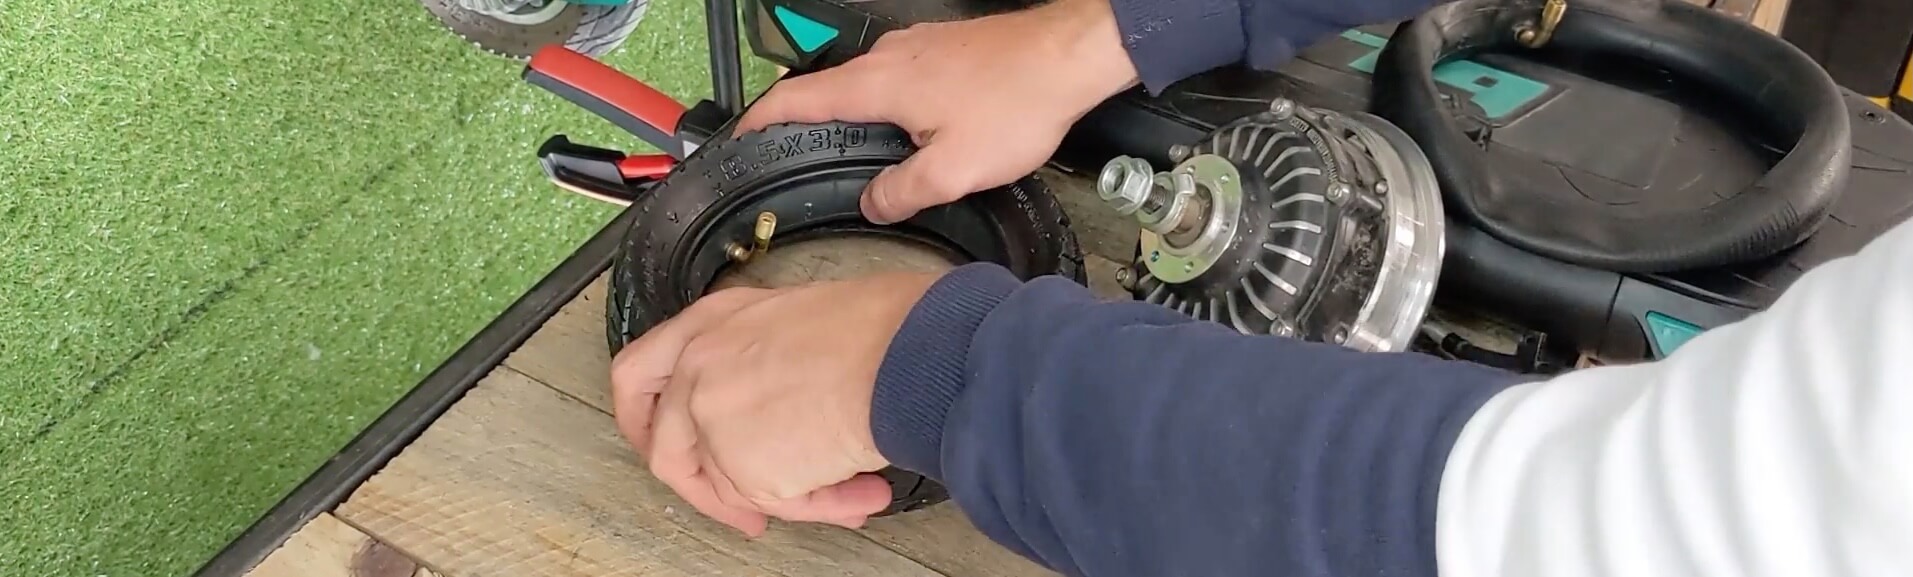
Removing the Rear Wheel
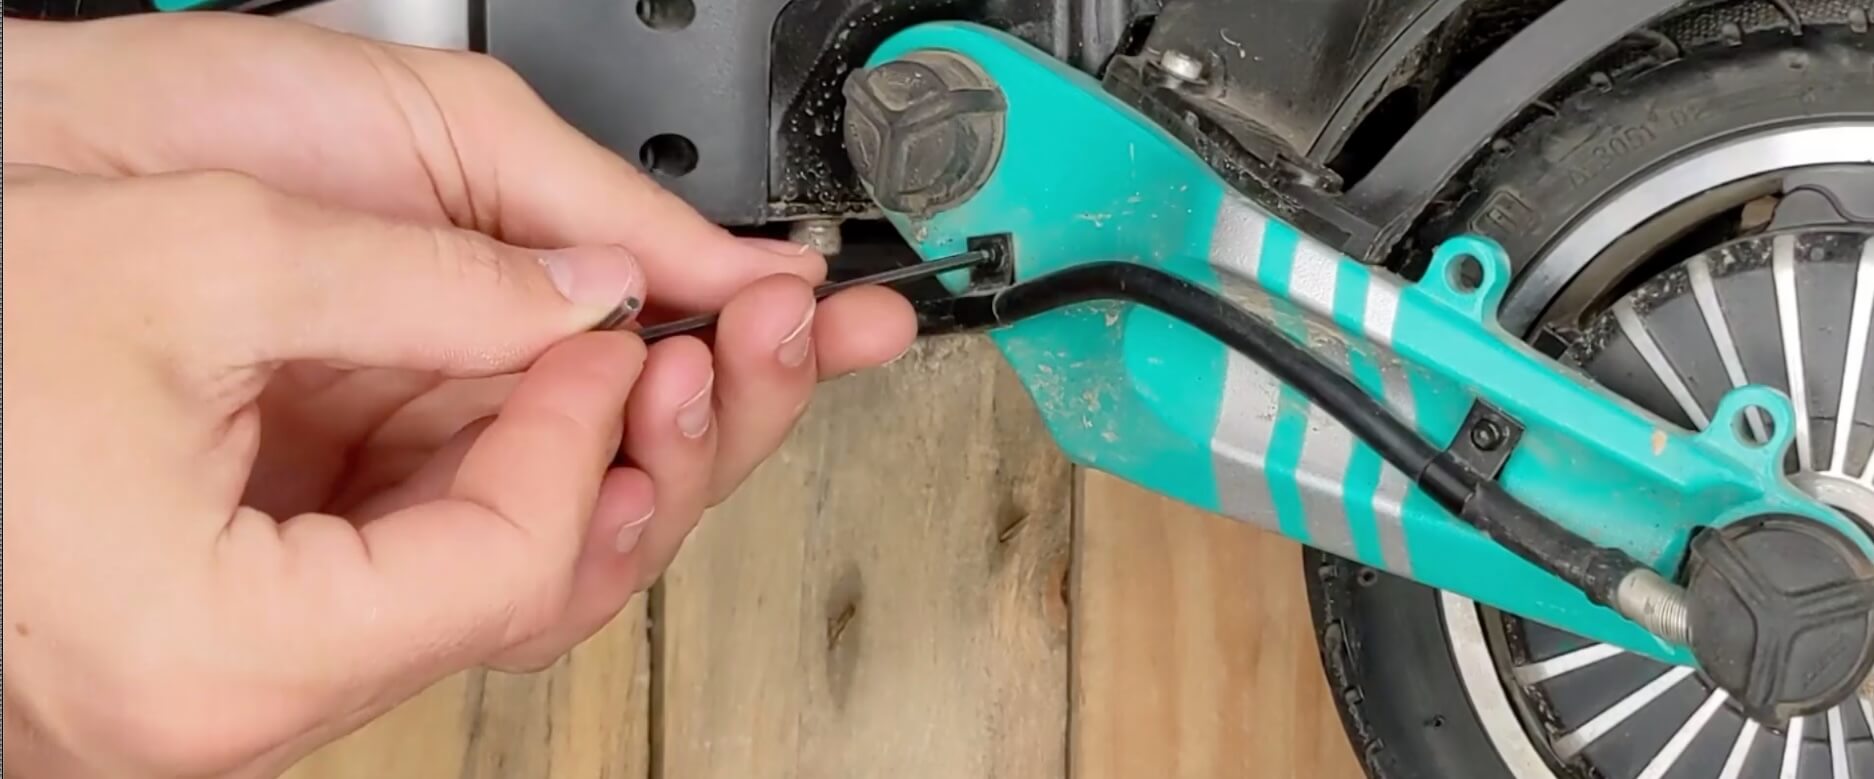
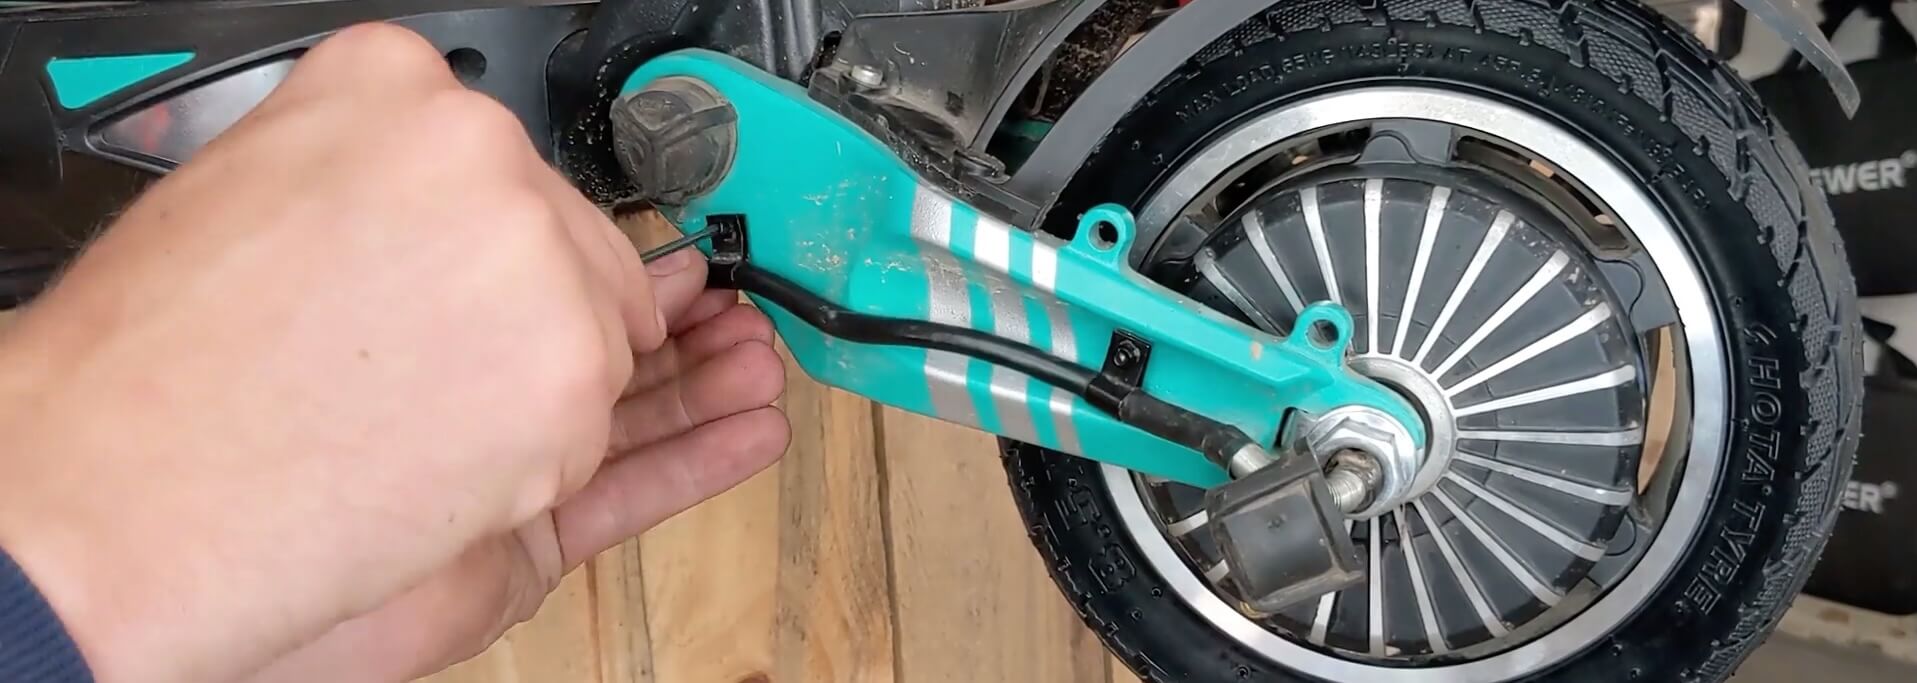
Before we begin removing the punctured rear wheel, let’s start by unscrewing the two small screws that hold the motor cable in place using a 2.5mm Allen wrench.
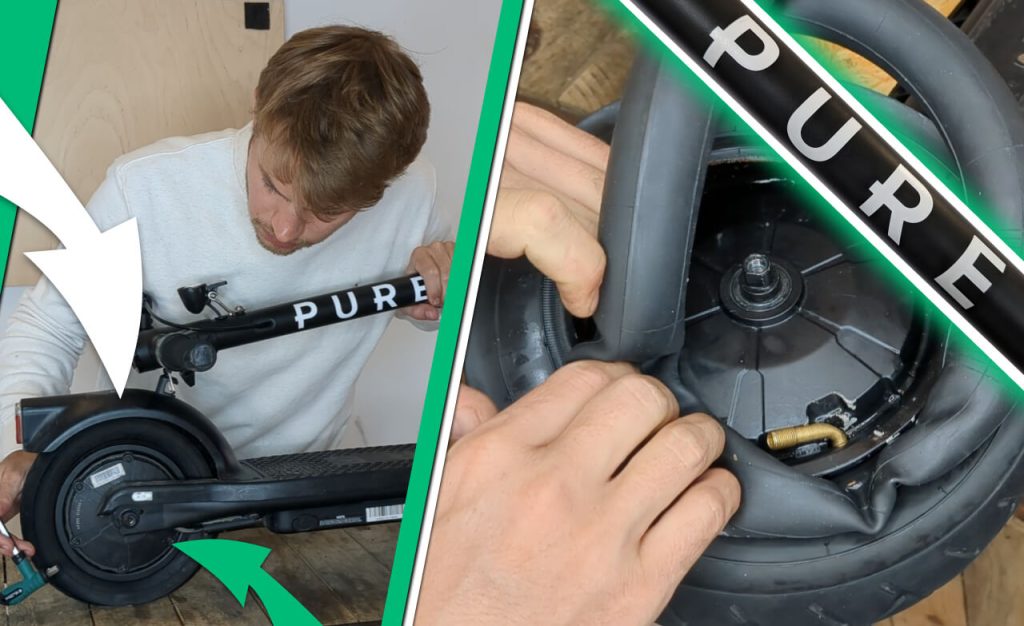
Next, remove the plastic covers and then unscrew the two nuts of the rear wheel using an 18mm wrench.
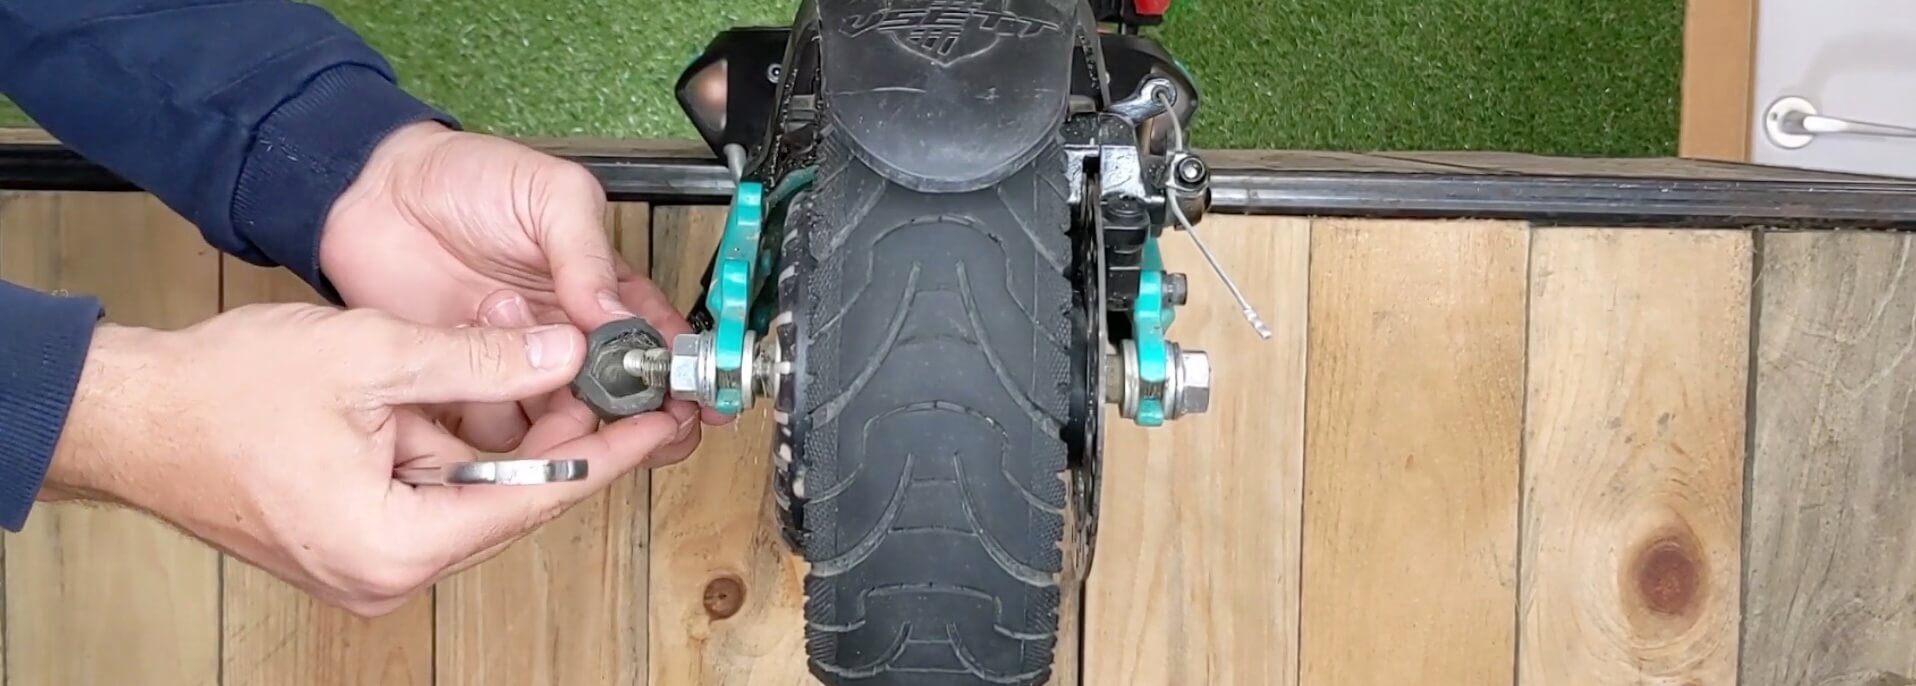
Once the nuts are sufficiently loosened, spread apart the two locking washers and remove the wheel from the rear fork.
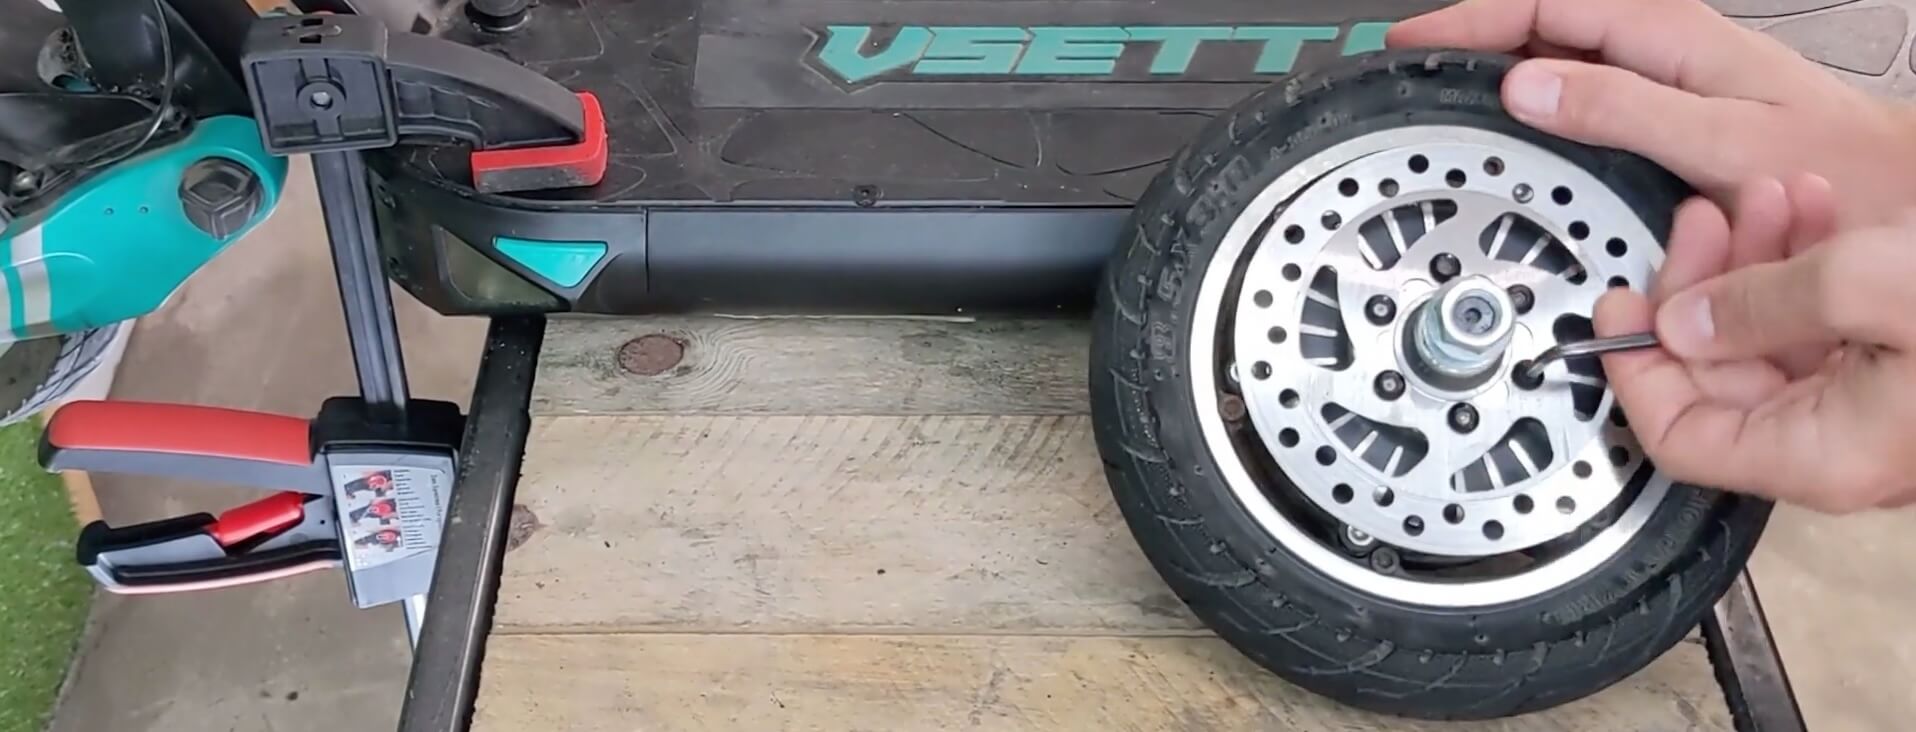
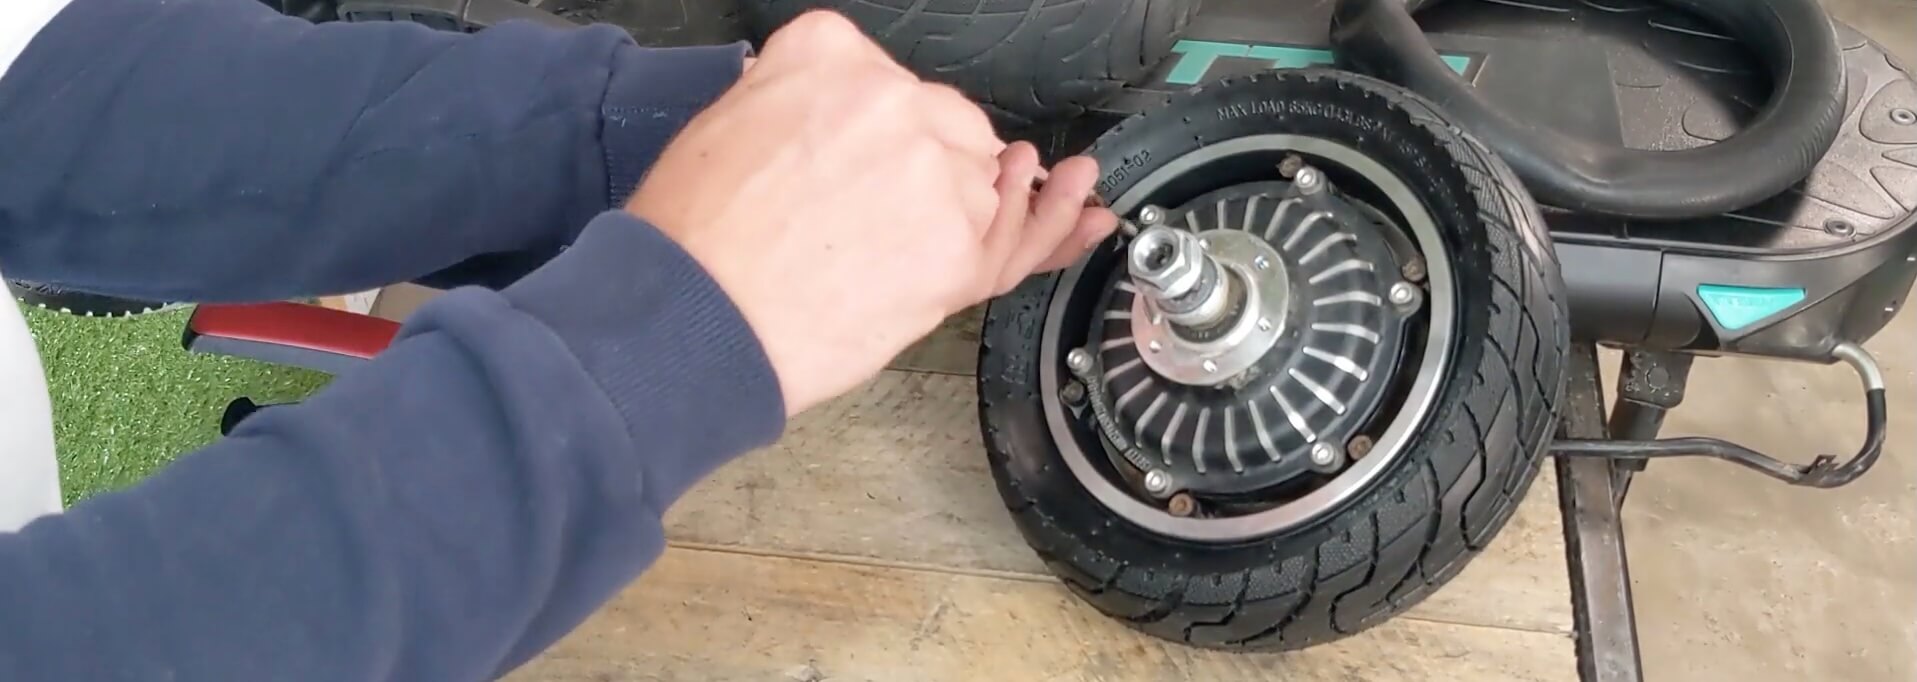
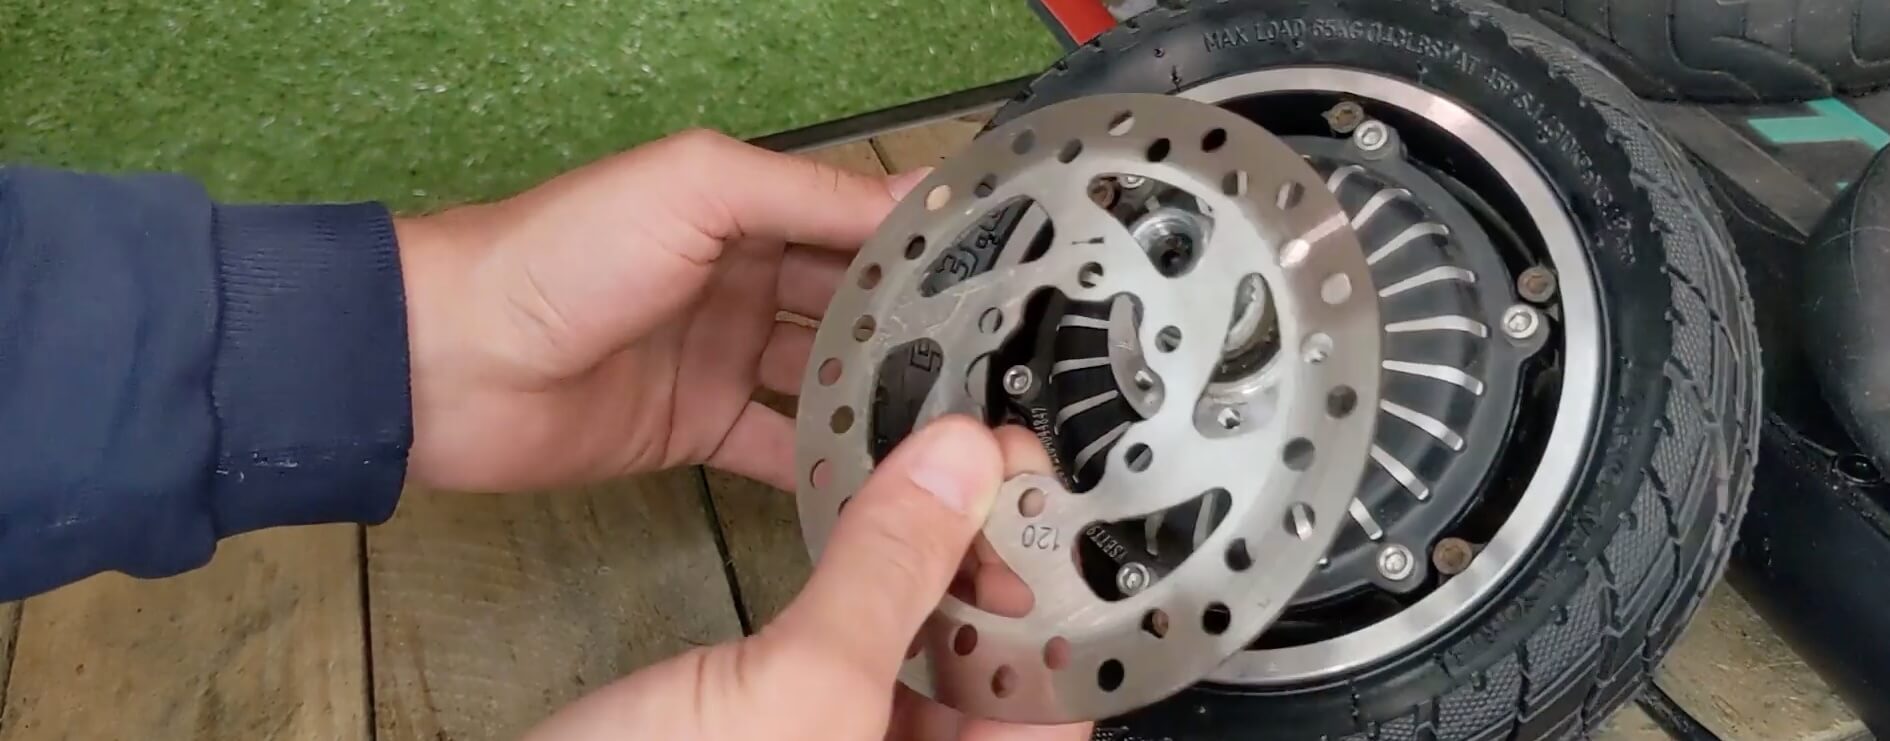
Removing the Brake Disc
Now, let’s unscrew the 6 screws of the brake disc using a 4mm Allen wrench.
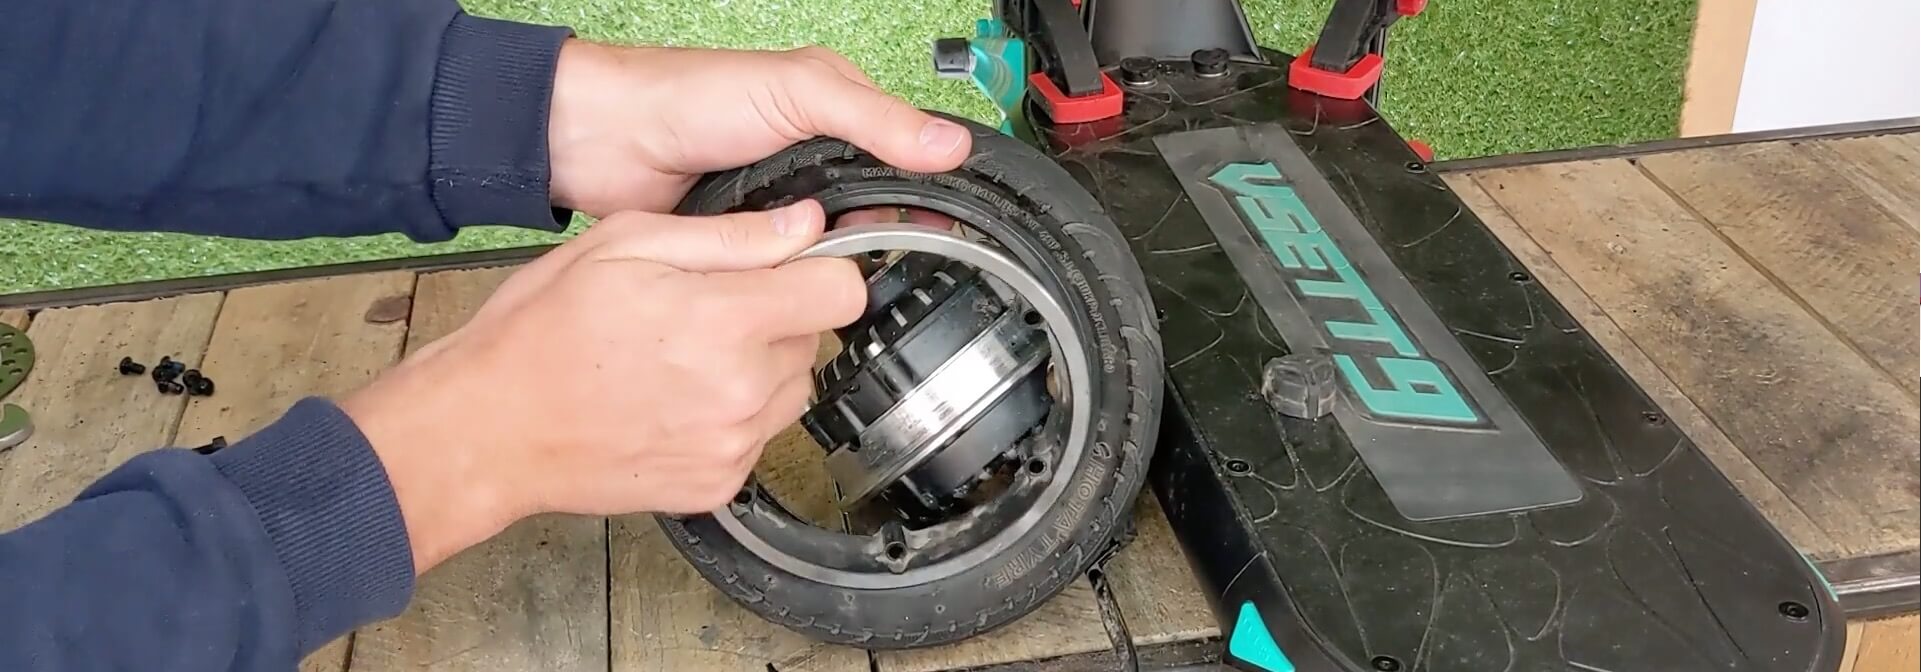
Opening the Rim in Half
After removing the brake disc, we need to remove the 6 screws of the rim using a 4mm Allen wrench to access our punctured inner tube.
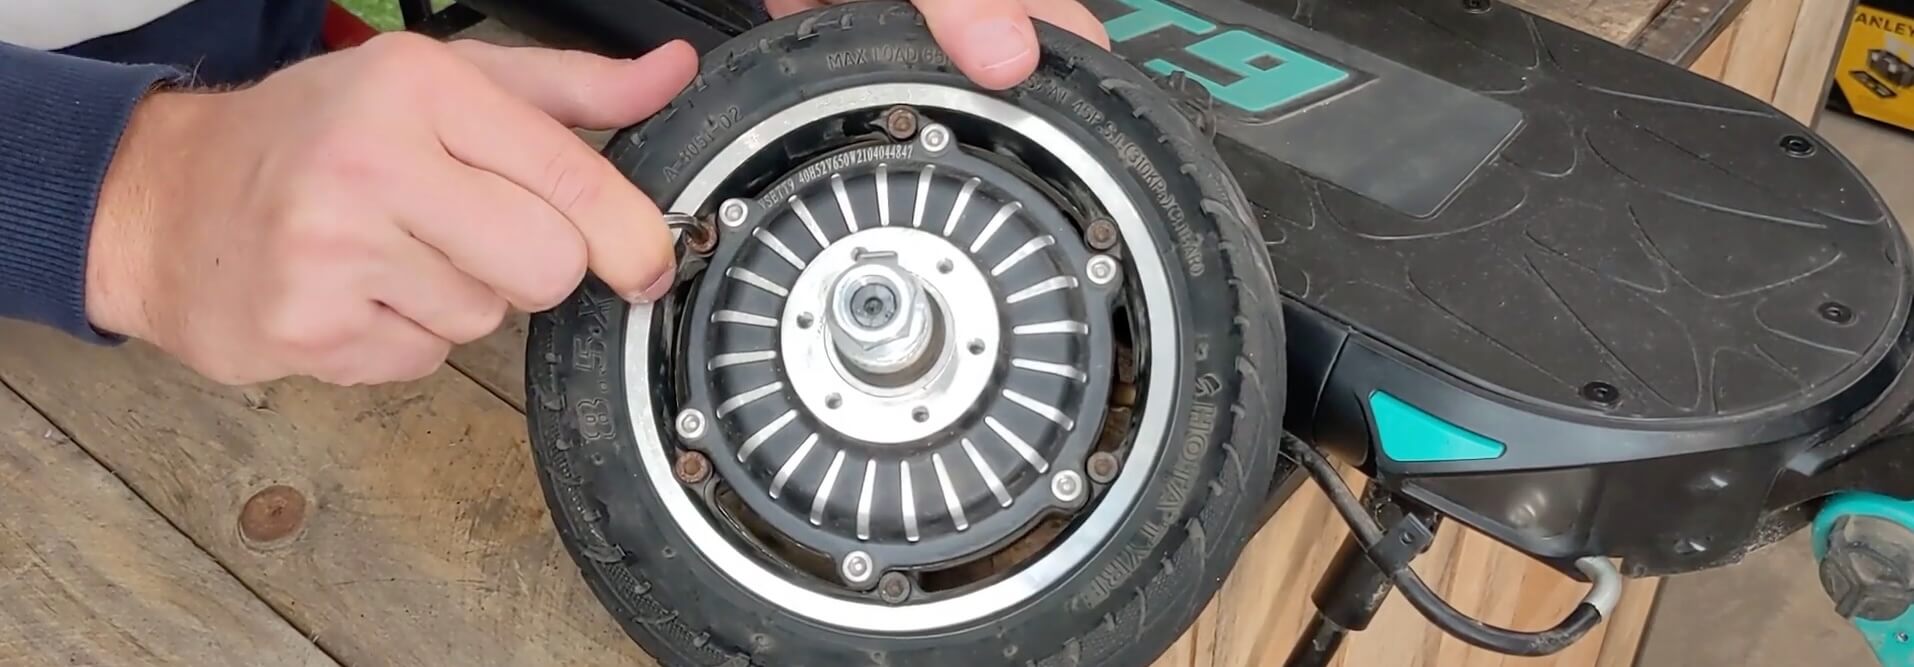
But before unscrewing the rim, always check that there is no air left inside the tire by pressing the valve core.

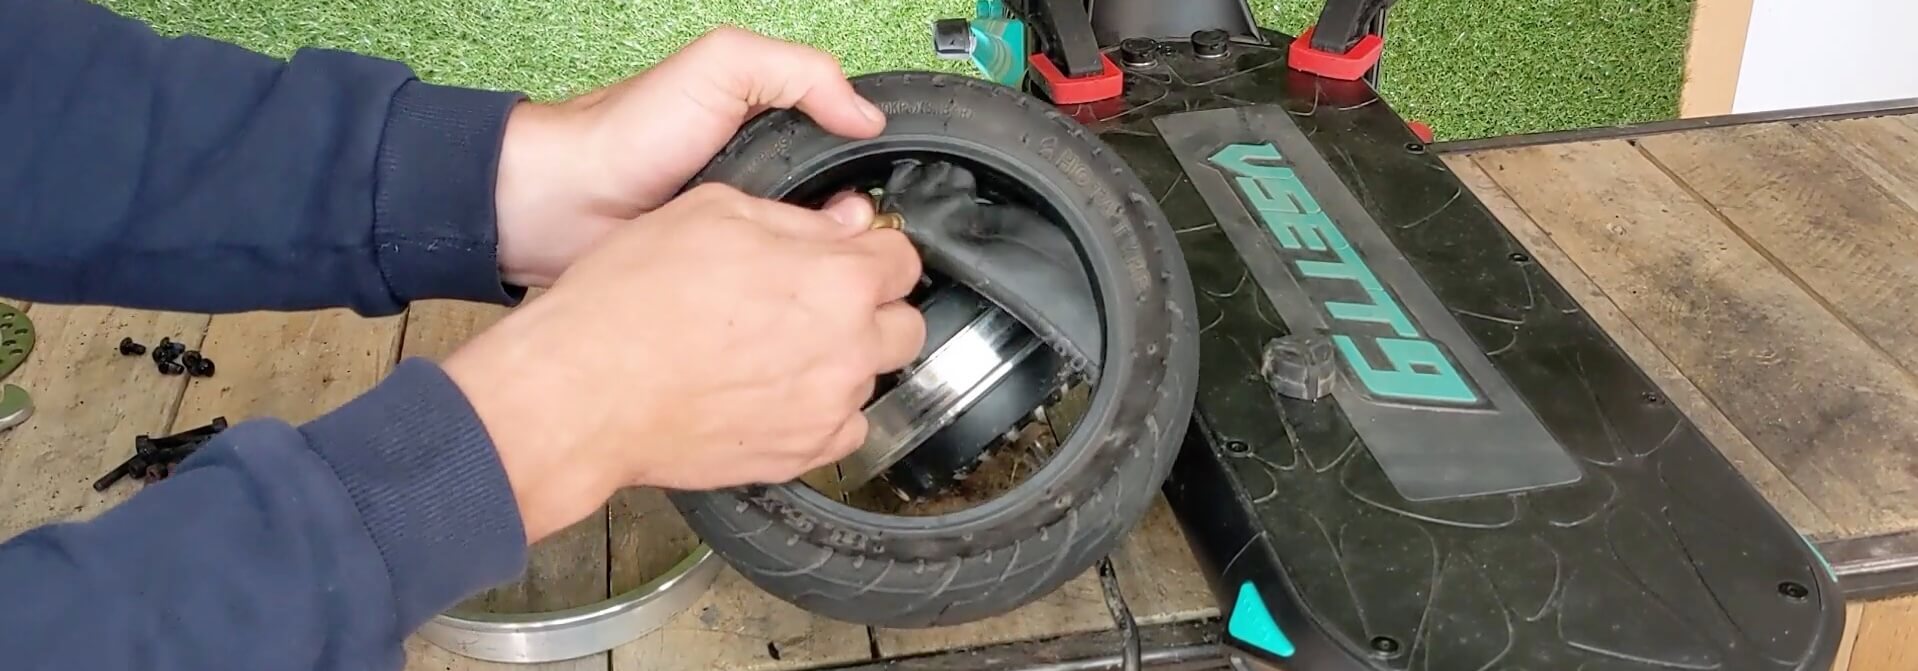
Now we can pull the tire of our VSETT 9 upwards.
And remove the half rim from the tire. If the half rim doesn’t come off easily, you can press firmly on the edges of the tire to detach it from the rim.
Next, we can remove the punctured inner tube.
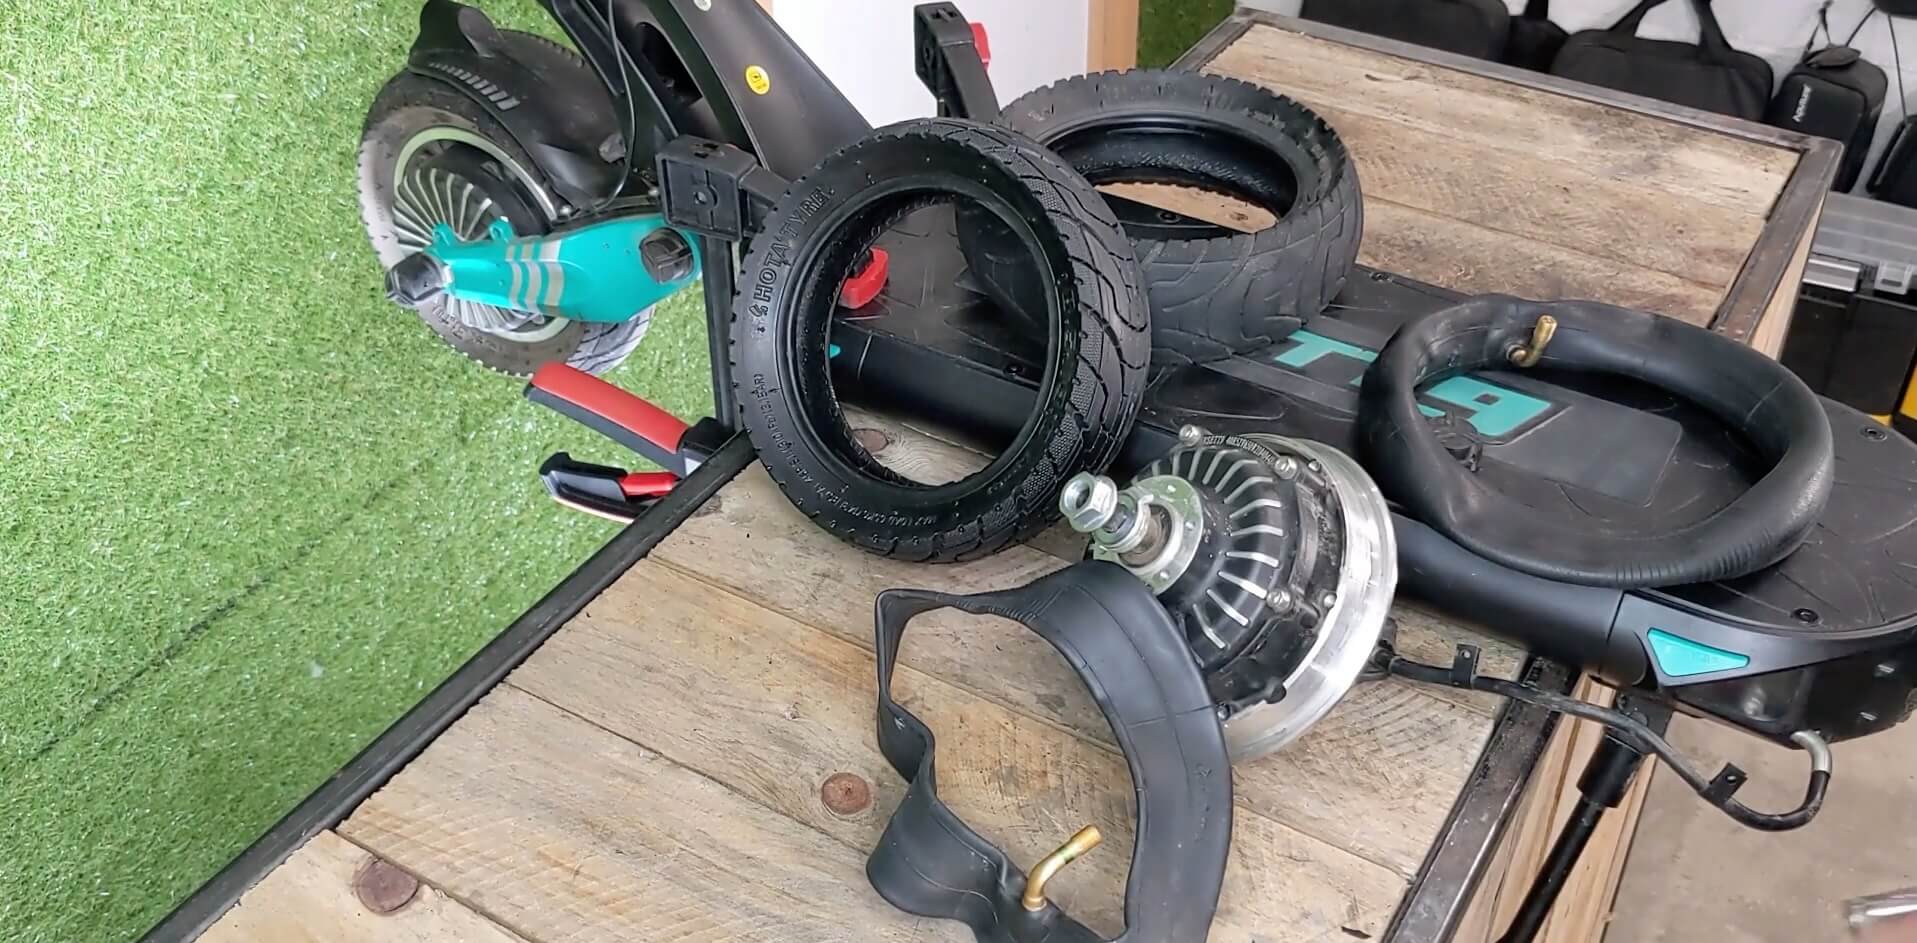
Installing the New Inner Tube
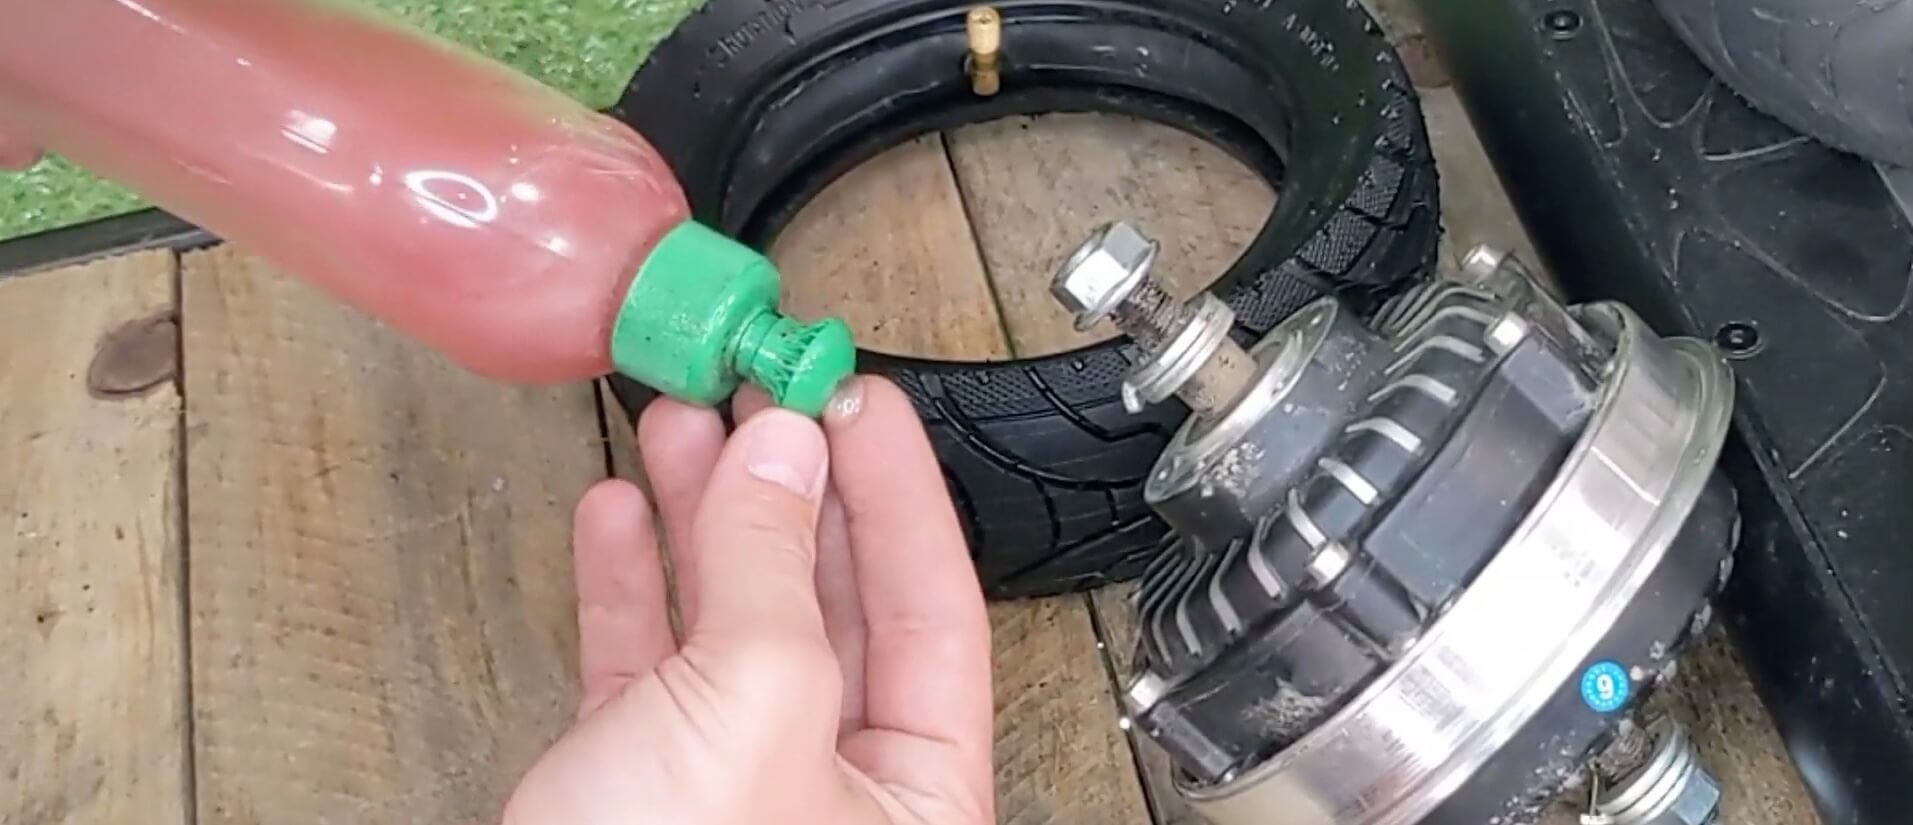
Now, let’s move on to installing our new tire and inner tube. The tire size is 8.5×3.0, and the inner tube to be installed inside is an 8.5×2 with a 70/90 angled valve.
🛒 Inner tubes for VSETT9 – Front and rear wheel (8.5×2 with 70/90 angled valve)
We’ll double-check the tire’s rotation direction and install our slightly inflated new inner tube inside.
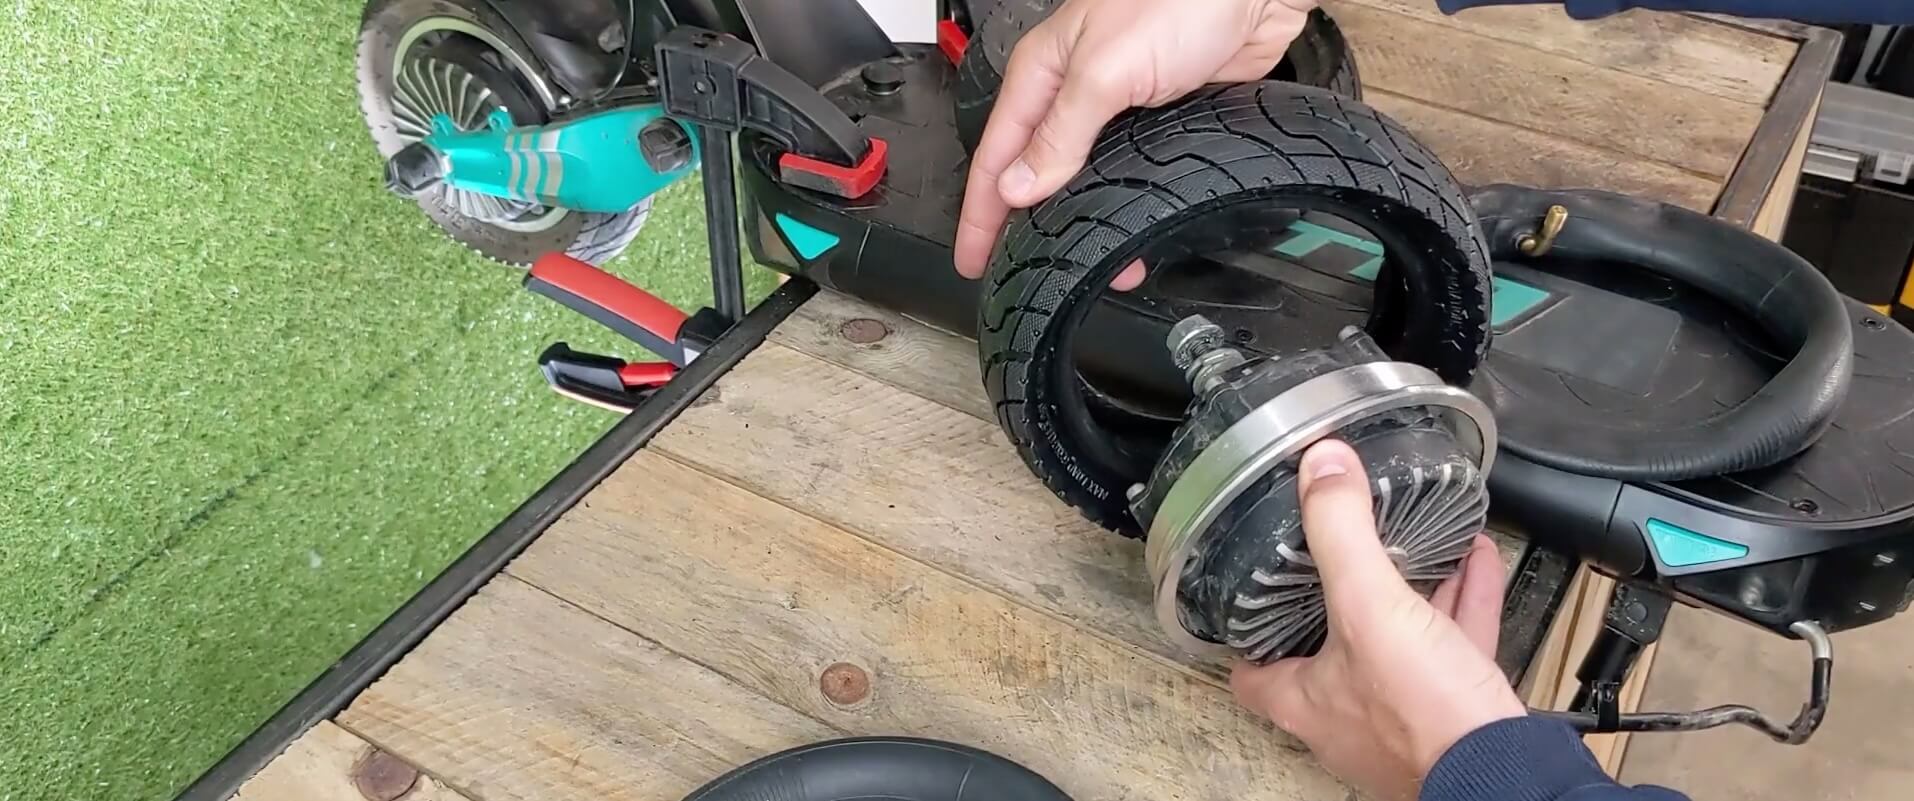
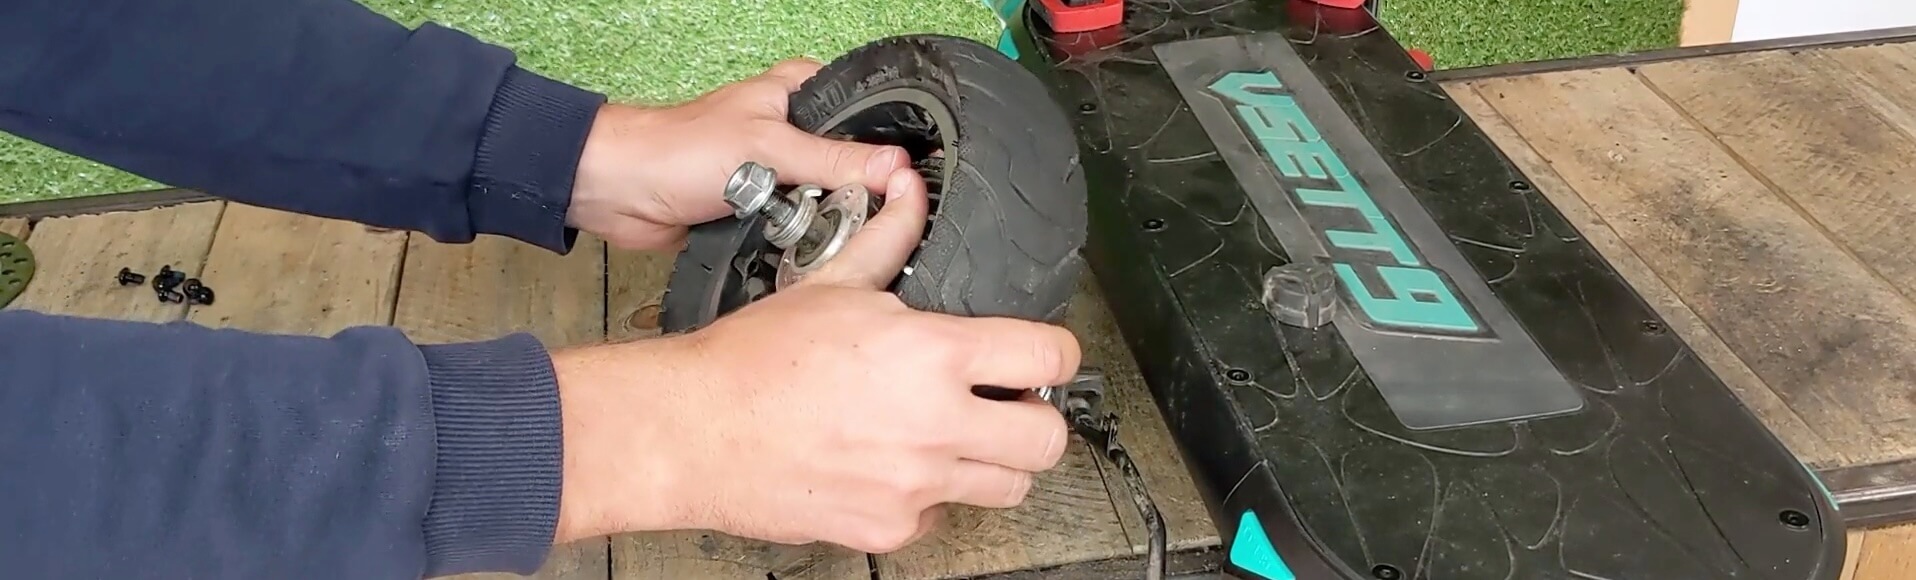
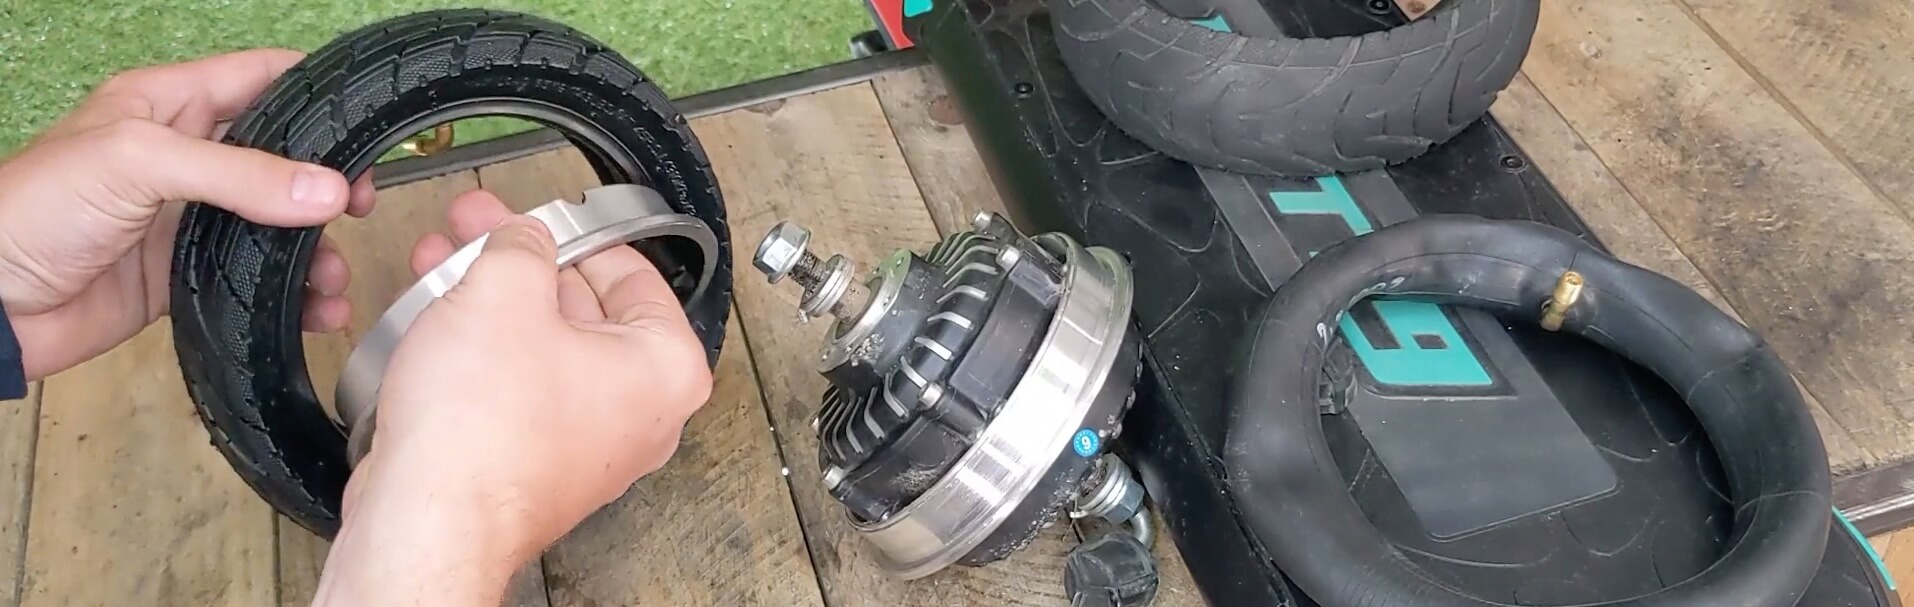
Closing the Rim
To facilitate reassembly, apply a small drop of liquid soap to the rim and the inner edges of the tire.
Install the first part of the rim onto the tire, being extremely careful not to let any part of the inner tube touch the light gray part. It would be unfortunate to pinch our new inner tube while closing everything and having to start over.

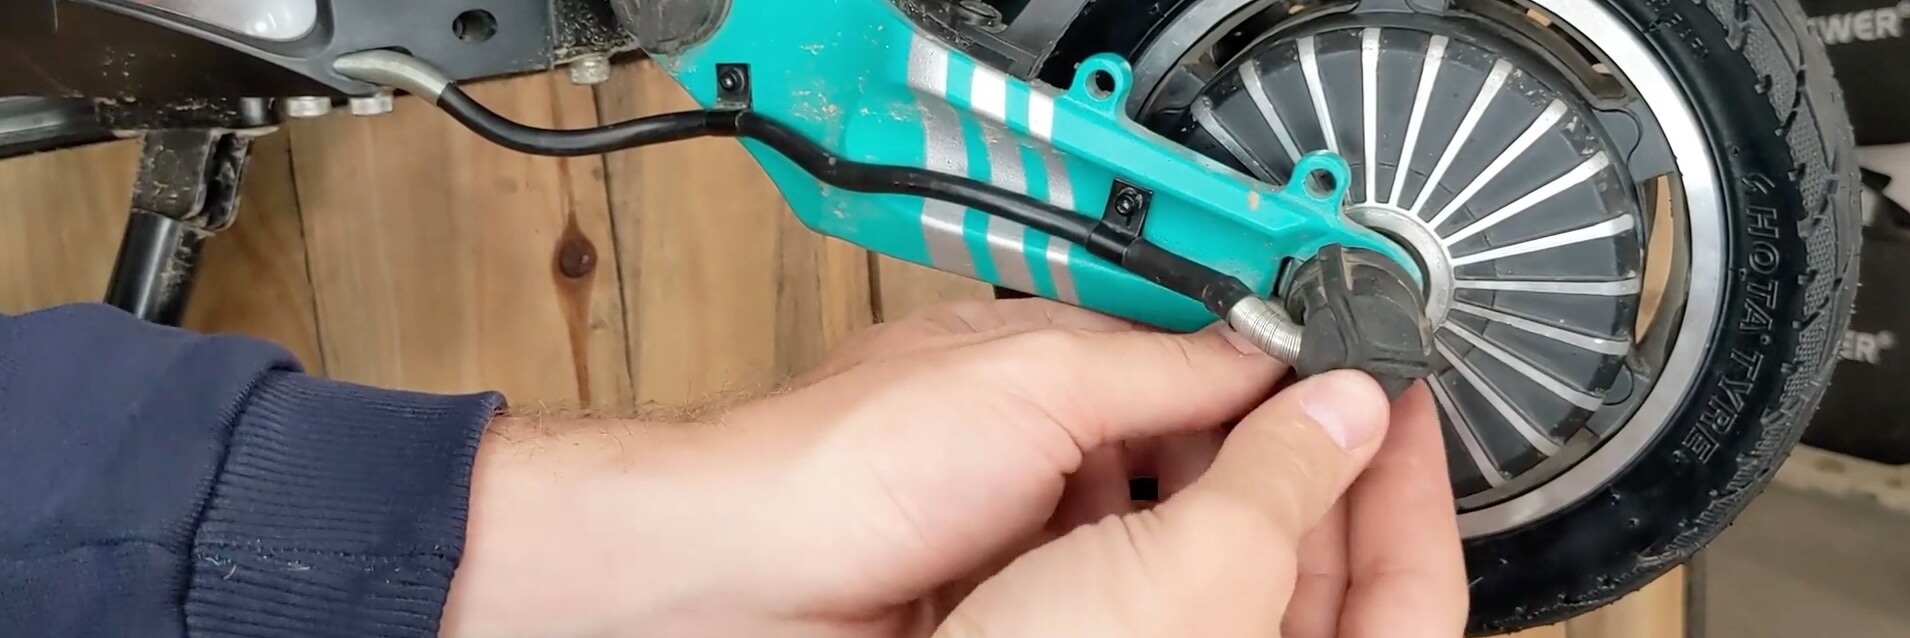
Now, slide the valve into its housing and properly position the tire.
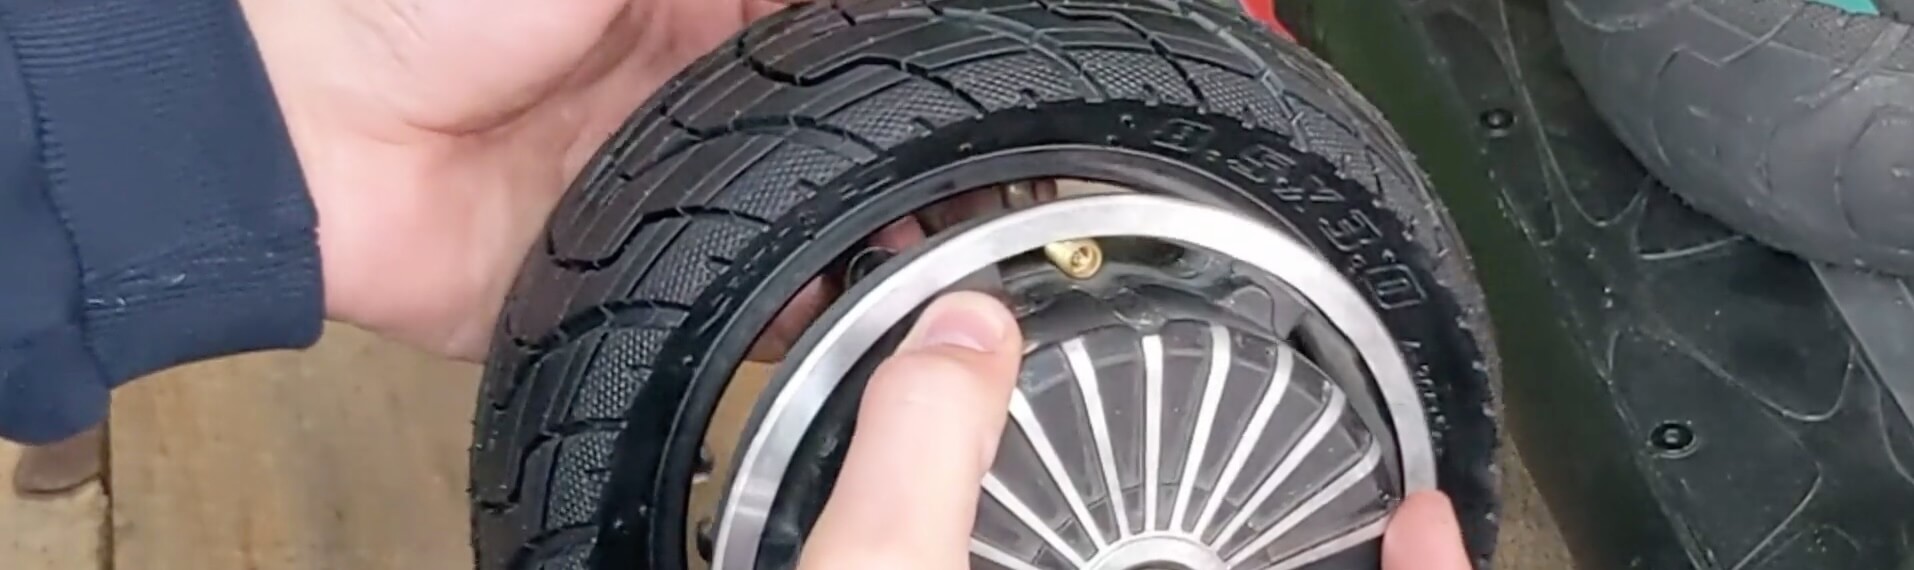
Tighten everything by reattaching the 6 screws gradually.
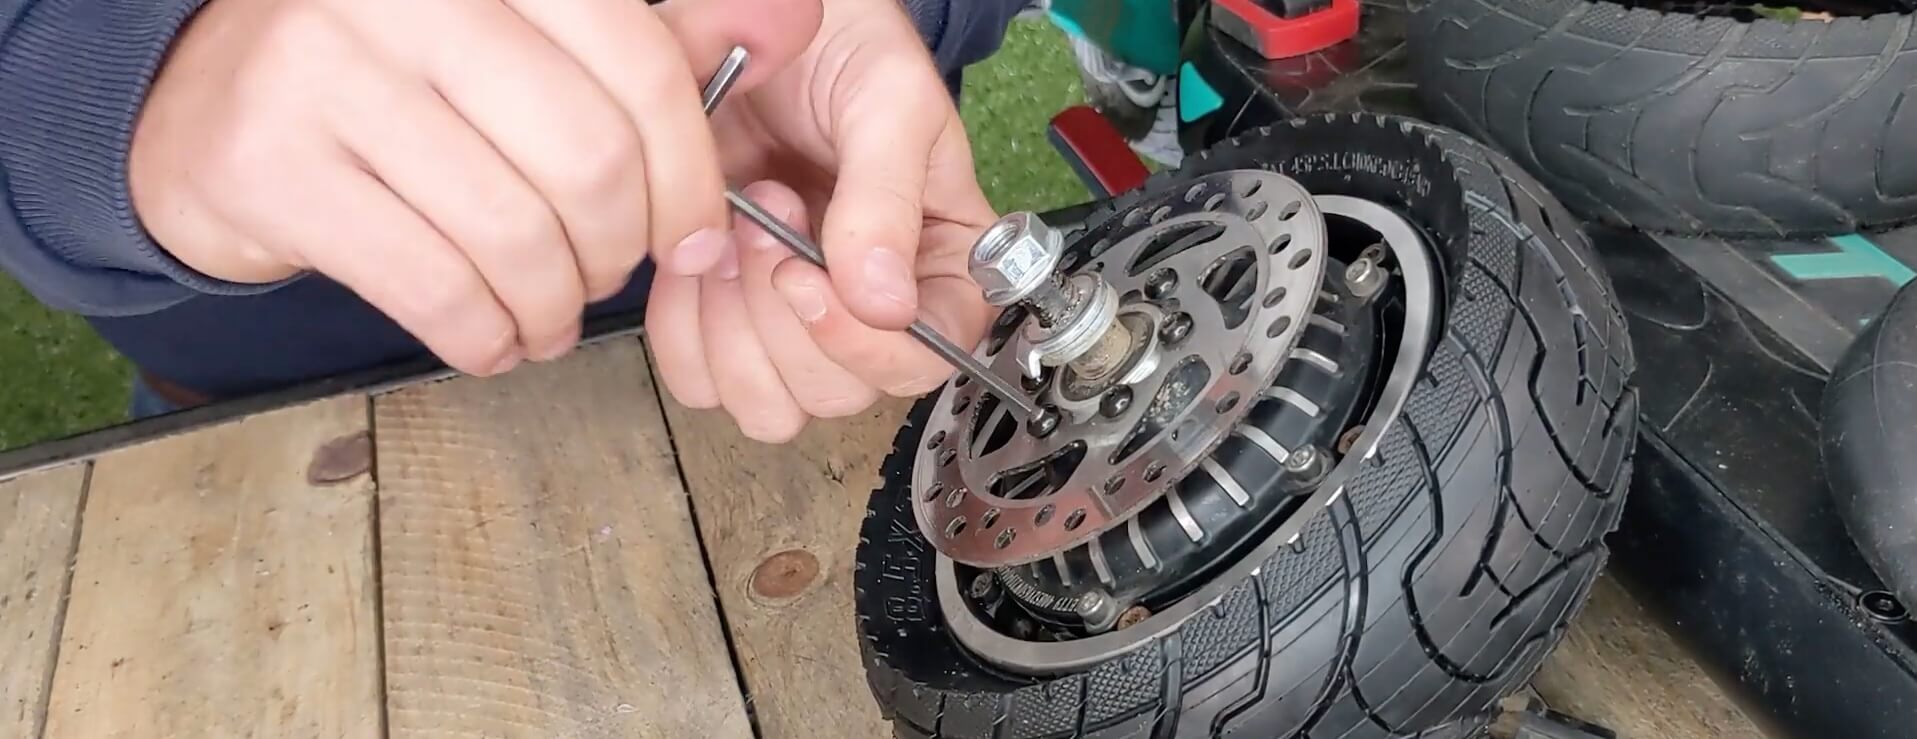
Next, place the brake disc back onto the rear wheel, ensuring the correct rotation direction using the arrow engraved on the disc.
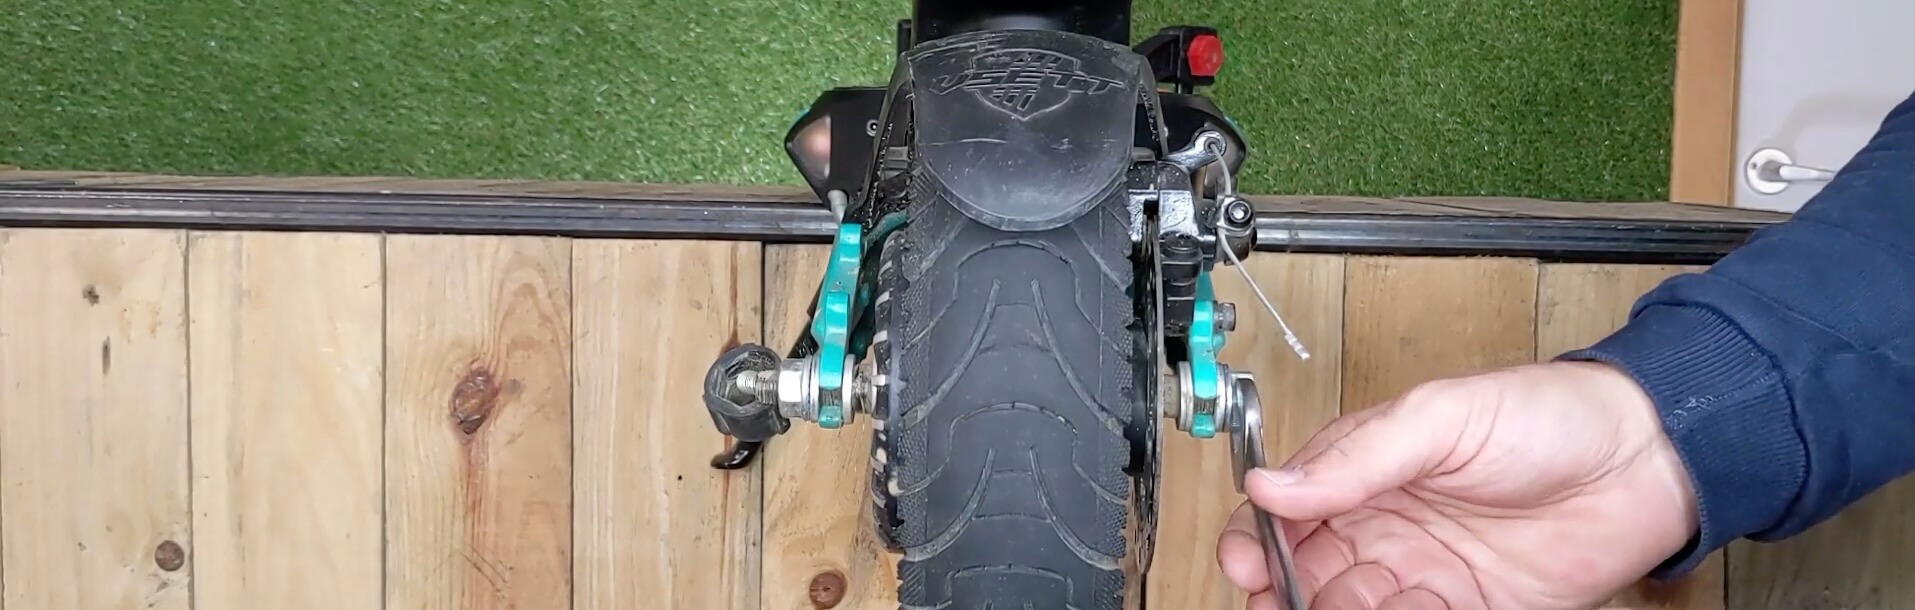
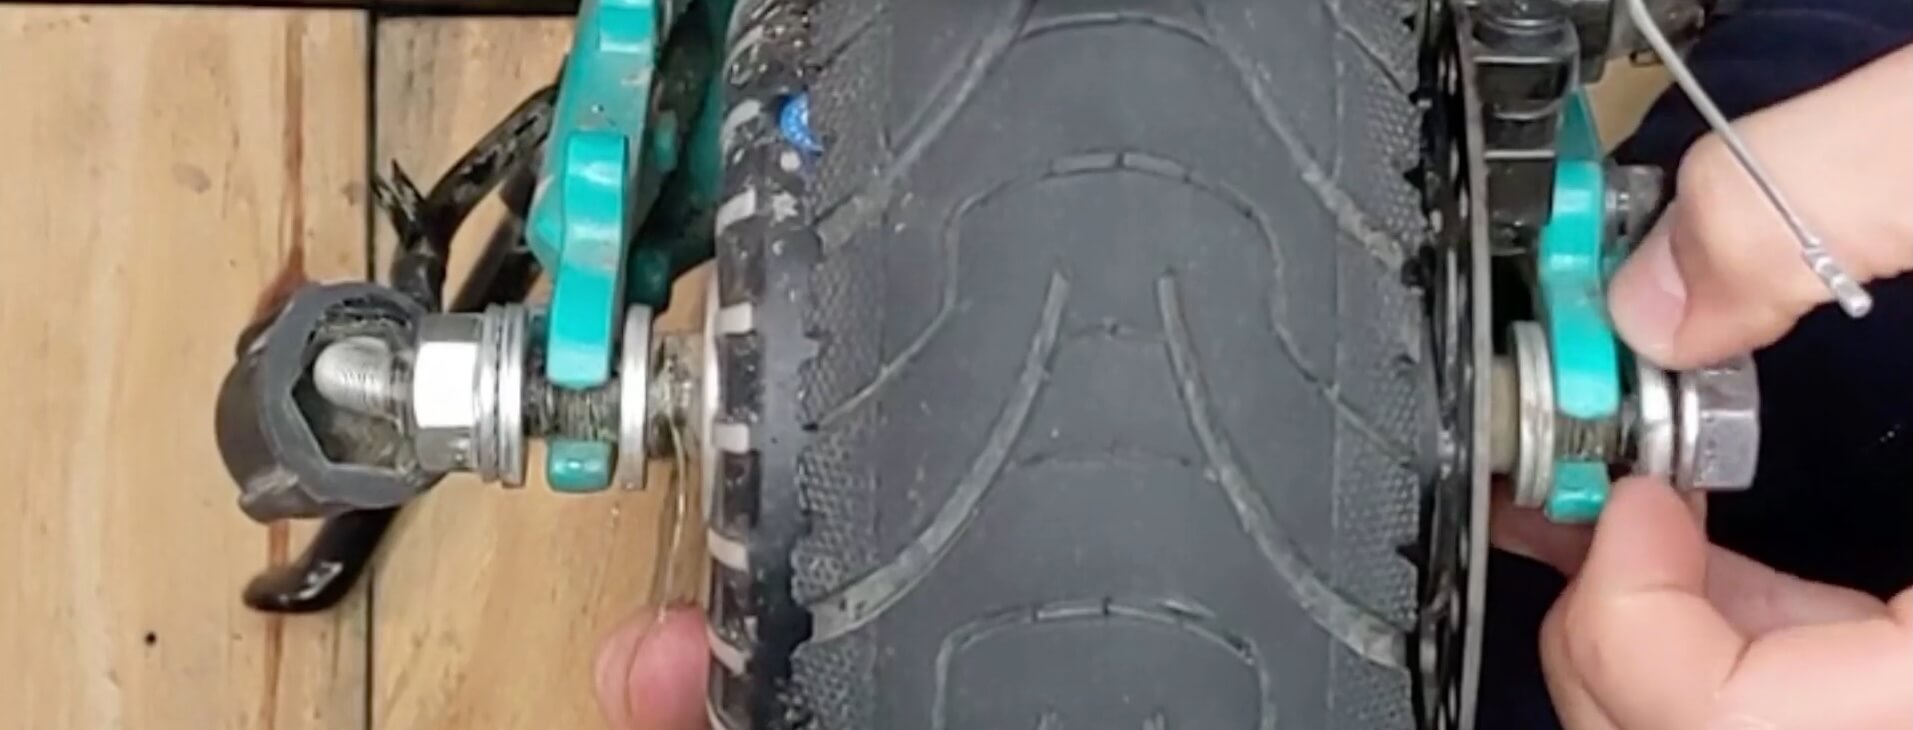
Installing the Repaired Rear Wheel on the Fork
Now, slide the repaired rear wheel onto the fork with the locking washers pointing forward.
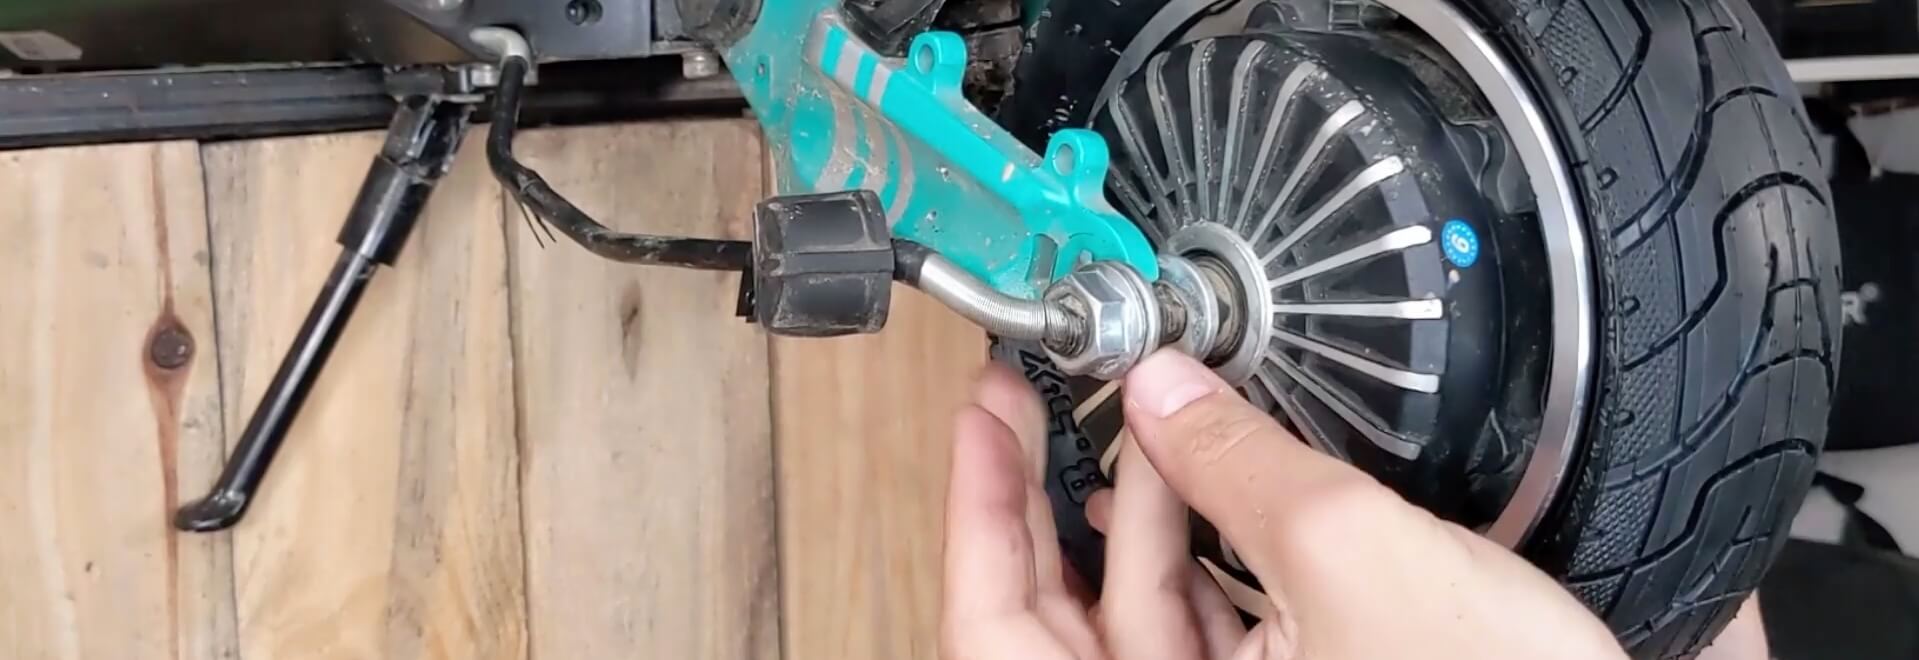

Reattach the motor cable to the scooter.
Tire Pressure and Inflation for VSETT 9
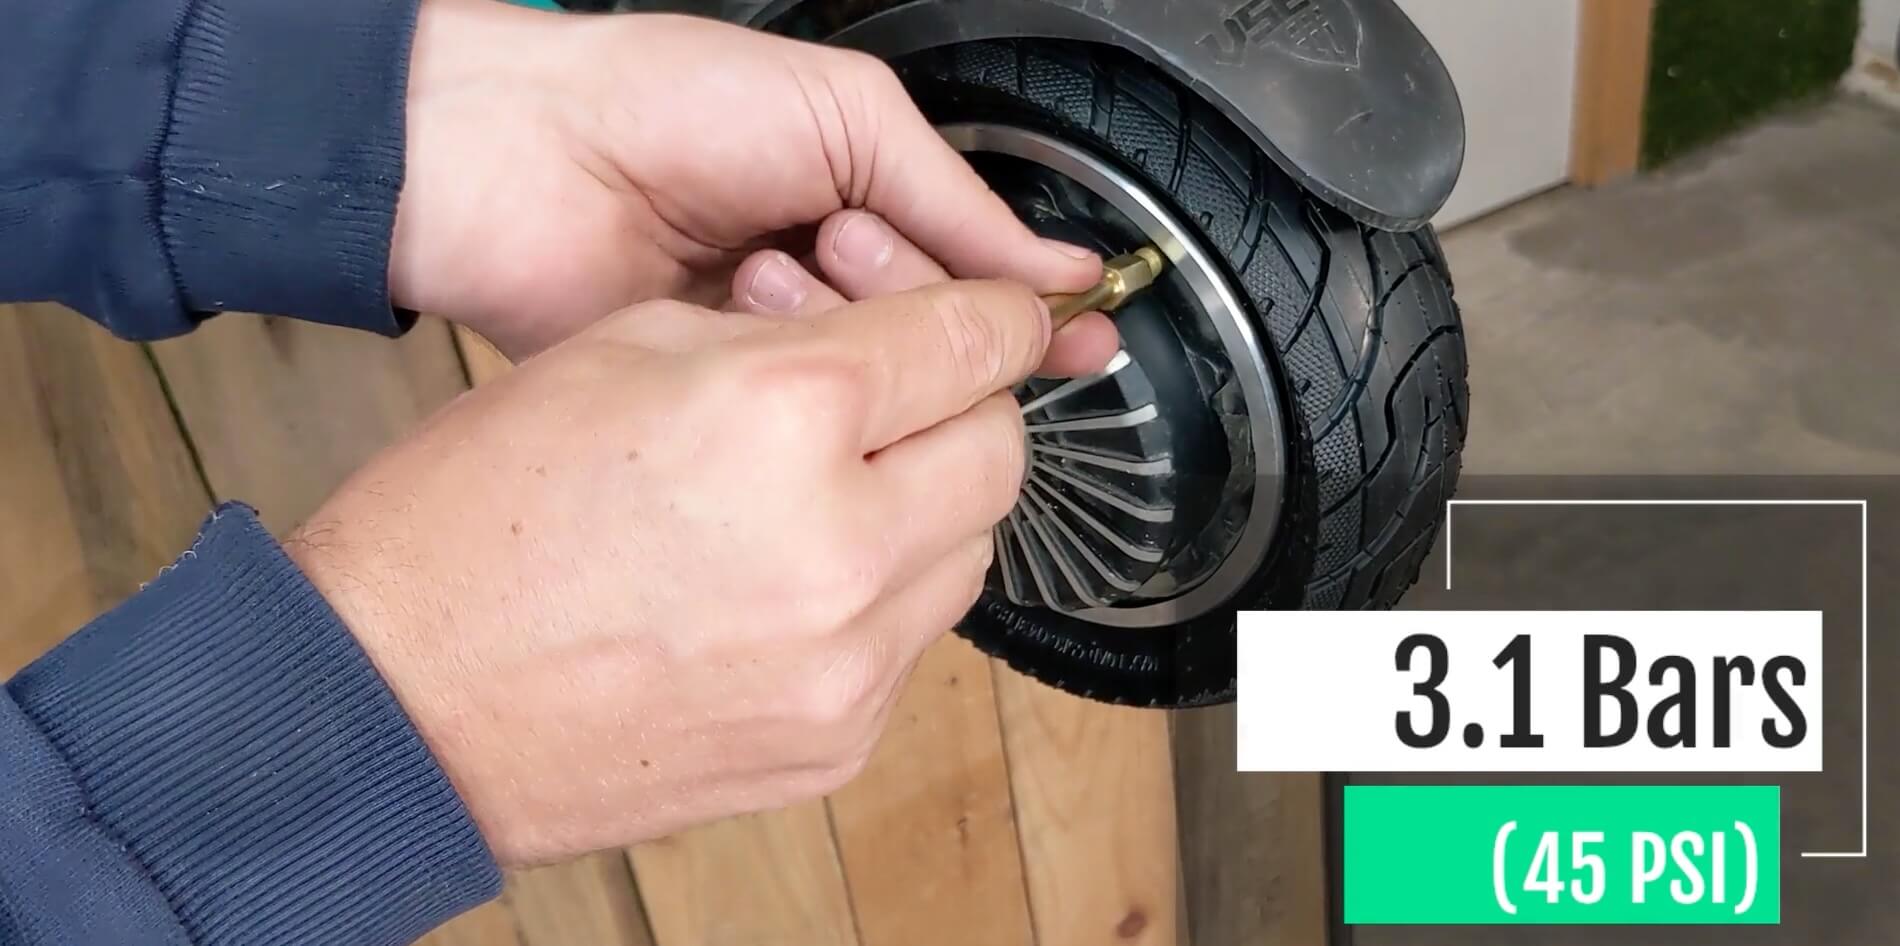
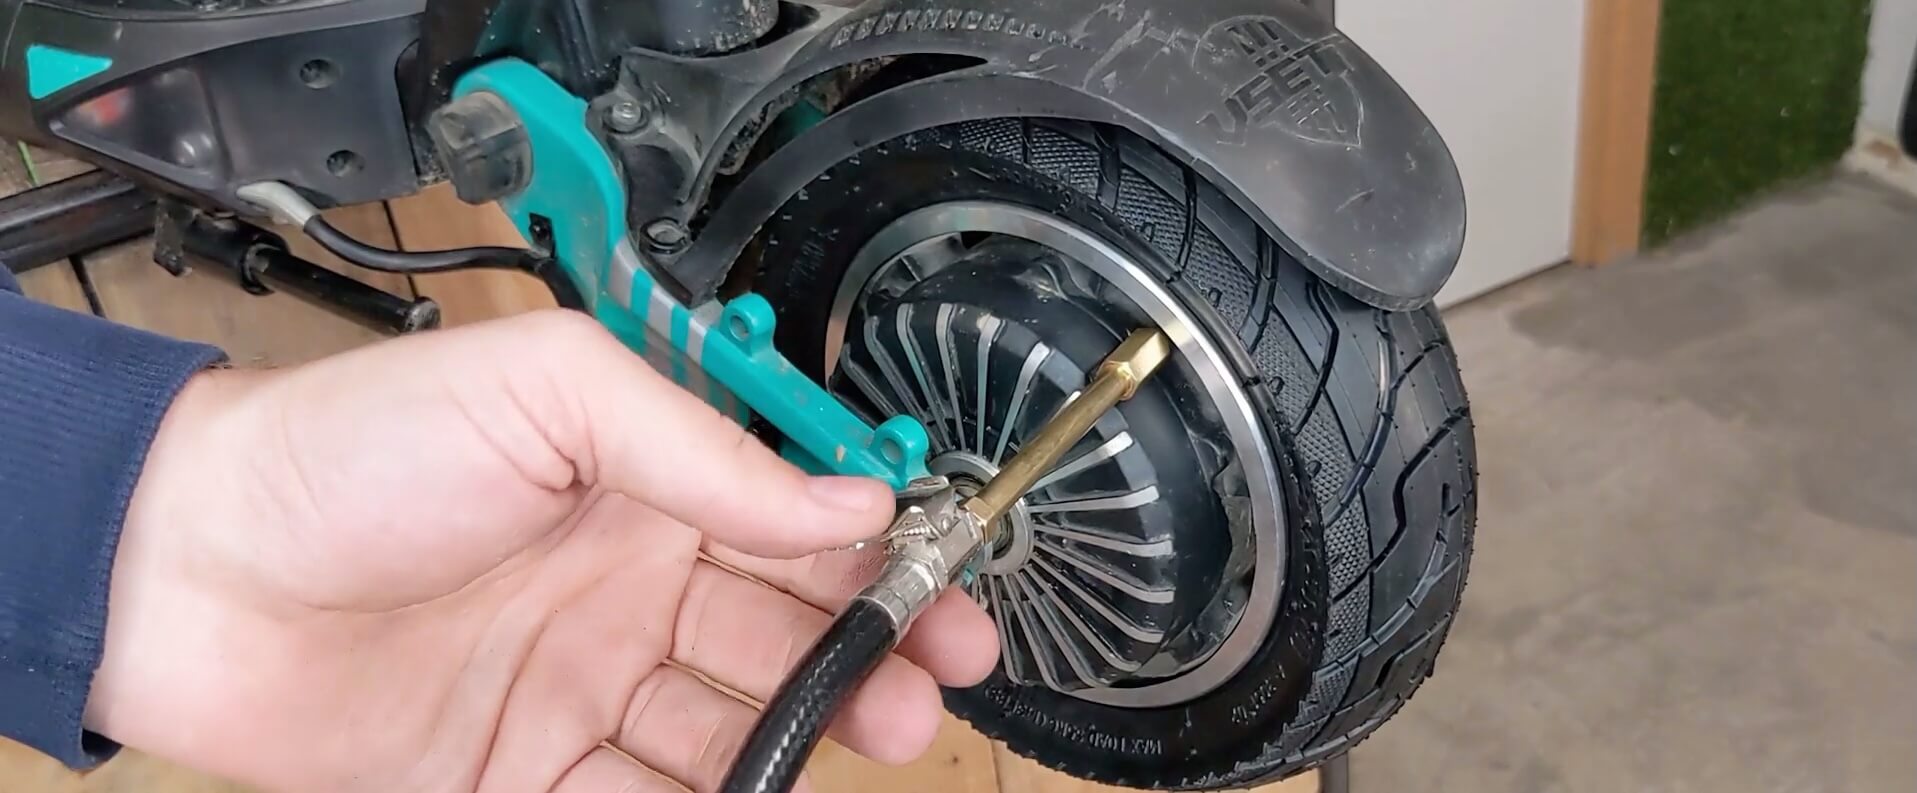
Finally, inflate the new tire of our VSETT 9 to 3.1 bars (45 psi).
Other tutorials that may interest you

Replacing the FRONT tyre and inner tube of a VSETT9 Scooter
Tutorial for Repairing VSETT9 Electric Scooter – In this tutorial, we will show you how to disassemble the front wheel, remove the old tyre, and replace the punctured inner tube. Then, we will guide you through the installation of new tyres.
PURE AIR Changing the Tyre and Inner Tube – Rear Wheel
We’ll show you step by step how to change the tyre and inner tube on the rear wheel of your Pure Air electric scooter. This repair is easy, and you’ll be able to do it without any trouble!

How to disassemble the front wheel of a Xiaomi M365 Pro scooter ?
During the front tire change of your electric scooter, many of you are facing difficulties in disassembling the front wheel of your Xiaomi M365 Pro. If the nuts are tightened too tightly and you’re unable to loosen them, here are some tips to help you loosen them.